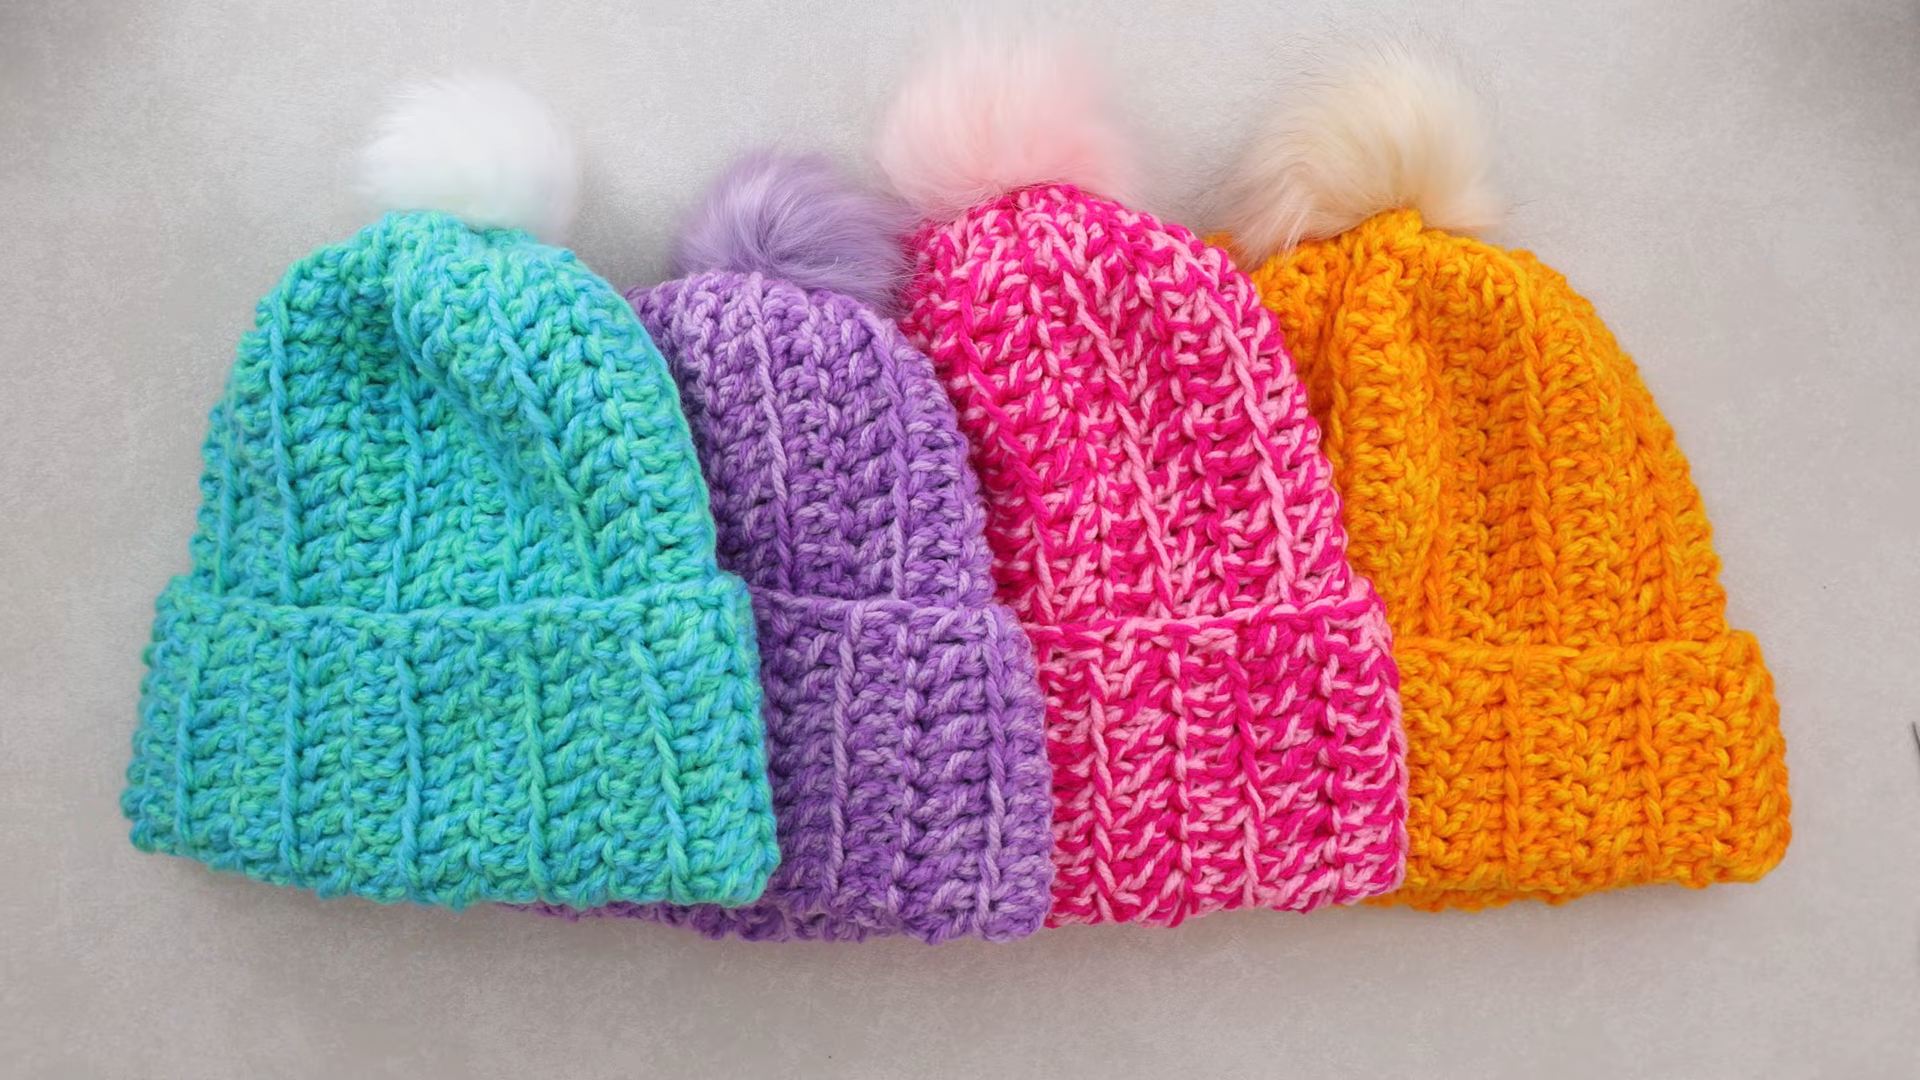
A crochet hat pattern is one of the projects that are both functional and satisfying. You can create an ambience that’s warm enough for cold mornings, and textures and colours that match your style. A handmade winter hat can be tailored to a certain size, length, texture and also the brim of your choice, whereas a store-bought hat may not be able to be altered.
This fashionable winter hat features a simple silhouette and is perfect for casual wear. It can be worn over a sweater, a long coat, jeans, boots or any kind of laid-back weekend attire. It’s easy to make, but gives plenty of space to try different stitches and yarns for a more detailed finish.
The best thing is that you do not require much yarn or any complicated knitting methods. A warm, comfortable hook and yarn, along with a bit of patience, can make for an individualized hat from the first round through the final stitch. This pattern is the perfect beginning to any wearable crochet project or to lining up another winter accessory.
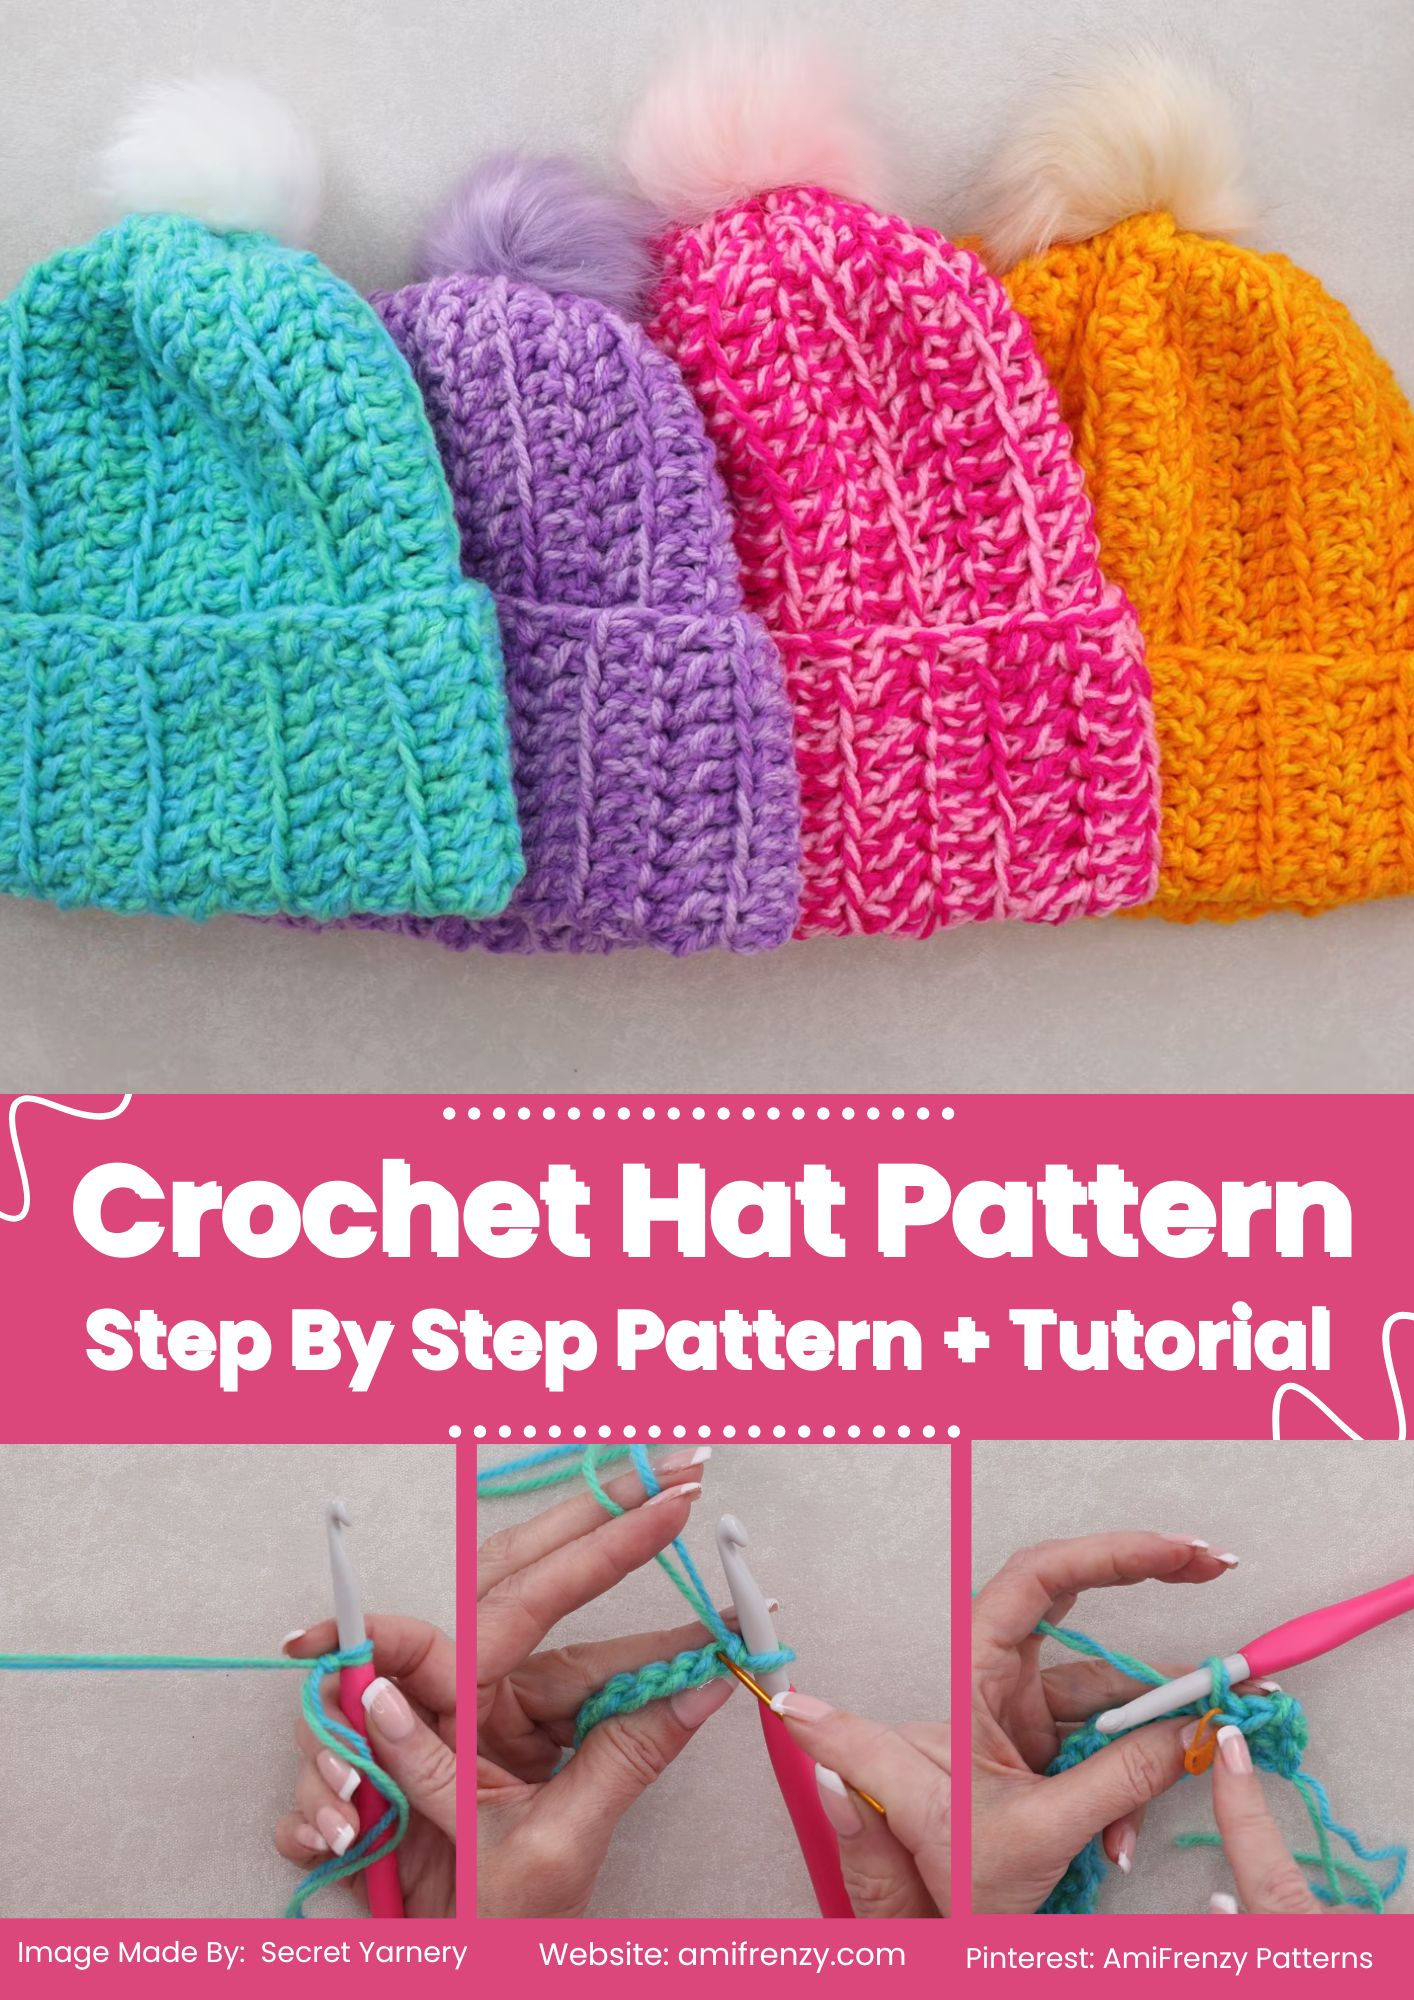
Why You’ll Love This Winter Hat
Winter accessories don’t have to be boring. A homemade hat can incorporate texture and color into clothing and make people feel warm and comfortable when the weather turns cold. This design offers:
- simple construction
- comfortable fit
- A warm crochet fabric made from wool.
- Easy size adjustments
- Color choices are abundant.
- An elegant everyday silhouette
- Beginner-friendly techniques
- Opportunities for personalization
The hat may also be created with various yarn weights. Chunkier yarn is ideal for creating a warm winter feel, while medium-weight yarn is perfect for an accessory that is not as thick and will do well in cooler weather.
This is a very easy and simple beginner winter crochet hat , if you’re looking for a very simple introduction to crochet fitted accessories.
Skill Level
Time: 60 minutes
You should have familiarity with:
- Chain stitches
- Single crochet
- Half double crochet
- Slip stitches
- Working in rounds
- Adding and subtracting fractions and decimals.
- Weaving in yarn ends
Don’t require advanced shaping abilities. This is a simple hat that can be repeated rounds, which should be a fun project with the right stitch count.
Materials You’ll Need
Before you begin work, round up your tools.
Yarn
Select soft and warm texture for the yarn in winter wear.
Good options include:
- Wool
- Acrylic
- Wool-acrylic blends
- Merino blends
A soft acrylic yarn may be suitable as it is easy to wash and available in many colors. Wool is a good material for warmth and may need to be washed more carefully.
Tools
The right crochet hook for your yarn.
- Stitch marker
- Yarn needle
- Sharp scissors
- Measuring tape
- Optional:
- Faux fur pom-pom
- Crochet flower
- Leather label
- Decorative button
Choosing the Right Size
Wrap around the broadest area of the head, typically above the ears and eyebrows.
The hat should have a slight negative ease, just enough so that it will both fit and not droop over the eyes.
When making a tight fit, circumference should be slightly under the head measurement.
If you want a relaxed slouchy shape, you will need to add additional rounds prior to shaping the crown.
Keep in mind that crochet fabric is stretchy, particularly wool and soft acrylic yarn.
Pattern Notes
Here are some tips that you will want to consider before starting:
- Check your gauge.
- Count stitches regularly.
- Start each round with a stitch marker.
- Maintain even tension.
- As you work, try on the hat.
- Don’t tie the crown too tightly.
If your stitches are looser, you may require a smaller hook. If they are extremely tight, increase the size of the hook by one.
How to Crochet the Stylish Winter Hat
It is best to know how the hat is made before beginning to crochet the steps. You’ll start at the top of the head and add increases from there. When you have reached the desired width, you will do even rounds down to the brim. The last part forms a comfortable edge, which assists the hat to stay on the head. The overall design is simple, allowing for easy customization.
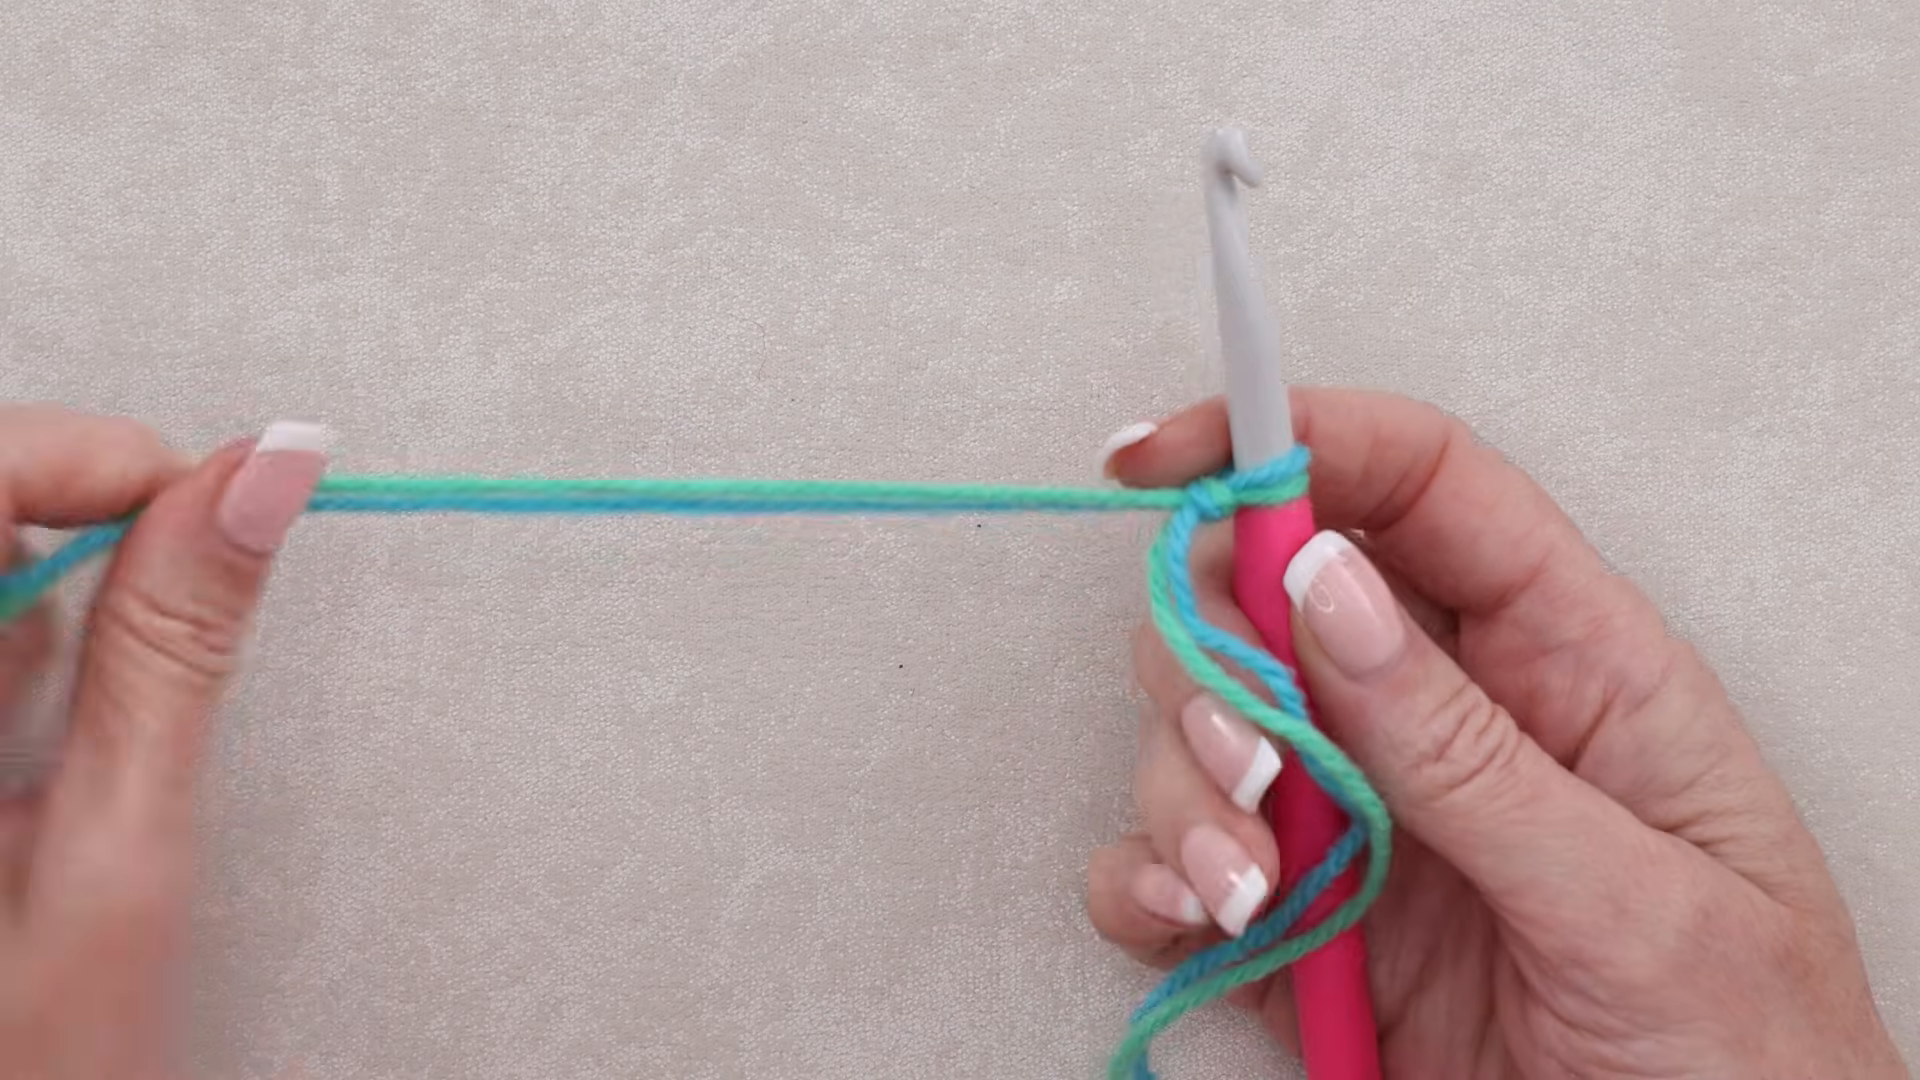
Step 1: Create the Magic Ring
Begin with a magic ring with the yarn of your choice.
Make 6 single crochet stitches into the ring.
Gently pull the yarn tail together to close the middle.
Put in a stitch marker for the first stitch.
For those who don’t want to work with magic rings, you can first chain two and then work into the second chain with your starting stitches.
Step 2: Begin Increasing
Double crochet around with 2 stitches in every stitch.
You should have double the number of stitches.
Continue by increasing even until the next few rounds.
The piece should slowly transform itself into a flat circle.
Don’t increase too quickly. When the circle begins to ruffle, it may be because there are too many increases.
If it starts to develop into a bowl before it should, then you might require further increases.
Step 3: Build the Crown
Make continued even increments until the circle is wide enough to fit over the top of your head.
The number of rounds will vary depending on the type of yarn, hook size and head size.
Occasionally position the work to the head to see how it fits.
When the crown has gotten to a good size, you will need to stop increasing.
Step 4: Work the Main Body
Work in rounds, adding no increases.
Use a single crochet or half double crochet as is desired for the texture.
A half double crochet results in a somewhat softer and quicker texture compared to single crochet which gives a denser fabric.
Repeat until the hat is at the top of your ears.
If you wish for a cozy crochet beanie pattern, add a couple more rounds here to get a slightly slouchy look.
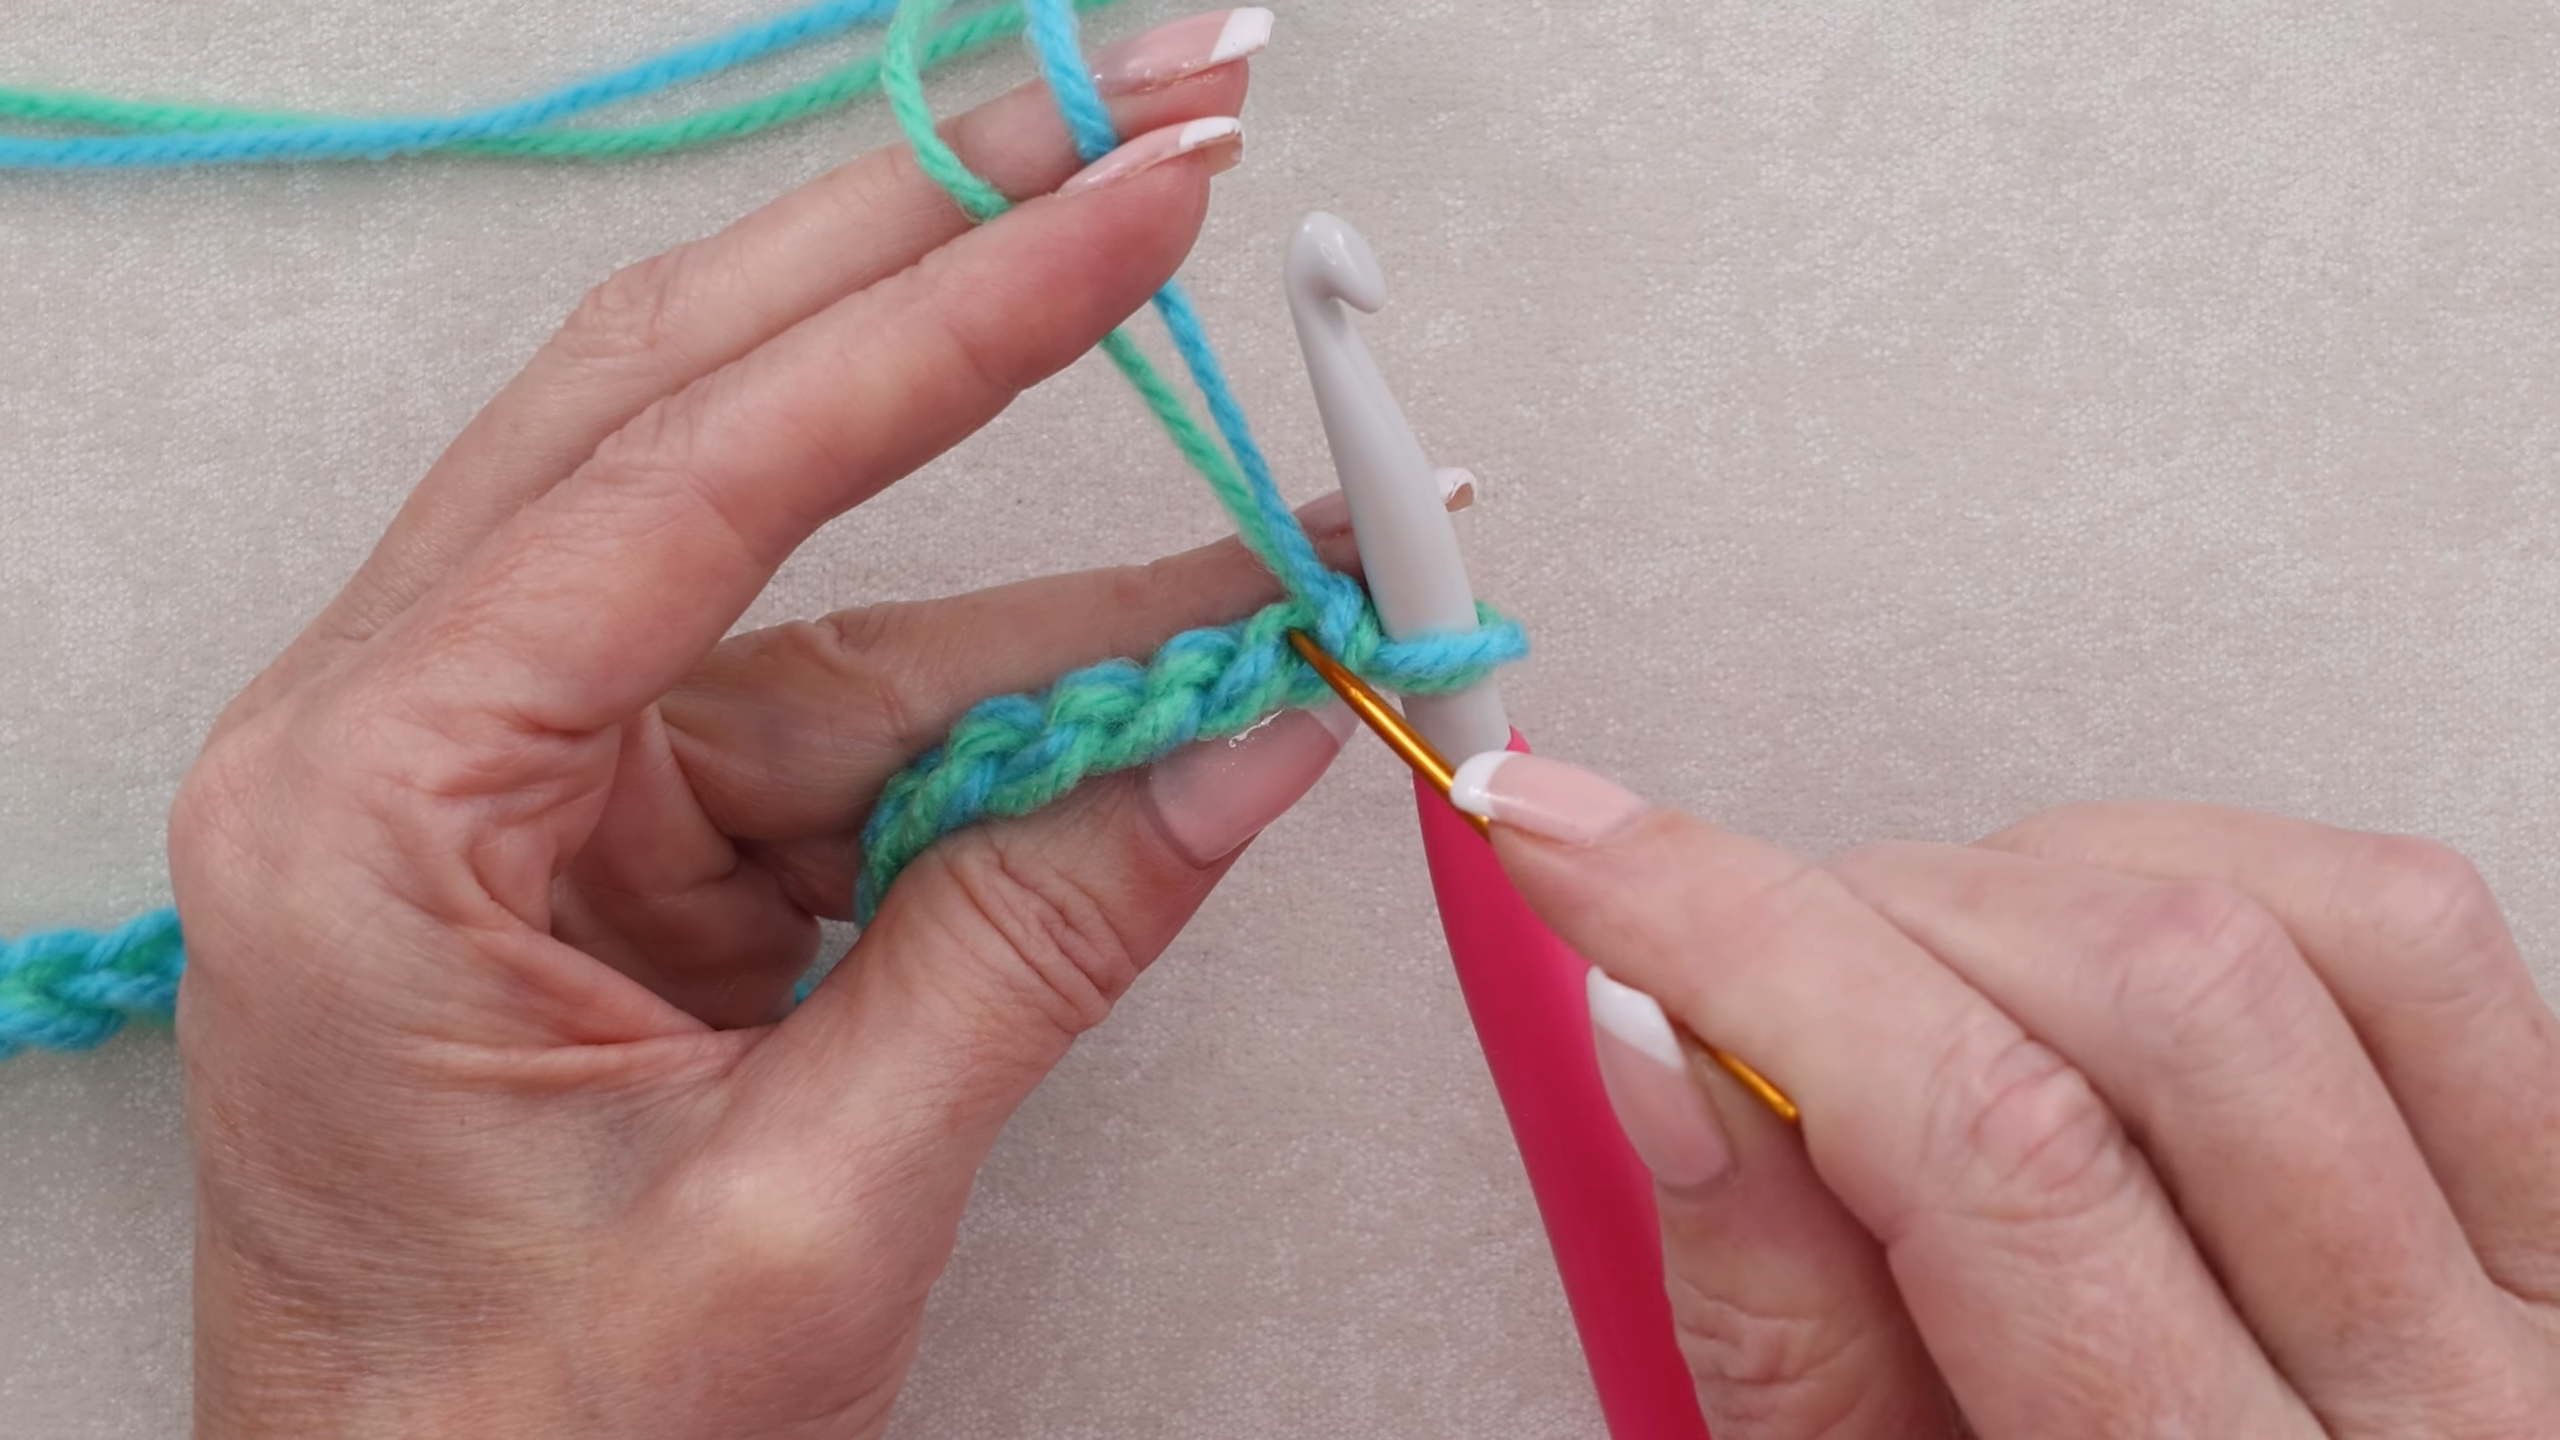
Step 5: Make the Brim
The brim provides shape and stability to the hat and ensures it fits properly on the head.
Repeat a few rounds by crocheting with one crochet.
To make the ribbed look work just the back loop.
This results in vertical ridges that will stretch out well.
Repeat until desired depth is reached with the brim.
The narrow brim creates a simple modern look, and the wider brim which folds over creates more warmth around the ears.
Steps 6: Complete the Edge
The brim is finished and one last row of slip stitches or single crochet is made.
Fasten off securely.
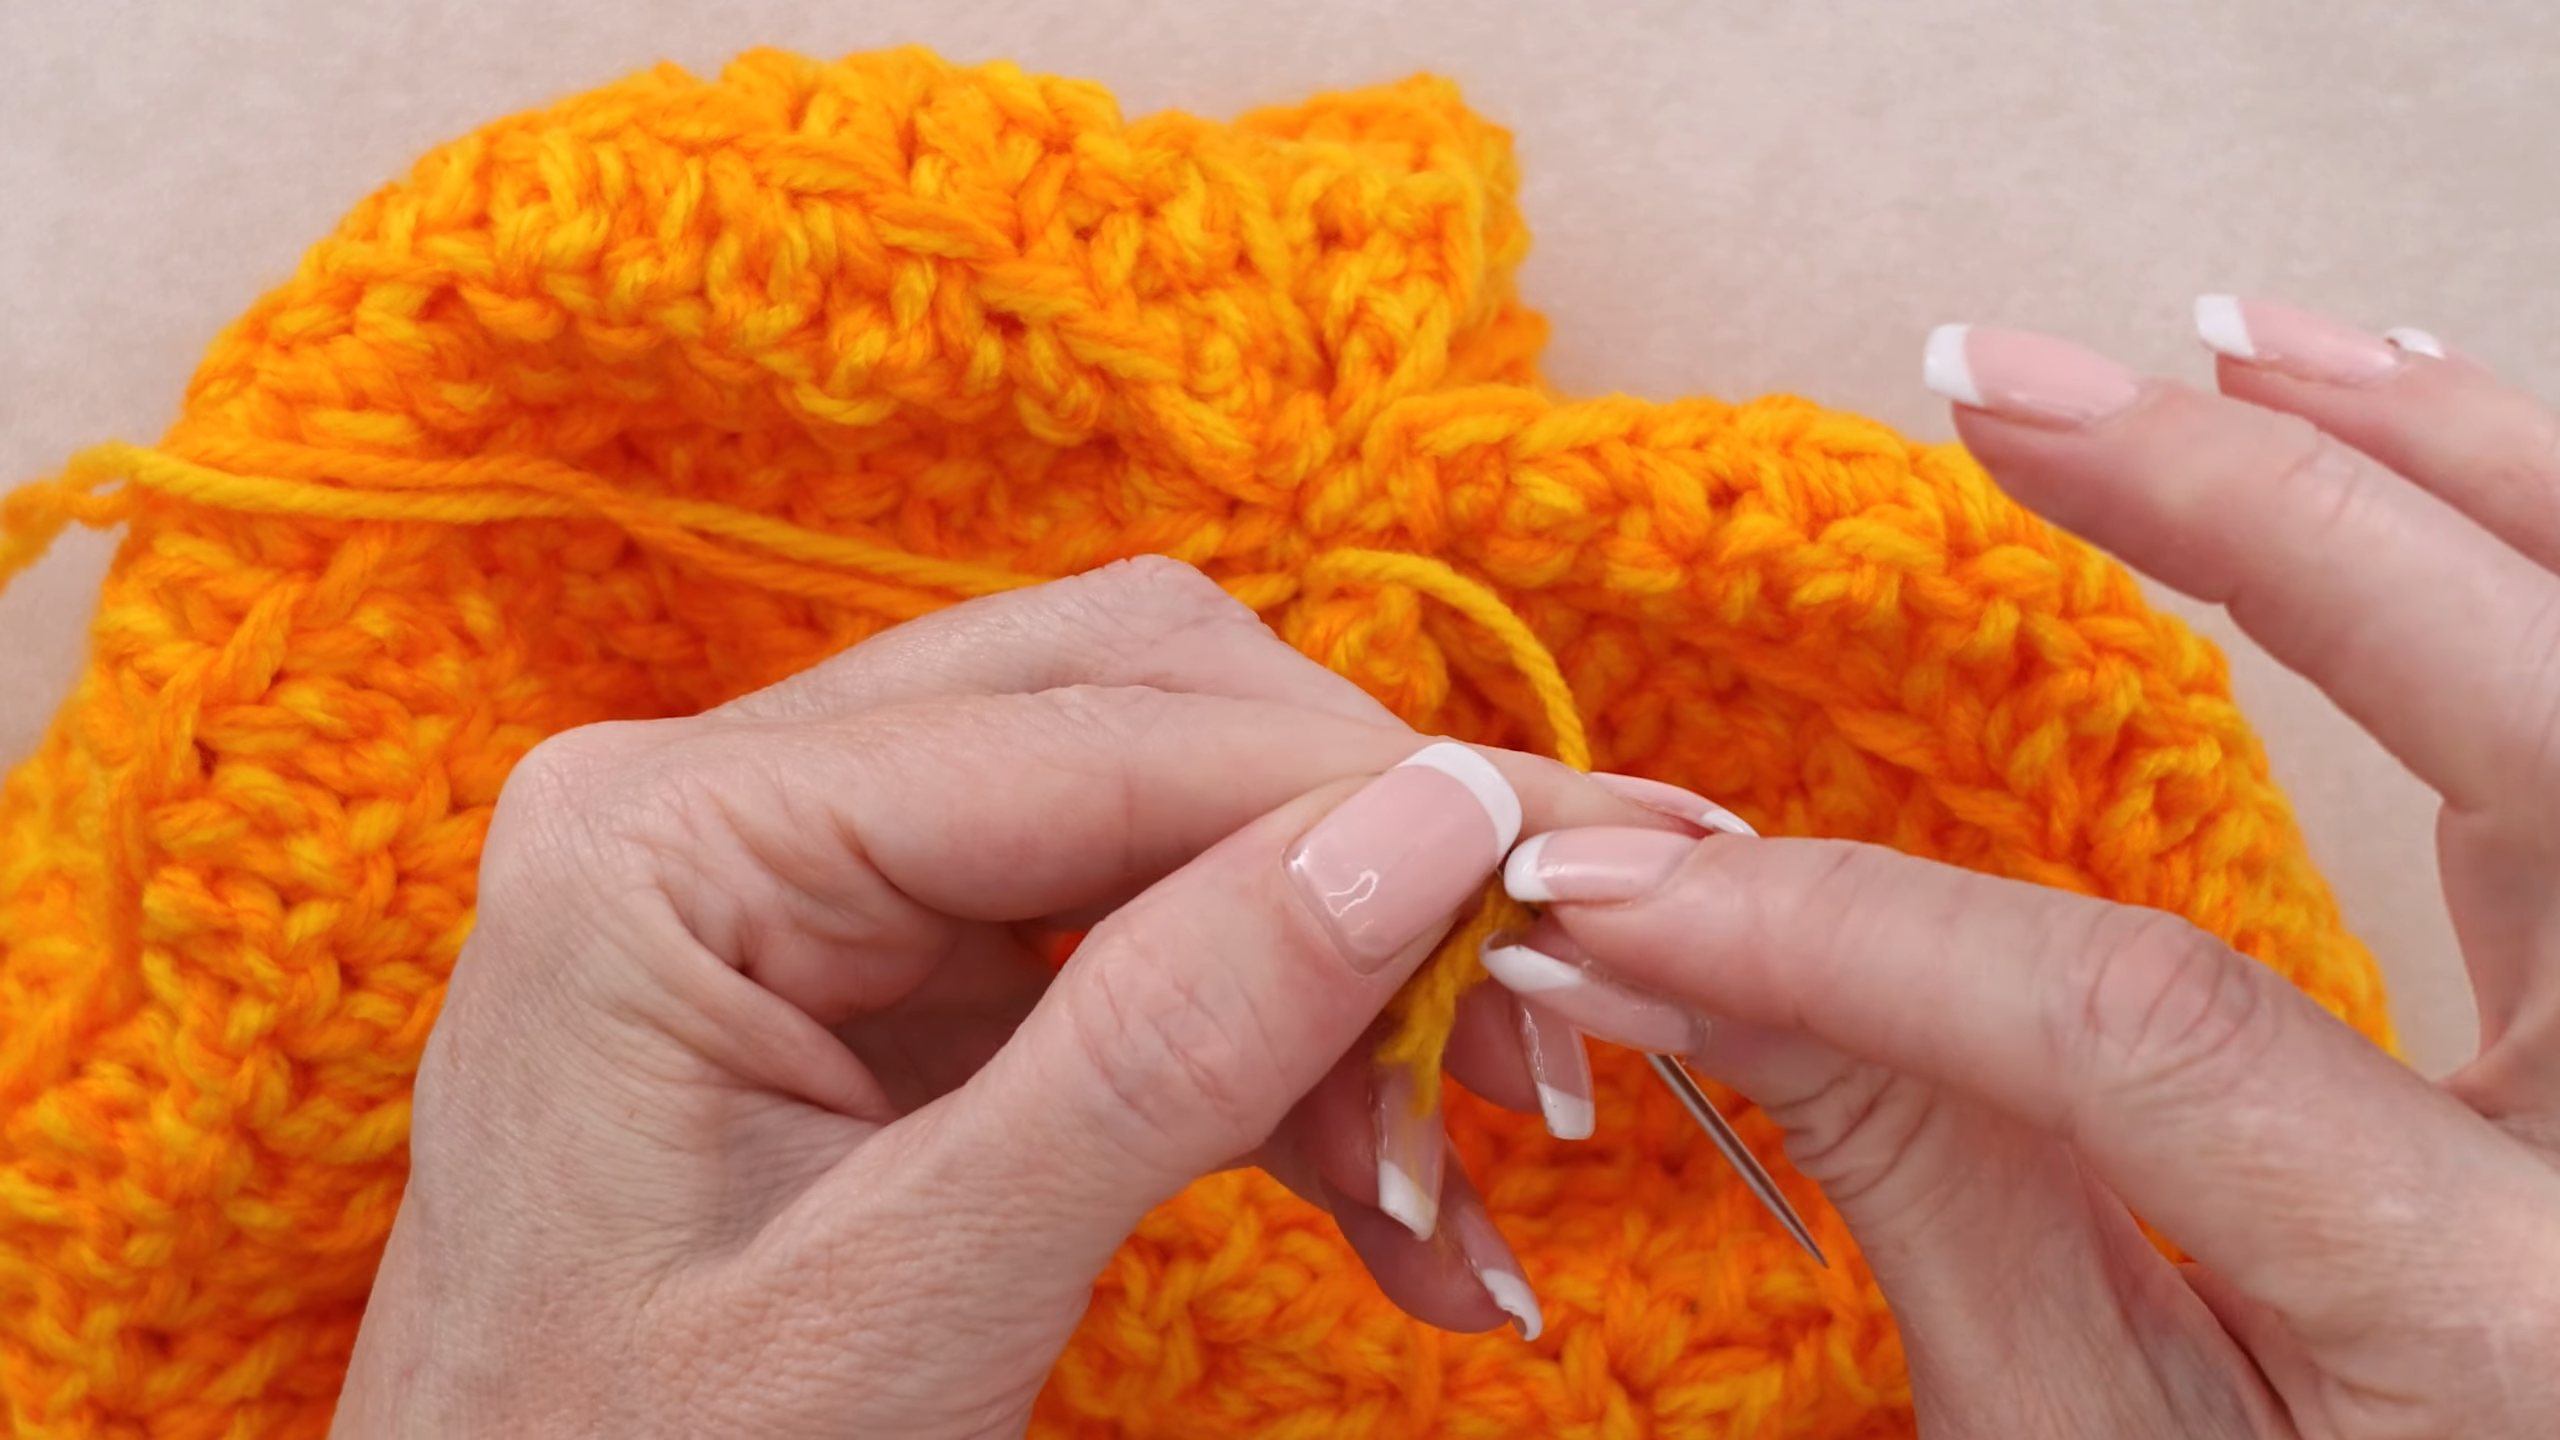
Cut the yarn, leaving a small tail.
Weave the end through several stitches inside the hat with a yarn needle.
Take the trim carefully so as not to harm the tree.

Step 7: Shape the Hat
Smooth the hat over with your hands before decorating it.
If necessary, block it lightly following the directions of the yarn manufacturer.
Blocking can also even out uneven stitches and help the hat look more finished.
Do not use too much heat, especially with acrylic yarn.
Step 8: Pom Pom
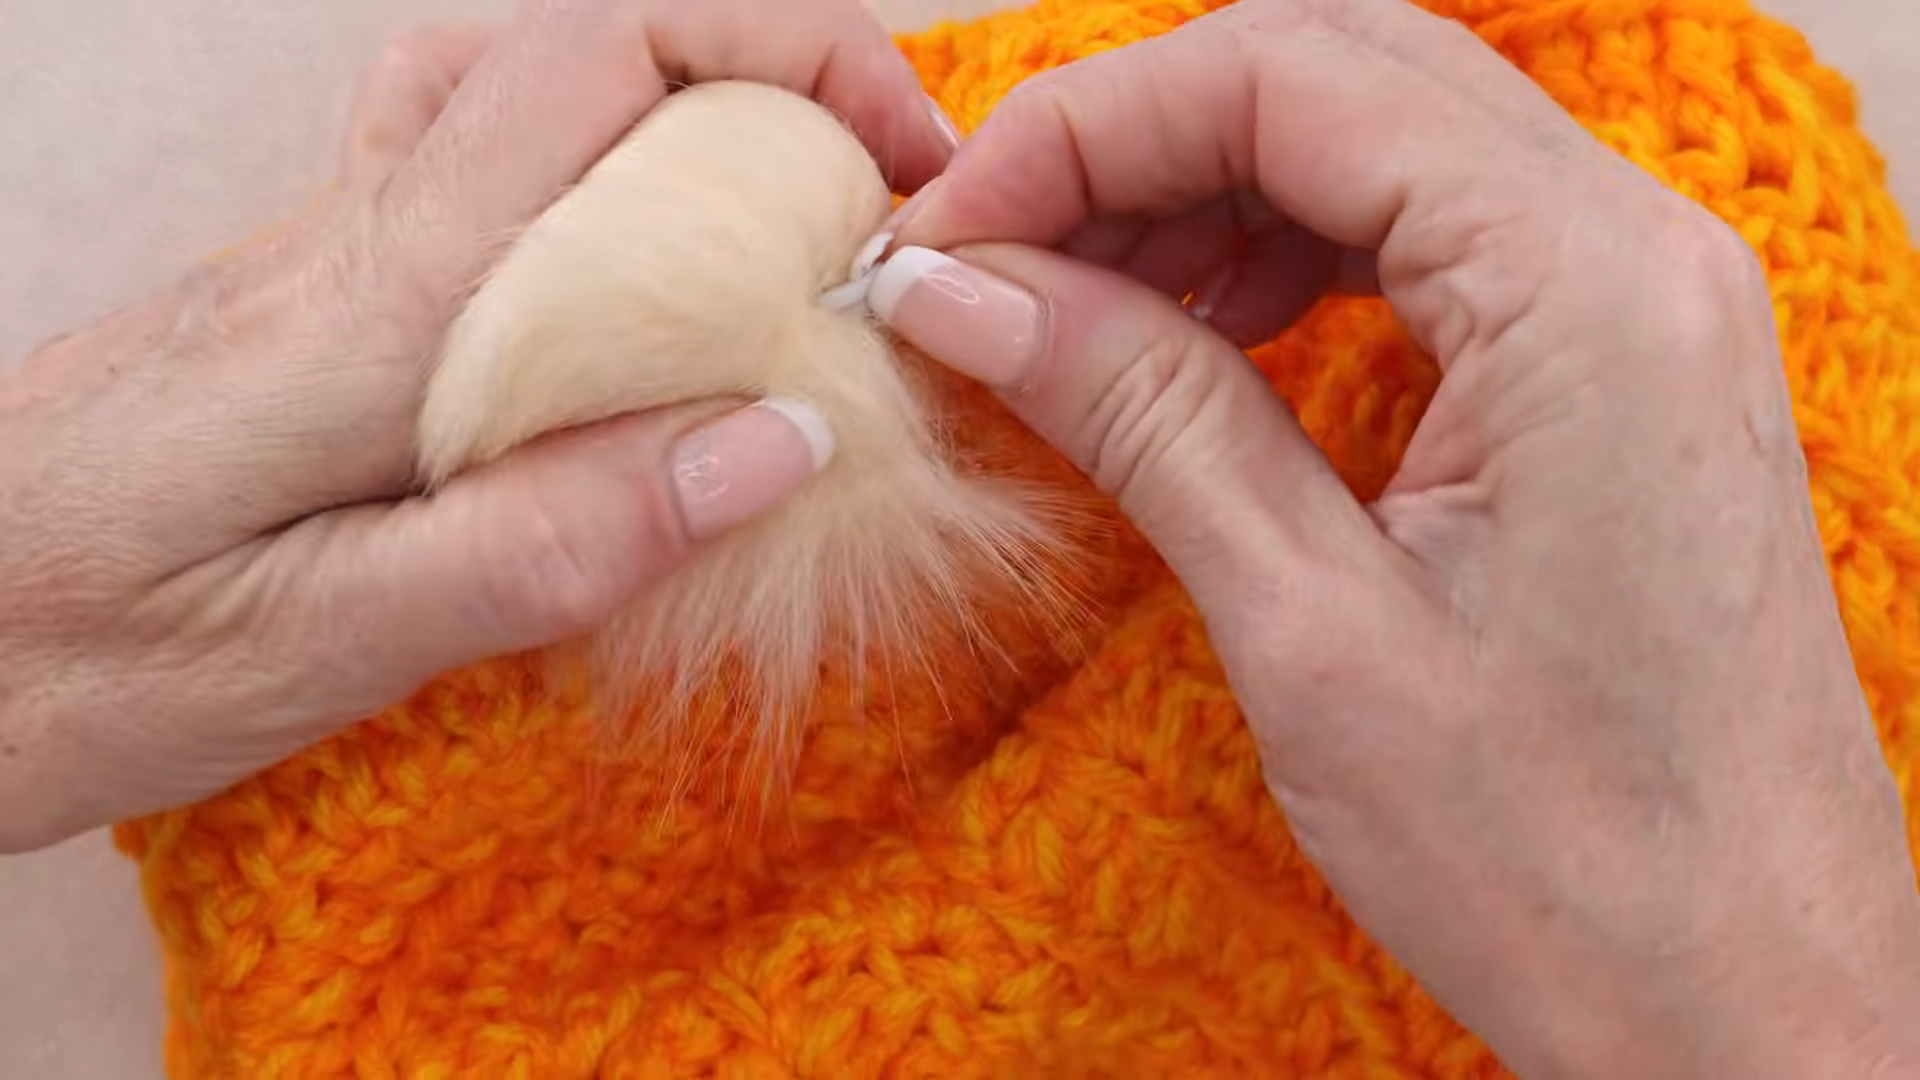
The pom pom is not required but can totally alter the look of the hat.
Try:
- Matching yarn
- Contrasting yarn
- Faux fur
- Multicolor yarn
- Oversized pom-pom
If you want a sophisticated winter appearance, you can select a pom-pom that is similar to the primary hat color.
If you want a fun look, opt for a different color.
Creative Color Ideas
Color can make a simple hat look completely different.
Try: Classic winter attire, such as:
- Cream
- Charcoal
- Navy
- Camel
- Black
- Burgundy
For a softer look, consider:
- Dusty pink
- Lavender
- Sage
- Powder blue
- Oatmeal
Stripes can be achieved by color changing every couple of rounds.
It is much easier to work with a two-color design than to work with one that has more colors to deal with because it is easier to manipulate less colors. You can also make textured crochet hat for adults that are not too difficult either.
Uses of this Pattern
A homemade winter hat comes in very handy much more than just for one outfit.
You can:
- Use it with a winter coat!
- Combine with jeans and boots.
- Pair with a big sweater.
- Create hats that can be paired with other family hats.
- Make multiple outfits with various colors.
- Create a looser look for everyday clothing.
- For a fun look, add in a pom-pom.
- Recycle yarn to make smaller children’s hats.
- Match the hat to a crochet scarf or mittens.
If you want to have a coordinated set, a handmade crochet winter hat can be included in the range of accessories.
Pro Tip
Crochet in the hat several times to get a feel for how it fits. A slight tweak of a round or two can make the difference to a snug fit or a hat that is too big or too small.
Caring for Your crochet hat
The care depends upon what type of yarn you have selected.
Check the label on the yarn before using.
In many cases, hand washing of hand-made hats in cool water is safe. Avoid using hard chemicals and hard scrubbing.
Do not wring the hat! Rather, squeeze out the excess water with a towel.
Change its shape when wet and allow it to dry flat.
Wet hats should not be stored in a sealed container as moisture can cause odors and harm the fibers.
Create a Matching Winter Set
When the hat is complete, the same yarn can be used to make coordinating accessories.
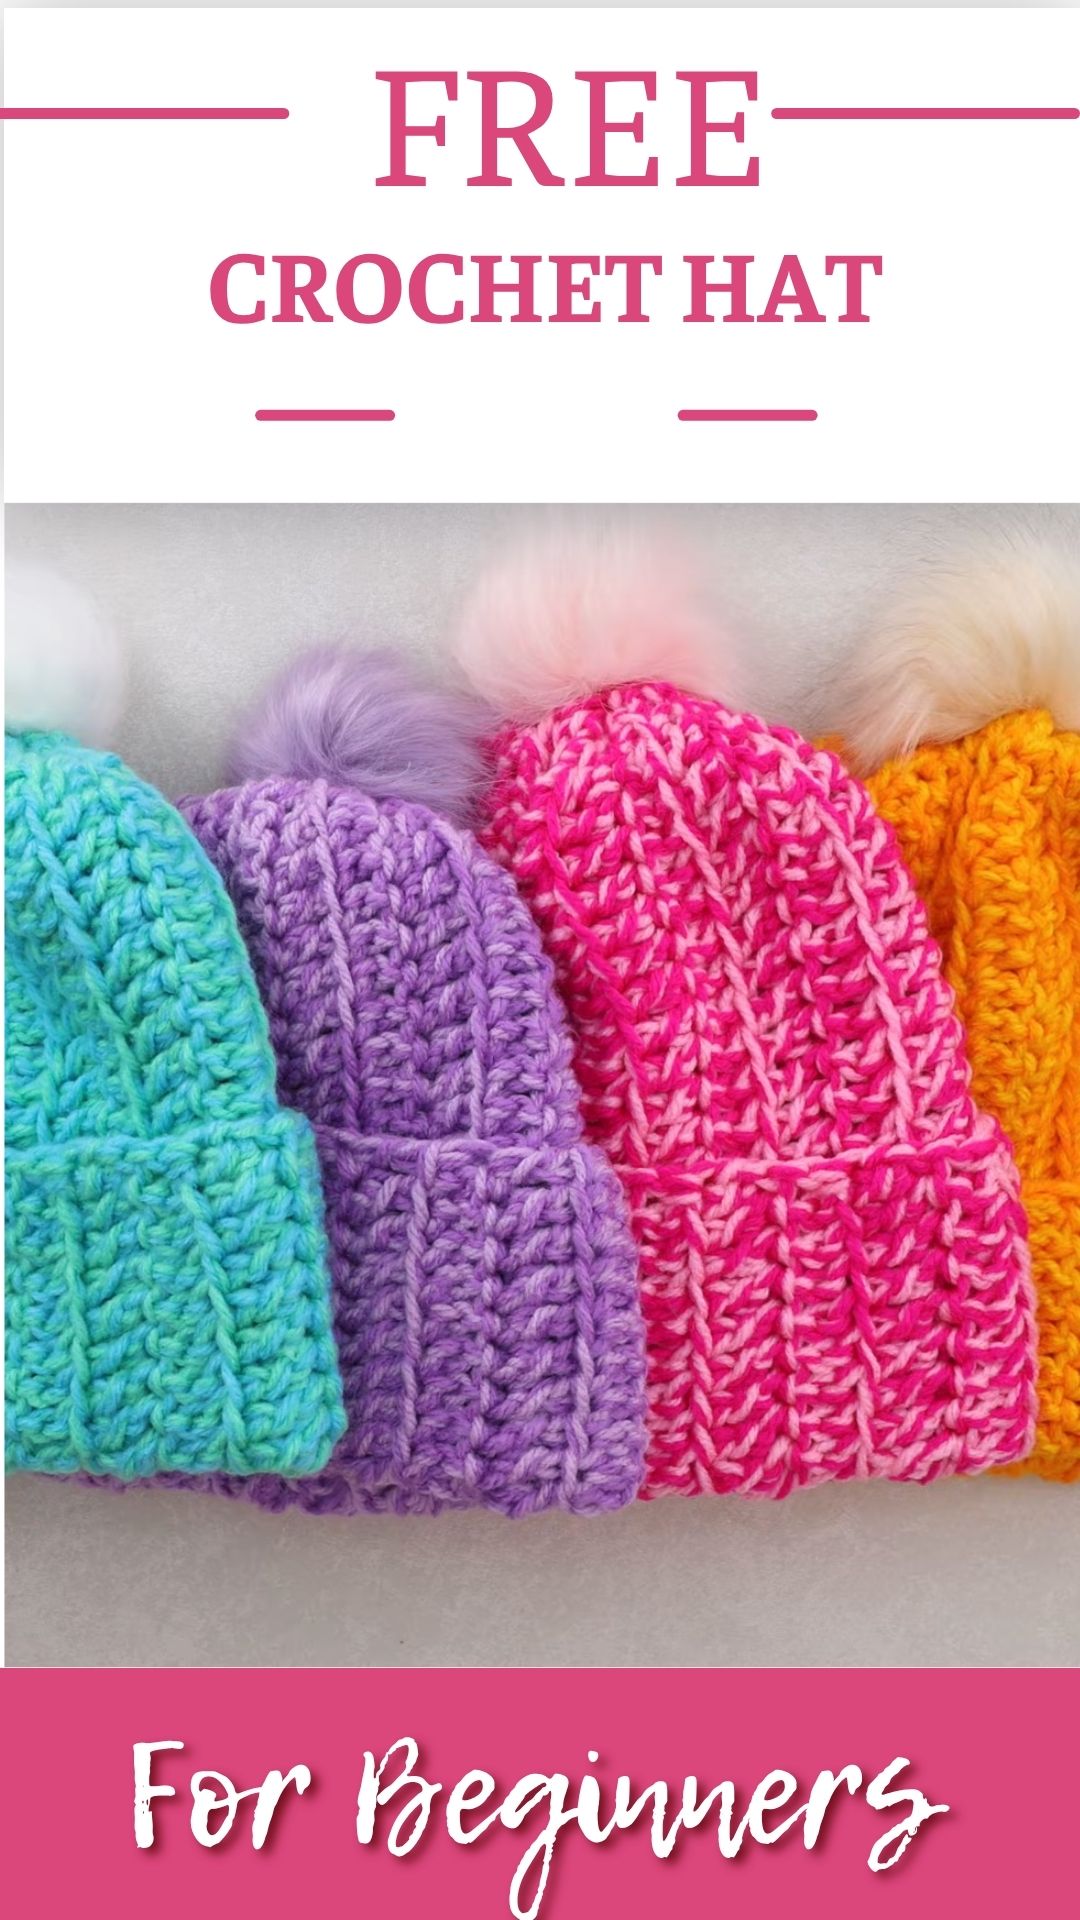
Obviously a scarf will be used, but you can use it for fingerless gloves, ear warmers, leg warmers, or a small neck warmer. If the colors are the same, it will produce a nice matching set.
You can also use different colors for each accessory using the same stitch. It’s a wonderful method to make use of the remaining yarn and to have a coordinated winter wardrobe that looks like it was meant to be.
Final Thoughts
Handmade hats are one of the most satisfying winter Crochet Hat Pattern projects. Not only is it beautiful, but it’s also useful. You don’t have to use an incredible amount of yarn to finish it and the basic shape affords you lots of area to experiment. Several minutes can be saved by measuring and trying the hat on before unraveling several rounds later.
What matters is that you select a yarn that is comfortable to wear, choose a color you really like and don’t rush to get the finishing touches. With this construction to your liking you will have the groundwork for hats in different sizes, colors and designs all year long.
That’s why a crochet hat pattern is such a great thing to make: it can be an entire line of handmade winter accessories.