
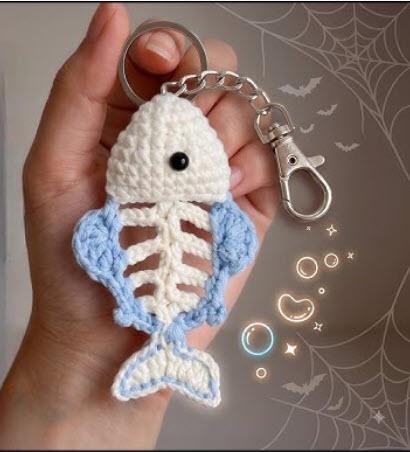
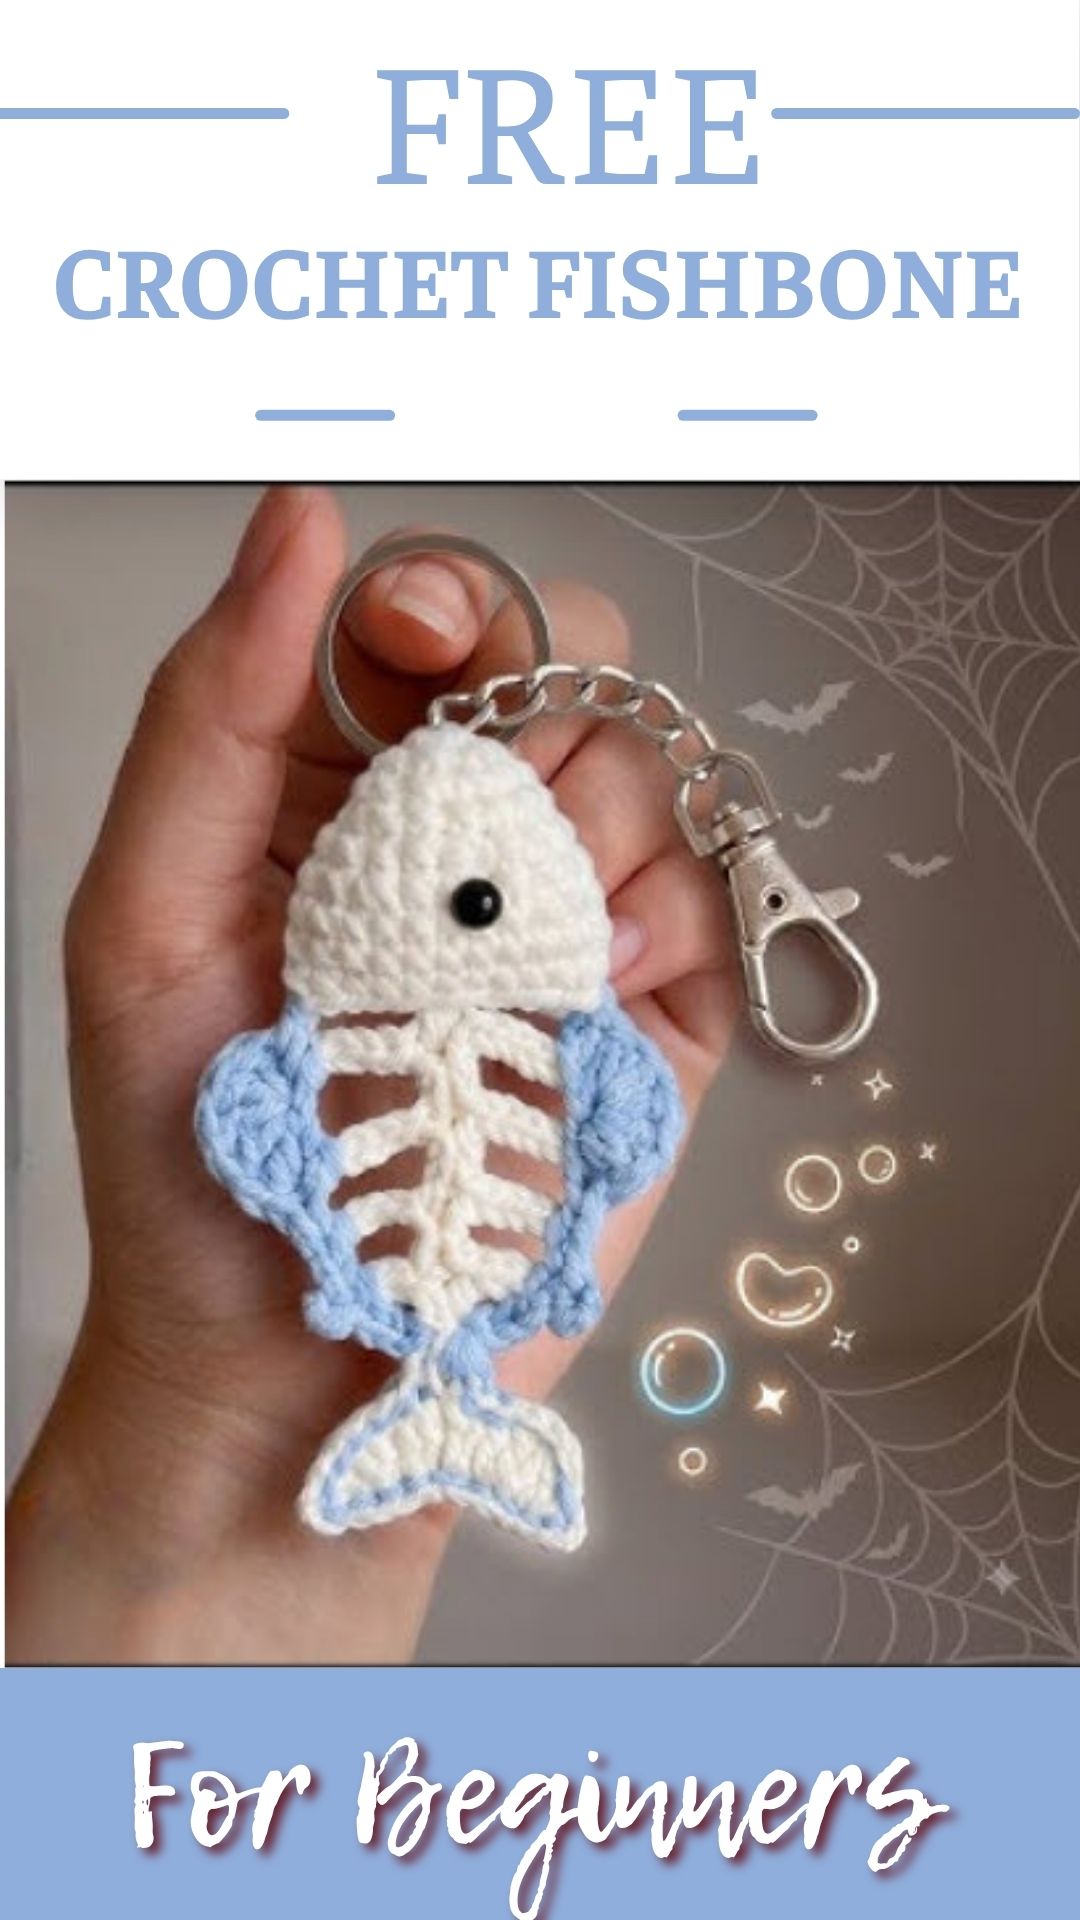
A tiny white skeleton swinging from a zipper pull catches the eye fast. From a few feet away, it looks spooky. Up close, the stitched smile and soft yarn give it away as something handmade and friendly. That mix of creepy and cute is what makes the crochet fishbone Halloween keychain such a fun little make.
The design keeps the skeleton look simple: a rounded head, a straight spine, evenly spaced rib bones, and a split tail. It suits Halloween bags and treat pails, but the playful shape works all year long for anyone who enjoys quirky amigurumi keychains.
The pattern comes together quickly with a handful of basic stitches and a small amount of yarn. Once finished, the little fish can dangle from a backpack, purse, zipper pull, or key ring.

Why You’ll Love the Fishbone Keychain
Mini crochet projects are ideal for practicing new skills, unwinding after a long day, and using up extra yarn. Here is what the fishbone keychain offers:
- Beginner-friendly construction
- A quick afternoon project
- Minimal yarn required
- Lightweight and practical
- Fun Halloween decoration
- Easy to customize
- Handy stash buster
- Unique handmade accessory
Skill Level
Difficulty: Beginner
The pattern uses only a few simple techniques:
- Magic ring
- Chain stitch
- Single crochet
- Increase
- Decrease
- Slip stitch
- Basic sewing
- Simple embroidery
If you have finished a couple of small amigurumi pieces before, such as a crochet teddy bear keychain, the steps below will feel familiar.
Materials You’ll Need
Gather everything before you start.
Yarn
- White yarn
- Gray yarn (optional, for shading)
- Black embroidery thread
Tools
- Crochet hook suited to your yarn
- Stitch marker
- Yarn needle
- Sharp scissors
- Polyester fiberfill
- Jump ring
- Keychain ring
Optional Extras
- Fabric glue
- Tiny safety eyes (in place of embroidered eyes)
- Halloween ribbon
Finished Size
The finished fishbone measures about 3–4 inches long before the keychain hardware is added. It’s small enough to clip onto bags, keys, backpacks, and zipper pulls without getting in the way.
Pattern Notes
- Work the head in continuous rounds.
- Use a stitch marker to track the start of each round.
- Count your stitches carefully.
- Keep your tension even.
- Stuff the head lightly.
- Weave in all yarn ends securely.
Taking a little extra time on small details gives the finished skeleton a much cleaner look.
How to Crochet the Fishbone Halloween Keychain
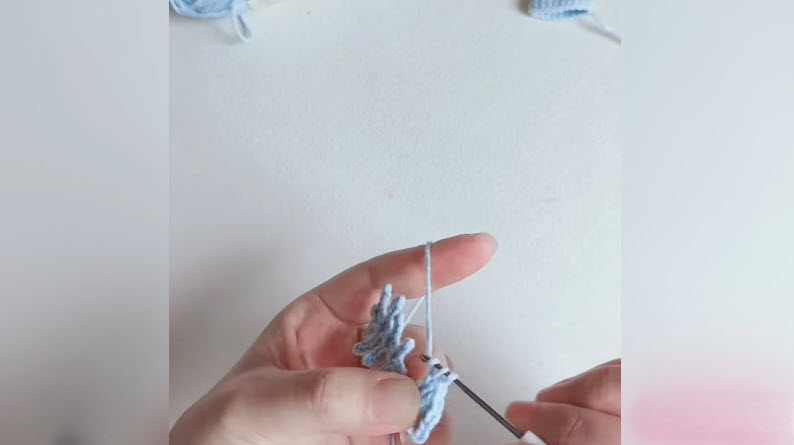
Each part of the skeleton is crocheted separately and then sewn together. The video below walks through the construction, so keep it open alongside the written steps for a visual guide.
Step 1: Crochet the Fish Head
With white yarn, make a magic ring and work 6 single crochet stitches into it. Increase gradually over the next rounds to form a small rounded head, then work a few rounds without increases. Stuff lightly, then decrease to close. The head should feel firm without looking bulky.
Step 2: Crochet the Spine
Using white yarn, chain the length you want for the body. Work single crochet back along the chain.
The strip becomes the spine, the base that holds every other bone in place, so keep the stitches neat and even.

Step 3: Make the Rib Bones
Crochet several short rib pieces in white yarn, making them in matching pairs. Space the ribs evenly along both sides of the spine and keep the gaps between them consistent. The little ribs are what give the piece its instantly recognizable fish-skeleton shape.
Step 4: Crochet the Tail
Chain a few stitches with white yarn, then work back along the chain with slip stitches or single crochet to form a pointed section. Make two of these and join them together before attaching the tail to the end of the spine. The split tail completes the classic fishbone silhouette.

Step 5: Add the Face
Stitch two tiny eyes onto the head with black embroidery thread. A small smiling mouth gives it a friendlier expression. The happy face keeps the fishbone playful rather than scary, even as a Halloween piece.
Step 6: Assemble the Pieces
Sew the head to the top of the spine. Next, sew each rib bone in place, then attach the tail. Check the spacing as you go so the skeleton looks balanced from top to bottom. A small dab of fabric glue can hold tiny pieces steady while you sew.
Step 7: Shape and Reinforce
Once every piece is attached, gently shape the fish so the spine lies straight and the ribs sit level. Tighten any loose stitches before adding the keychain hardware, since the charm will be handled and tugged every day.
Step 8: Add the Hanging Loop
Make a short chain and sew it securely to the top of the head. As an alternative, pass a jump ring through a few sturdy stitches at the top. The loop keeps the finished keychain attached to bags or keys.

Step 9: Attach the Keychain Ring
Hook the crochet loop onto the jump ring, then add the metal keychain ring. Give the hardware a gentle tug to make sure everything holds before you call it finished.
Step 10: Add Decorative Details
Now personalize your fishbone. A tiny orange bow, a mini pumpkin charm, or a few stitches of glow-in-the-dark thread instantly change the look. More ideas are listed in the “Make Every Fishbone Unique” section below.

Creative Color Ideas
Classic white gives the traditional skeleton look, but other colors work just as well without losing the playful style. A few ideas to try:
- White with light gray shading
- Cream with black embroidered details
- Glow-in-the-dark white for Halloween night
- Purple and black for a spooky theme
- Orange and cream for a fall look
- Mint green with silver accents
- Soft pink for a cartoon-style finish
- Rainbow stripes for a fun twist
Colorful keychain hardware or themed ribbon adds one more personal touch.
Creative Uses for the Pattern
The little fishbone isn’t just a seasonal decoration. It’s light enough to carry around all year. Some ways to use it:
- Clip it to a backpack for a playful accent.
- Dress up a purse or tote bag.
- Attach it to house or car keys.
- Use it as a zipper pull on a jacket or pencil case.
- Tie it onto a Halloween treat bag.
- Set it on a shelf with your other crochet makes.
- Hang it in a craft room or on a sewing basket.
- Add it to luggage as a travel charm.
- Dangle it from a reusable shopping bag.
- Make several and use them as seasonal decorations.
The project uses very little yarn, so it’s a handy way to use up leftover skeins.
Tips for a Professional Finish
Neat finishing makes a small amigurumi look polished. Pin the ribs in place before sewing so they sit evenly on both sides of the spine. A balanced layout gives a much cleaner fish skeleton.
Keep embroidery small and consistent, especially on the face. Tiny details carry a lot of weight on miniature crochet. Finally, hide all yarn tails inside the stitches and tighten any loose joins before attaching the keyring, so the keychain holds up to everyday use.
Caring for Your Crochet Fishbone
A keychain goes everywhere with you, so a little care keeps it looking fresh:
- Brush off dust with a soft brush or cloth.
- Spot clean with cool water and mild soap.
- Avoid soaking it completely.
- Let it air dry.
- Keep it away from heat sources.
- Check the jump ring now and then to make sure it’s still secure.
With a bit of care, your handmade keychain will last through many seasons.
Why Mini Amigurumi Projects Are So Popular
Small crochet projects stay popular because they’re creative and quick to finish. Along the way, the fishbone pattern lets you practice several useful techniques:
- Neat foundation chains
- Even stitch tension
- Shaping small pieces
- Basic embroidery
- Joining multiple pieces
- Attaching hardware securely
Those skills carry over to larger amigurumi projects too. Once the fishbone is done, a crochet owl keychain or a tiny tiger keychain makes a fun next project.
Make Every Fishbone Unique
Every crochet piece ends up with its own character. Give your fishbone a personal twist with extras such as:
- Tiny witch hat
- Mini bow tie
- Orange bow or black ribbon
- Mini pumpkin charm
- Bat-shaped appliqué
- Crescent moon or embroidered stars
- Little ghost charm
- Spiderweb stitching
- Glow-in-the-dark yarn or thread
- Purple accent yarn
- Metallic beads
Small changes like these turn one pattern into a whole set of seasonal decorations. As your confidence grows, try different fish sizes, new facial expressions, or themed color schemes for other holidays.
Frequently Asked Questions
Is the fishbone keychain pattern good for beginners?
Yes. It uses basic stitches like the magic ring, chain, single crochet, increases, decreases, and slip stitches, plus simple sewing and embroidery.
How big is the finished keychain?
The fishbone measures about 3–4 inches long before the keychain hardware is added.
Can I use safety eyes instead of embroidery?
Yes. Tiny safety eyes work well in place of the embroidered eyes. Attach them before closing the head.
Does the fishbone have to be white?
Not at all. White gives the classic skeleton look, but cream, purple, orange, pastel shades, or glow-in-the-dark yarn all work nicely.
How do I clean my crochet keychain?
Spot clean it with cool water and mild soap, avoid soaking it, and let it air dry away from heat.
Final Thoughts
Cute doesn’t have to mean traditional. With a few basic stitches, a simple fish skeleton becomes a handmade crochet fishbone Halloween keychain that stands out on any bag.
It’s lightweight, quick to build, and easy to change with new colors or embroidered details. Clip it to a backpack, a favorite tote, or your keys, and it’s sure to start a few conversations. After finishing the first one, you might want a whole set of little sea critters, and a crochet jellyfish keychain makes a sweet companion piece.