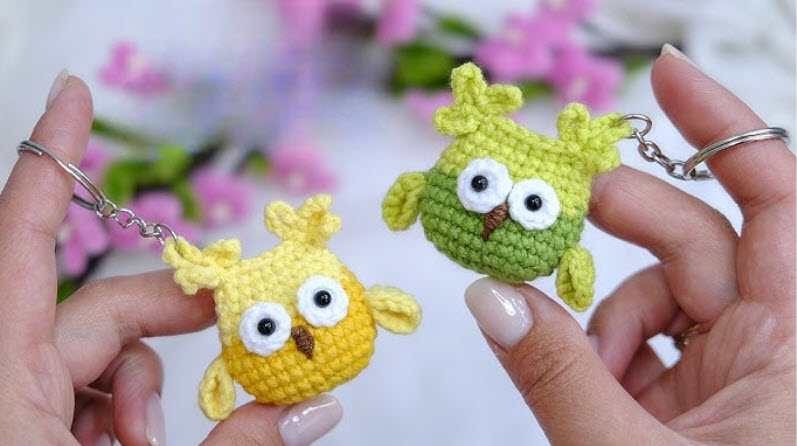
One of the most magical projects is a miniature crochet owl! Despite its compact size, this Crochet owl keychain amigurumi pattern is quite personal, and you can add even more with 3 extra little eyes as well as a long tail when finished. If you want something impressive that turns out to be better than store bought products, this is your best pick. Once you make one, you will end up making a lot more.
Owls have an air of timelessness. This project is one of the easiest to do (especially if you are a beginner). Does not need to be complicatedly shaped or advanced techniques. Rather, it is created with basic stitches and a couple of well sewn parts to make an adorable personality that seems to be much more detailed than it really is.
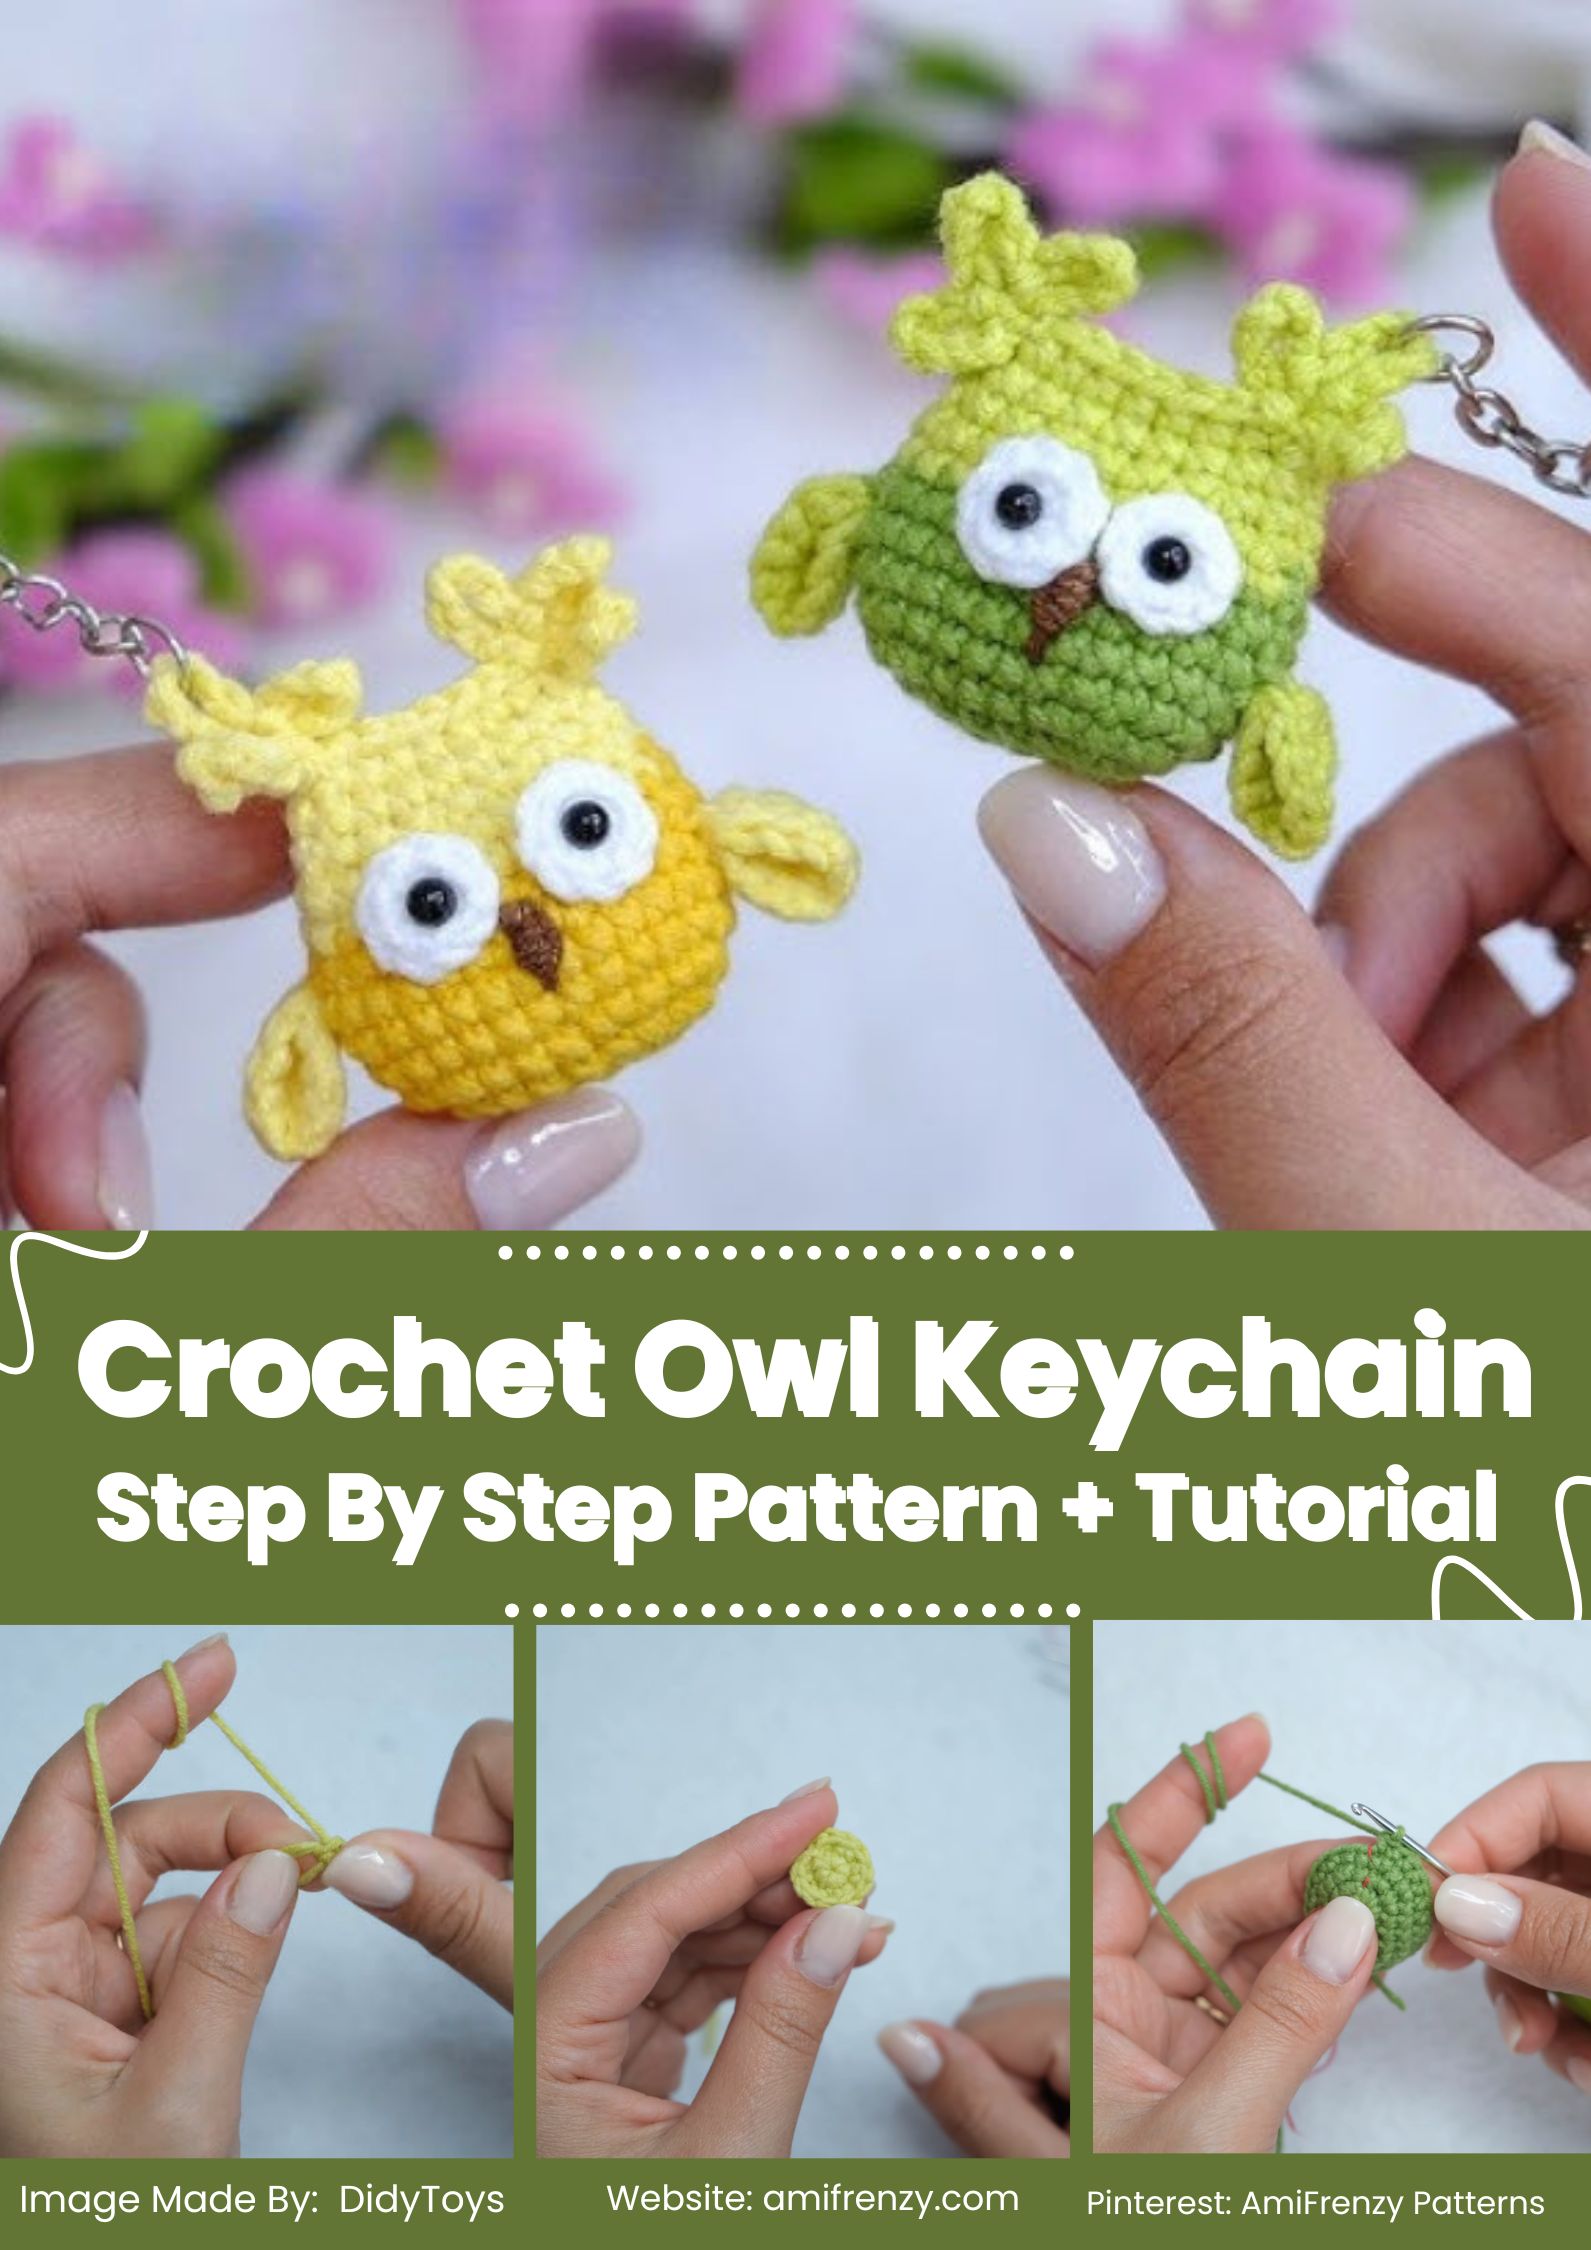
Why You’ll Love This Owl Keychain
This little owl has a lot to get you started:
- Beginner-friendly construction
- Quick afternoon project
- Works with small quantities of yarn
- Lightweight and practical
- Easy to customize
- Minimal sewing
- Great stash buster
- Fun everyday accessory
This beautiful and easy to make crochet owl keychain is perfect for anyone looking for a cute and easily made key ring.
Skill Level
Time: 30 minutes
The only basic crochet skills required are:
- Magic ring
- Chain stitch
- Single crochet
- Increase
- Decrease
- Slip stitch
- Basic embroidery
- Simple sewing
While you may still be new to amigurumi techniques, this project should be fun and simple to follow.
Materials You’ll Need
Before you start, collect all your materials.
Yarn
- Yarn for the body is brown, gray or cream.
- Stockings of white yarn for eyes.
- Eyepiece stockings of white yarn.
- Yarn, orange or yellow for beak.
- Black embroidery thread
Tools
- Crochet hook suitable for your yarn
- Stitch marker
- Yarn needle
- Sharp scissors
- Polyester fiberfill
- Jump ring
- Keychain ring
Optional:
- Safety eyes
- Pink blush
- Fabric glue
Finished Size
After adding the key chain hardware, the entire owl is about 3 to 4 inches tall. It’s small enough to be lightweight and easy to use, but still displays lots of adorable touches.
Pattern Notes
While you crochet, have these handy reminders.
- Perform in rounds, without stopping.
- Try using a stitch marker.
- Count stitches carefully.
- Stuff gradually.
- Tension should be even throughout.
- Tie ends of yarn together neatly.
The key to creating the best miniature amigurumi is in the details.
How to Crochet the Owl Keychain
Let’s learn how to crochet this pattern.
Step 1: Crochet the Body
With the main yarn color, work with a magic ring. Single crochet 6 stitches around the center. Add in subsequent rounds equally to form a rounded shape.
Keep crocheting a few rounds – no increase. Slowly stuff the body while working. The owl should feel soft, but also have a bit of support. If using safety eyes, install these before final closing or opening.
Step 2: Make the Eye Circles.
Using white yarn, crochet two small circles. These eye patches help the owl to look like a real owl. Let long yarn tails go for sewing. Before attaching the two circles, place them both evenly on the front of the body. Perfect looking eyes can make a world of difference in the final look.

Step 3: Add the Beak
Place the beak into the container. Crochet a small orange/ yellow triangle. Beak needs to be in between the eyes.
Secure with invisible stitches. The owl’s little beak is all it takes to bring a lot of personality.
Step 4: Embroider Face
For embroidered eyes, sew two basic oval eyes with black embroidery thread (this is an option for those who prefer not to use safety eyes). Use white thread for adding fine white highlights as well. The small curve beneath the beak forms a friendly expression. Minis are the perfect size for simple embroidery, which can be a great way to add a cute finishing touch to your amigurumi.

Step 5: Crochet Tiny Wings
One of the cutest features of this project are the little wings. Crochet 2 small ovals. Stuffing isn’t necessary.
Glue one wing on both sides of the body. Put them just forward for a natural look. Small wings like these are fantastic to add to any little owl amigurumi and won’t make the project too challenging.
Step 6: Crochet the Feet
With orange yarn, crochet two small feet. There are just a few easy stitches that can make each foot. Tie them equally under the body. They’re small but they do help balance out the finished owl.
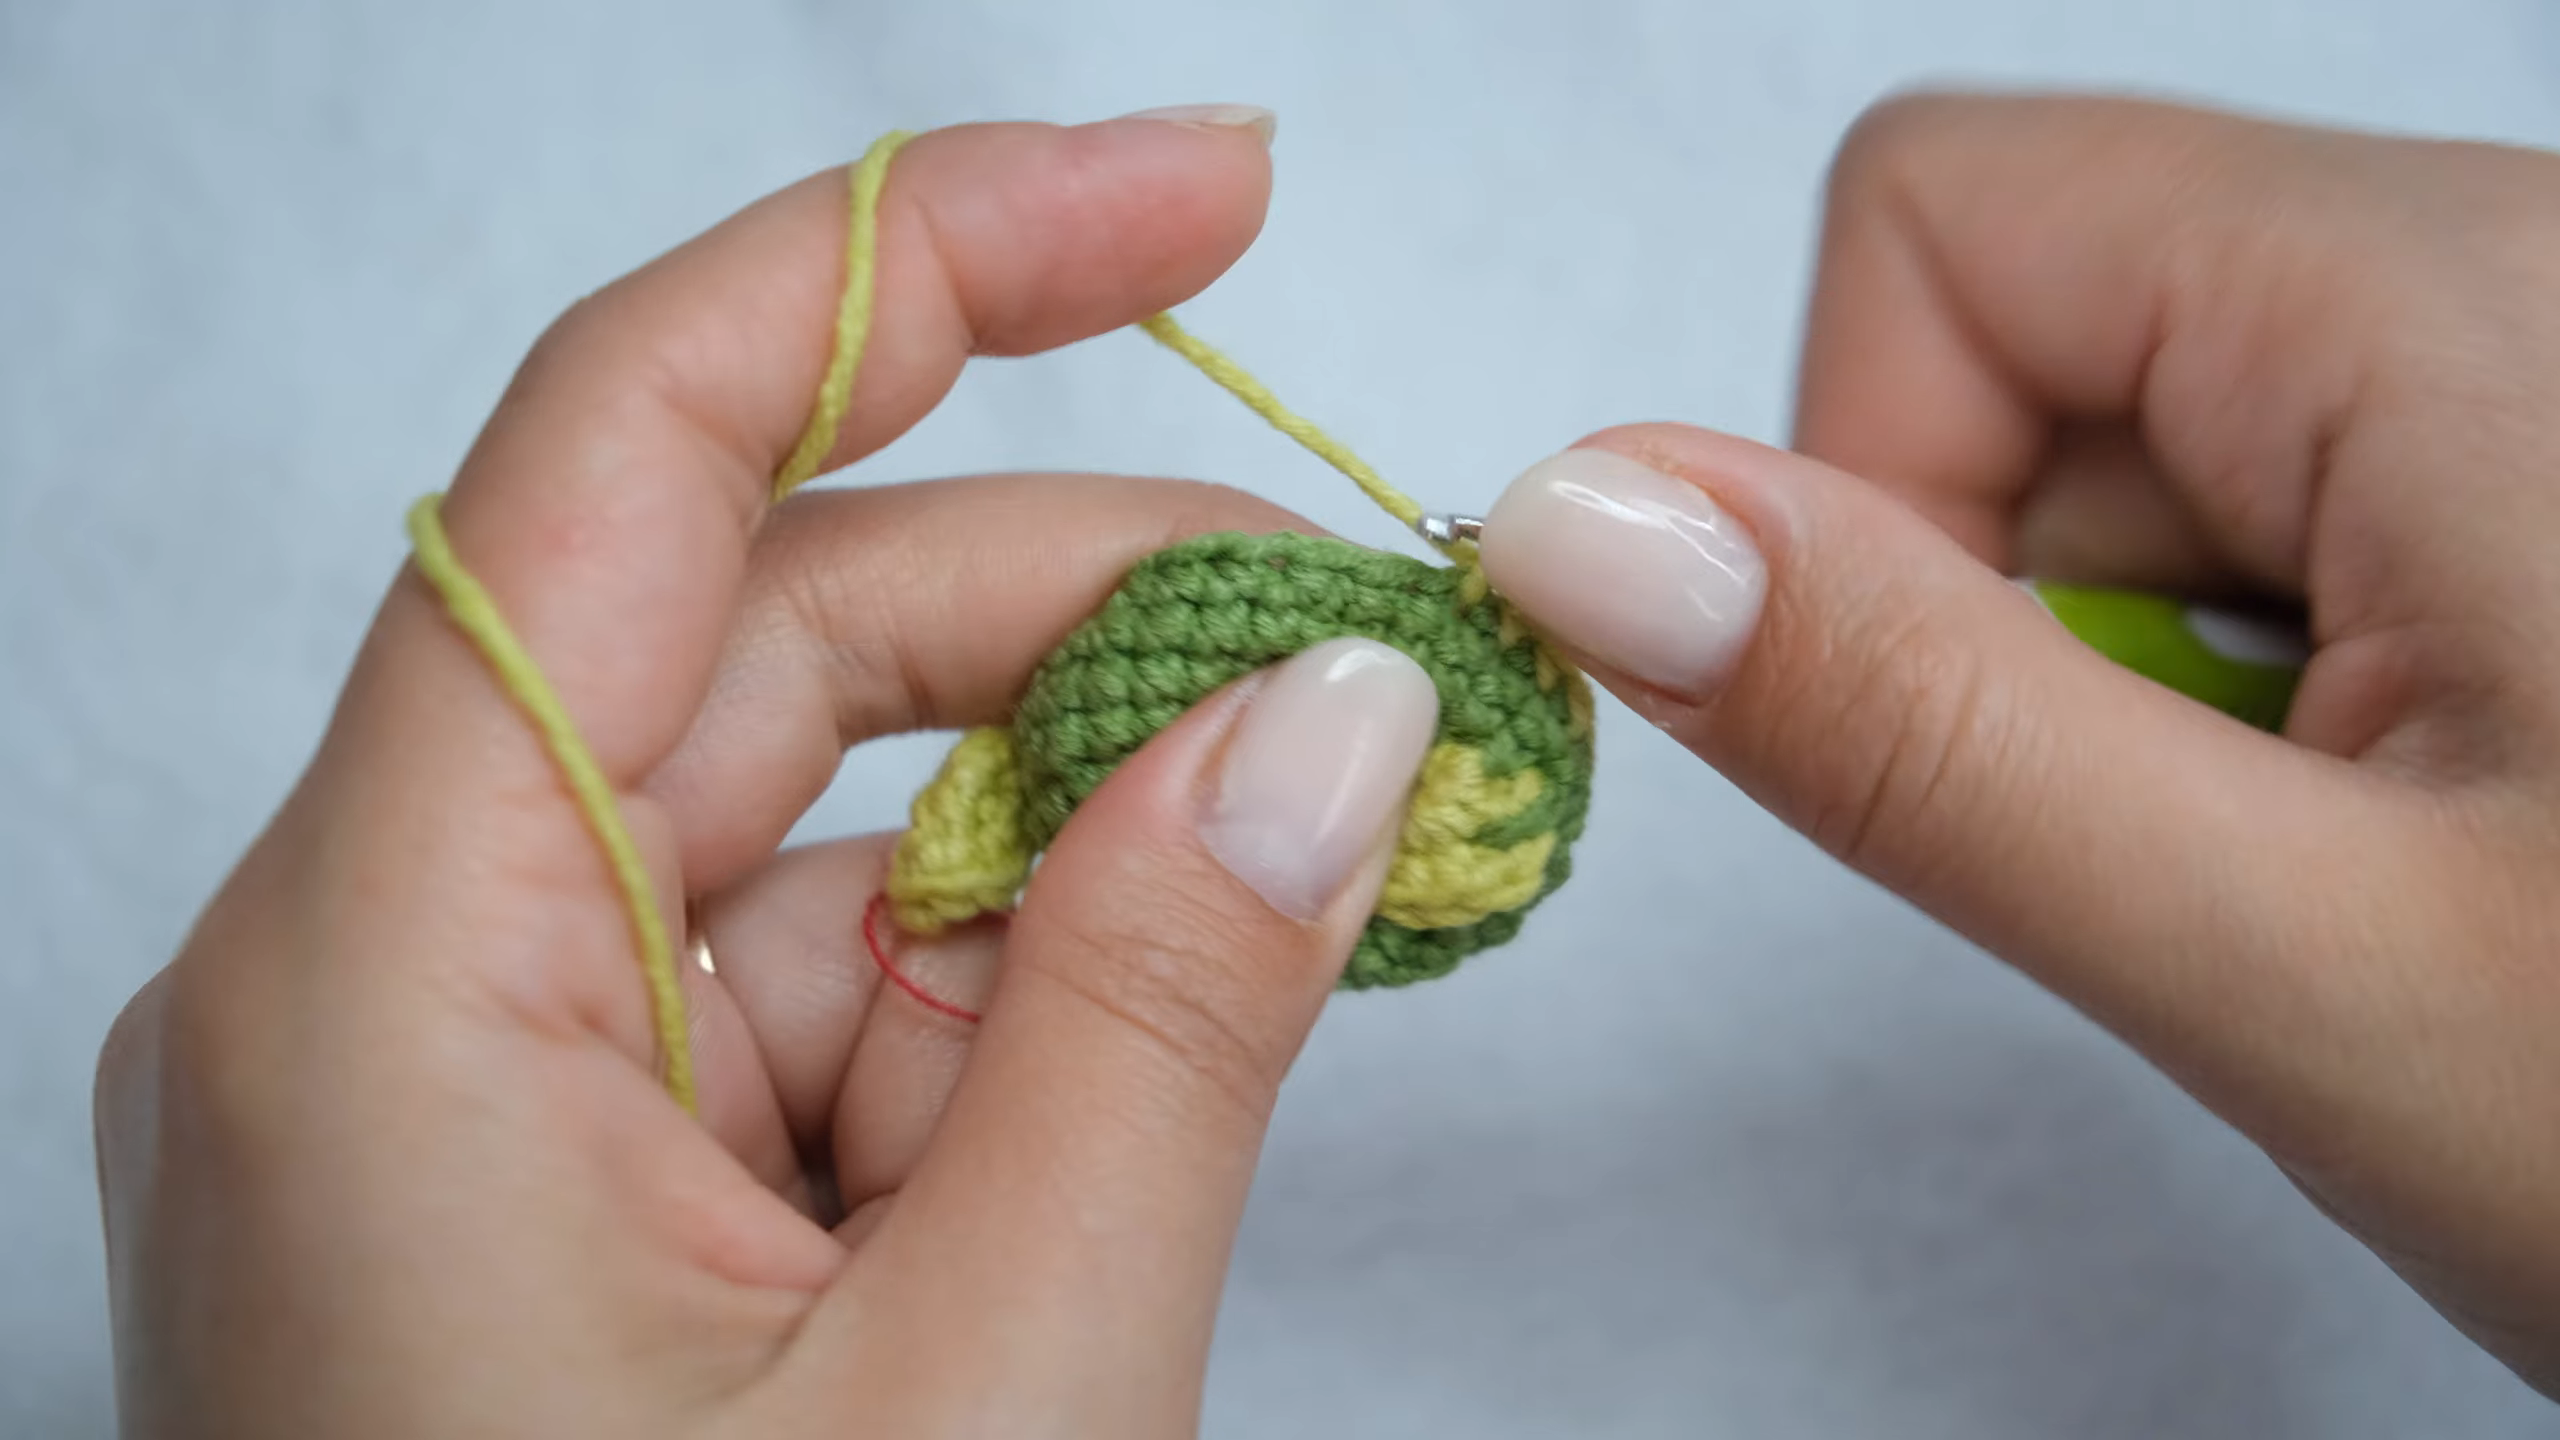
Step 7: Crochet the Ear Tufts
There are many owl species with cute tufts of feathers on the top of their head. Make two very small points with your main yarn color.
Place them on the crown in an even manner above the eye level. You can skip this step if you want to create a softer appearance.
Step 8: Put together the Owl
It’s now time to put all of the pieces together. Glue on the eye circles, beak, wings, feet and ear tufts. Before tying your stitches, look at the knot from all sides. It is better to take a bit more time in assembly to get a more finished result.

Step 9: Attach the Hanging Loop
Crochet a short chain at the top of the owl. Securely attach it together to form a hanging loop. This can also be done by inserting the jump ring straight through several firm stitches. This loop can be used to hold the completed keychain in place when it is in use.
Step 10: Attach the Keychain Ring
Lastly, attach the crochet loop to the jump ring. Securely attach the metal keychain ring. Before attaching your owl to your keys or favorite bag, double-check all the connections. With a secure finish, your handmade friend can last for years.
Creative Color Ideas
The greatest virtue of an owl pattern is that you can use any color you want. Woodland colors are always a nice hue, but creating a playful woodland color is easily done and will match your style. See if you can combine the following:
- Eyes: Cream eyes, Chocolate brown color
- Light gray with white accents.
- The wing coloration is beige and their wings have a golden hue.
- White snowy owl with yellow beak
- Rust orange with dark brown accents
- Sage green with cream eye patches
- A lavender, pastel pink-winged butterfly.
- The color of the uniform is navy blue, and it has a silver trim.
You can even crochet a family of colorful owls each with their own personality.
Special Features of This Pattern
The following are examples of creative uses for this pattern:
This little owl can be more than just a key chain! It is lightweight, making it a versatile handmade accessory to adorn numerous items throughout the day. Now that you have made your owl, here are some ideas of creative ways you can use it:
- Attach to the backpack for a pretty addition.
- Design and embellish bags, purses, or totes.
- Use it to open jackets and pencil cases.
- Hang it from your house or car keys.
- Decorate your craft room with it as a bright addition.
- Add a design to a travelling bag for easy identification.
- Have a few owls on a small shelf.
- Hang one on a personalized gift bag for a memento.
- Make seasonal owl collections—colored owls.
- Hang it in your creative environment.
The pattern finishes up rapidly so you can easily create a couple of owls in various designs without devoting days to each.
Tips for a Professional Finish
Details in the miniatures amigurumi really make a difference. Stitch each piece in place first before sewing to a permanent finish. This helps you to move the eyes, wings and beak to achieve the desired expression for the owl.
Embroider facial features with short stitches, and secure each yarn end in the body stitching. When using safety eyes, put them in first and before you close the body so that they are securely in place. Neat finishing makes a simple project look professionally finished.
How to Take Care of Your Crochet Owl
Keychains are used all the time and over time they accumulate dust and dirt. For optimum health for your owl:
- Spot clean using a wet cloth.
- If needed, use a mild soap.
- Avoid soaking it completely.
- Allow it to dry naturally.
- Keep out of direct heat.
- Make sure to check the jump ring often to see if it is still tight.
When cared for properly, your little owl will be adorable for years.

Pro Tip
Position the eyes and beak and attach the wings last. This allows you to get the right proportions and make the owl look more natural.
Make Every Owl Unique
One of the most amazing things about amigurumi is putting your creative flair into it. To create different personalities for each owl, try different accessories and expressions. Here are some fun ideas for you to try:
- tiny bow tie
- miniature scarf
- Little reading glasses
- flower crown
- Sleepy embroidered eyes
- Small earmuffs for winter time.
- graduation cap
- fringed small heart applique
These little extras help make every owl his or her own unique individual. Once you’ve built up your confidence you will find even more possibilities of individualizing each project.
When you love making your crochet mini owl design, making various kinds of expressions and seasonal accessories is an easy way to create an adorable collection.
Why are Mini Amigurumi Projects worth making?
Small Crochet Owl Keychain projects are a great way to get better at crocheting and have something quick and satisfying to show off. While making this owl, you will practice:
- Playing with no breaks in between.
- Creating smooth increases and decreases
- Even stuffing
- Simple embroidery
- Joining parts with stitches
- Attaching hardware securely
These are useful skills that can be used in larger crochet animals and other decorative items. This is a fun pattern to help build confidence and make an owl keychain.
Final Thoughts
The project is ideal for those who are new to amigurumi and want to learn it and make something useful that you can use on a daily basis. It’s fast, requires very little yarn, and can be customized in many ways.
This little owl would be a great addition to your keys or backpack or even to your craft collection, it’s sure to bring a smile to anyone’s face.
Each completed owl is different and unique, because each one is handmade. When you make your first Crochet Owl Keychain Amigurumi Pattern with Tiny Wings, you’ll likely want to make a flock of cute little owls.