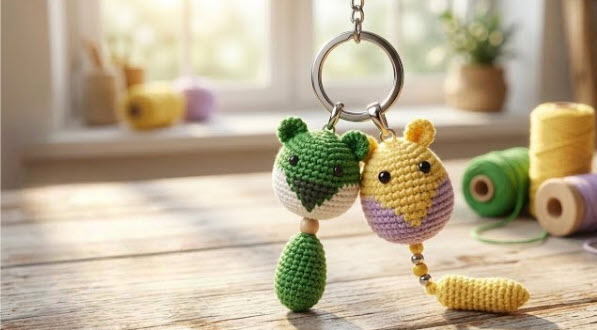
Some crochet projects are just too cute to keep waiting for your yarn and hook to get in on the fun. A Crochet mini bear keychain amigurumi pattern is one of those. This little bear is so tiny you can hold him in your hand, yet big in personality. A few stitches bring this tiny bear to life and make it the perfect little pal to tag along with you.
Its round little ears, tiny embroidered smile and little fuzzy paws will make it especially classic for children and adults. What I love about this project is its simple elegance. Don’t need to use difficult techniques or costly materials to make something lovely. With a little patience and a handful of simple crochet skills, you will have an adorable handmade key chain in no time that would be great to keep or give away as a gift.
Also being so quick to finish, this project is perfect for relaxing weekend crochet sessions. It’s also a good way to quickly use up scraps of yarn left over from larger projects. Each little bear can take on its own personality–play around with different color combinations, facial expressions, and tiny accessories.
In case you’re seeking a cute starter project, this adorable bear is easy to create and will charm you completely stitch by stitch.
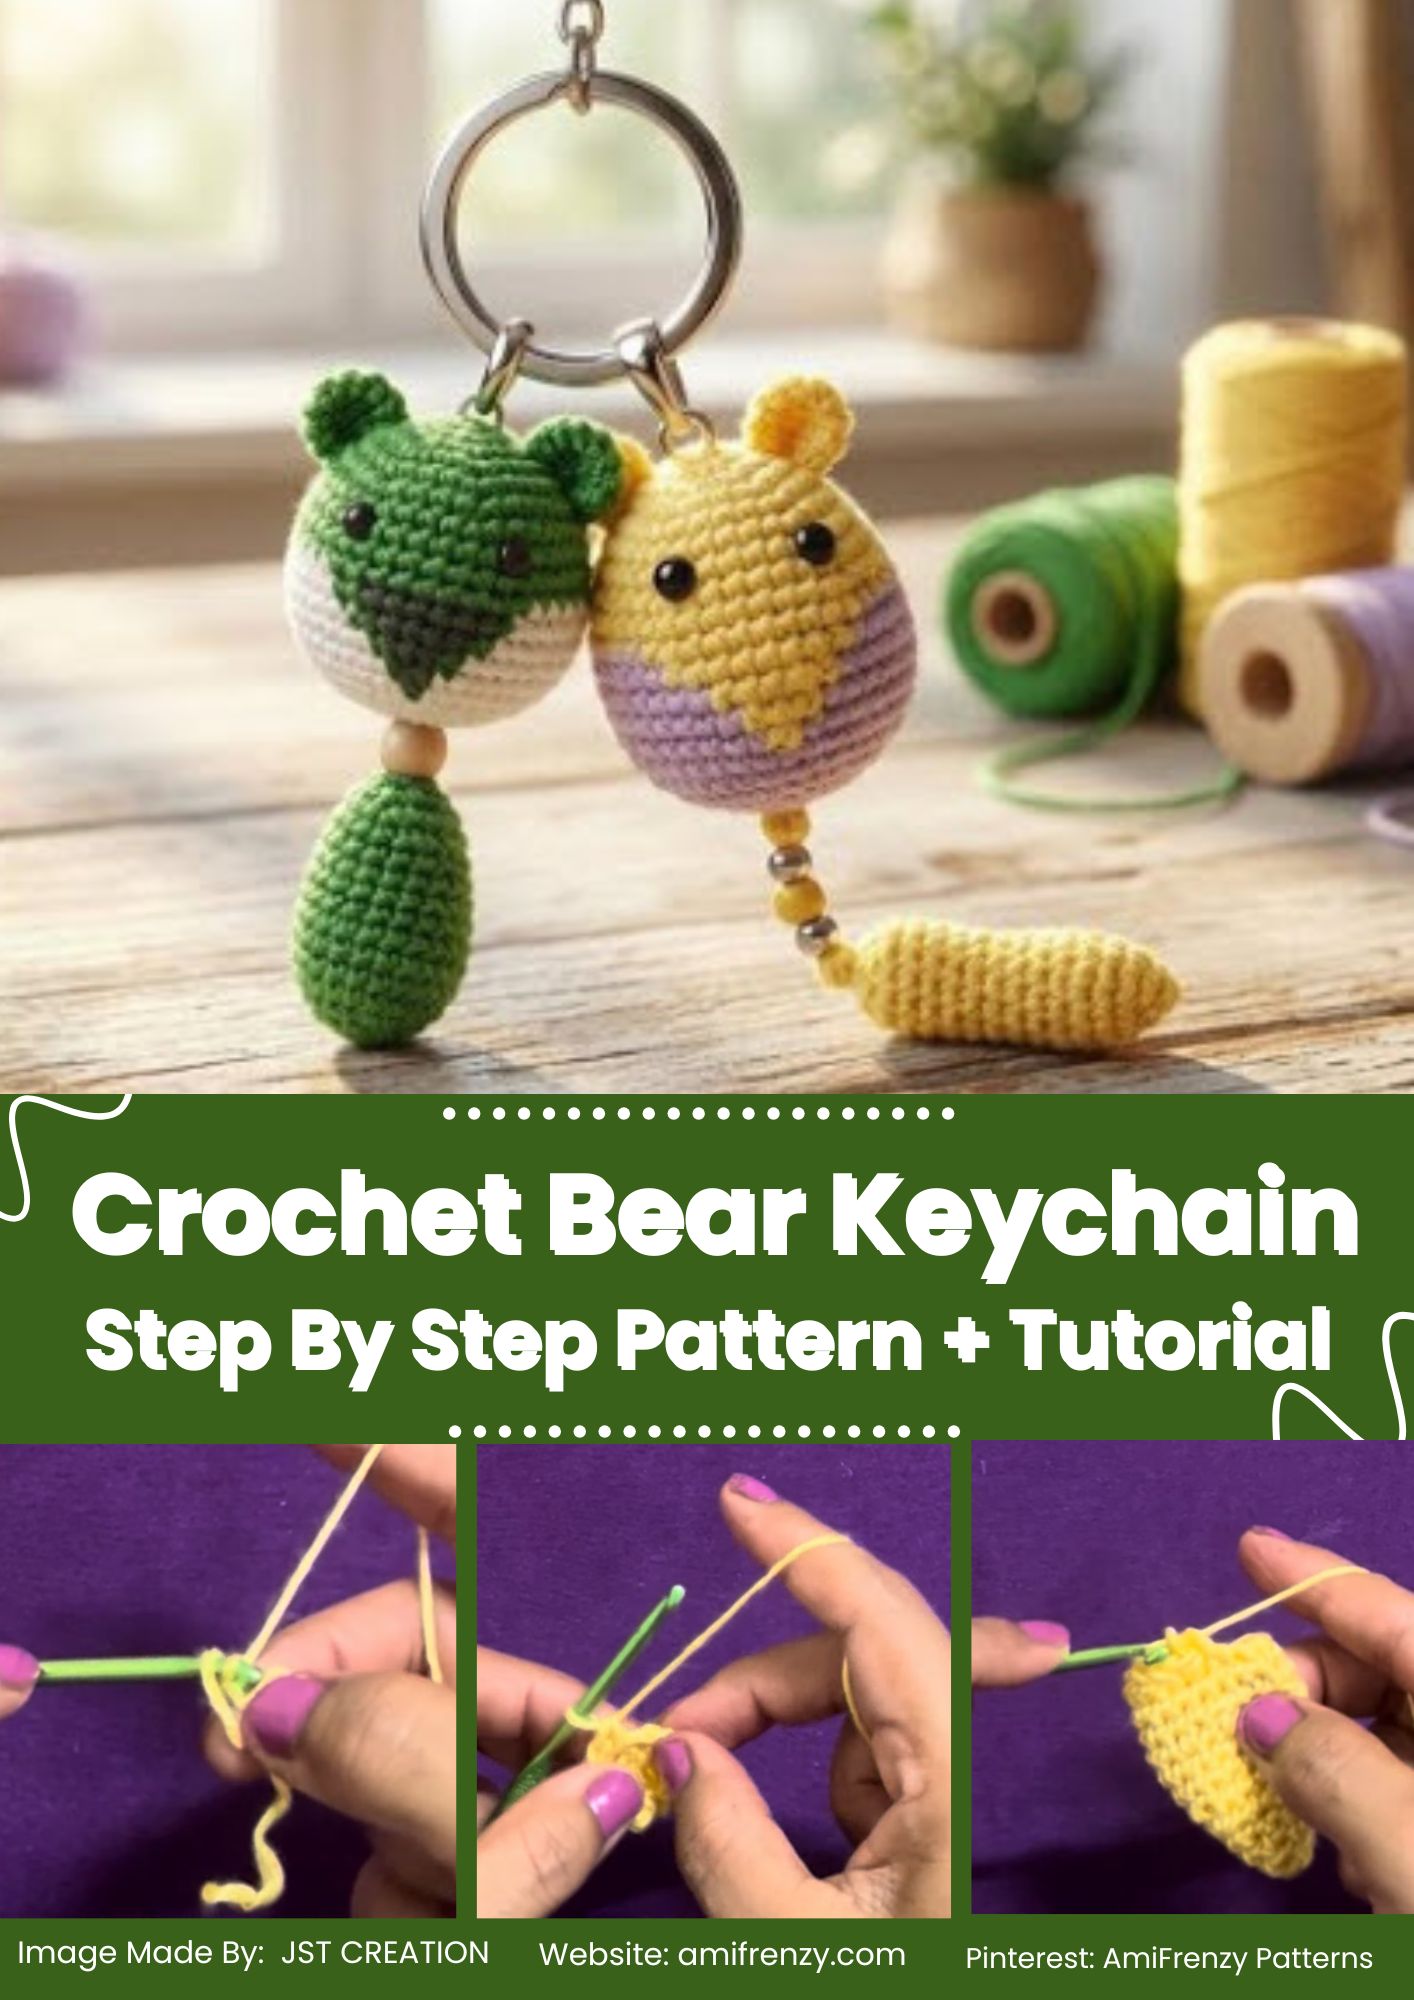
Why You’ll Love This Mini Bear
Mini amigurumi projects are so amazing because they are quick and contain lots of opportunity for variety.
This little bear offers several wonderful benefits:
- Beginner-friendly construction
- Fast project to complete
- Minimal yarn required
- Lightweight and practical
- Easy customization
- Great stash buster
- Simple shaping
- Adorable everyday accessory
Looking for a crochet small bear? It is the perfect balance of easy and adorable.
Skill Level
Difficulty: Beginner
You’ll only need a few basic crochet techniques:
- Magic ring
- Chain stitch
- Single crochet
- Increase
- Decrease
- Slip stitch
- Basic embroidery
- Simple sewing
Materials You’ll Need
Before you start, make sure you have the following items.
Yarn
- Brown yarn
- Mud-colored thread (for the nose)
- Black embroidery thread
- Pink yarn in case you decide to add cheeks.
While the cheeks are not important as stated earlier, they do provide a finishing detail, so they are fairly easy to add if you decide to give it a go.
Tools
- Appropriate size of Crochet Hook for own yarn
- Stitch marker
- Yarn needle
- Sharp scissors
- Polyester fiberfill
- Jump ring
- Keychain ring
Safety eyes may also be used but may give a harder look in comparison to embroidered features and the softer handmade look.
Finished Size
The finished mini bear is about 3 to 4 inches in height.
Its small size makes it light and easy to carry around, while maintaining a lot of delightful detail.
Pattern Notes
For the best results:
- Keep circulating.
- Use a stitch marker.
- Tension of stitches.
- Distribute each piece evenly.
- Securely sew the pieces in this step.
- Conceal yarn ends.
Good finishing techniques also make an amigurumi look more professional.
How to Crochet the Mini Bear Keychain
Here is where it begins to get really fun (in my opinion). You are primarily working on the small sections individually before sewing them together into one tiny cute bear. Crochet slowly and keep track of your stitch number. Enjoy watching it form as you go round after round.
Step 1: Crochet the Head
Thread brown yarn, and make a magic ring.
Six single crochet stitches into the center.
Building up evenly throughout the rounds until it is in the desired shape of a ball.
Make the same size again, do not increase.
Add the polyester fiberfill gradually as you work.
If safety eyes are to be used, place them in before completely closing the head.
The soft head, yet firm enough to hold shape.
Step 2: Crochet the Muzzle
Use beige yarn.
Build a small oval by using simple increases.
The muzzle should sit comfortably across the lower center of the face.
Sew it onto the head with small invisible stitches.
If so desired, light stuffing is optional for a raised look.

Step 3: Embroider the Face
Create a small black triangle using the black embroidery thread for the nose.
Here, add a little vertical stitch under the nose and then a tiny and curved smile.
In addition, a little bit of white highlights can be added near the eyes by using white thread.
A lot of the most delightful handmade toy finish comes from simple embroidered decoration.
Step 4: Crochet the Body
In brown yarn, make another magic ring.
Increase evenly until it is a little bit wider than the head.
Work evenly several rounds, then start gently decreasing.
Stuff as you go along!
The body should stay relaxed and fairly loose but have enough movement to hold up a neck.

Step 5: Crochet the Round Ears
The most adorable aspect of this pattern has to be the two super cute round ears!
Ch 2 double crochet 2 small circles.
Sew long yarn tails.
Pin temporarily to the head, then permanently to the head.
Small variations in the bear’s position in the ear can cause tremendous differences in expression.
Step 6: Crochet the Arms
Make two thin arms out of brown yarn.
Stuff lightly or leave unstuffed to your liking.
Secure evenly on either side of the body.
Arms turned a little forward makes it look like a friendly little hug.

Step 7: Crochet the Legs
The Legs are involved the same as for the arms but to a slightly greater extent.
Lay some things flat.
Band them uniformly under the body.
Position the bear on a flat surface to balance it before permanently sewing it.
A well balanced bear appears a lot more finished.
Step 8: Assemble the Bear
Mount the head to the body.
Sew the ears, arms and legs in place.
Go slow & check from all directions before tightening each stitch.
For those who love doing small bear crochet projects, taking time for assembly is probably the easiest way to make it look professionally done.
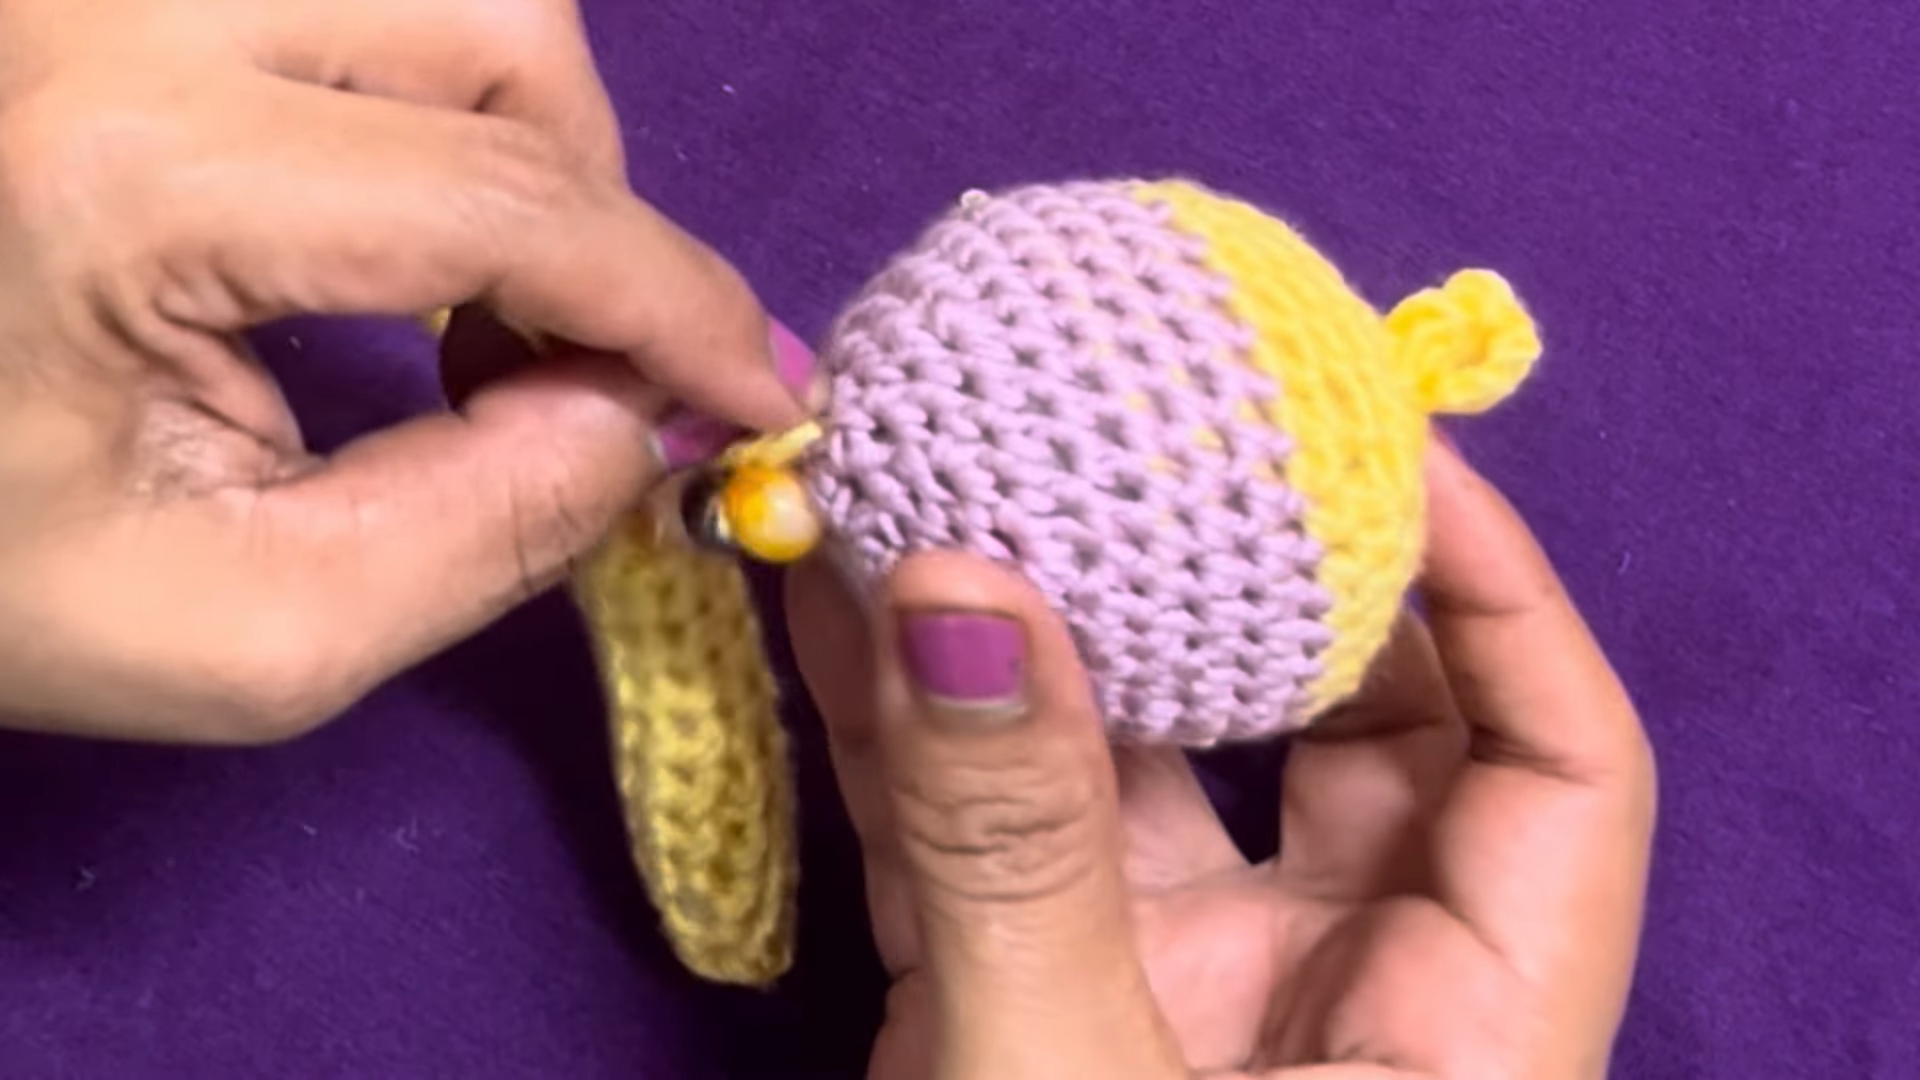
Step 9: Attach the Keychain Ring
Without lifting the head, crochet a short hanging loop at the top of the head, or insert a jump ring through a few tightly stitched stitches.
Clad on the metal keyring.
Verify all connections before daily use of this keychain to ensure they are tight.
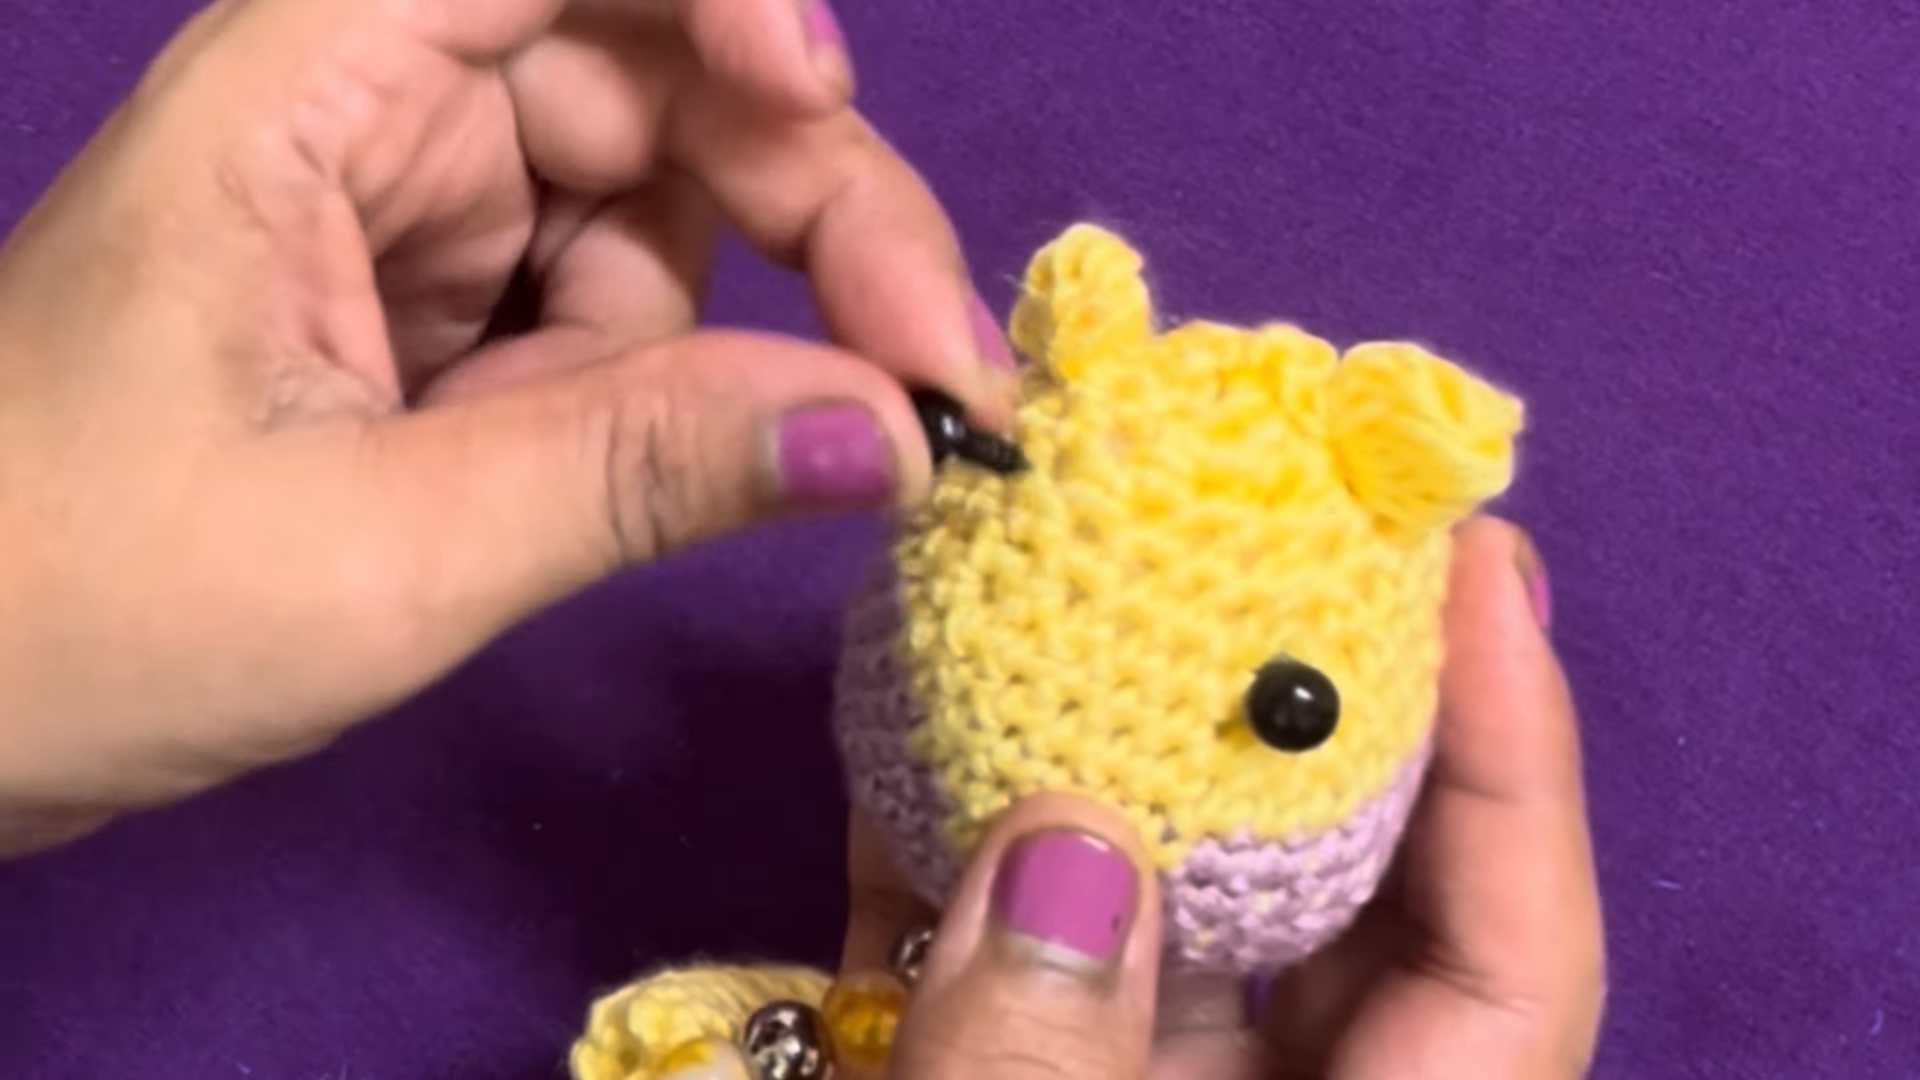
Step 10: Personalize Your Mini Bear
Now you can now start to give your little bear its own personality.
Try adding:
- Tiny bow
- Mini scarf
- Small flower
- Little heart
- Embroidered initials
- Tiny overalls
- Colorful cheeks
- Mini hat
A crochet small teddy will be even more adorable by the addition of some thoughtfully handmade accessories.
Colorful Bear Ideas
Part of the fun of making a tiny crochet bear is choosing the colors! While a traditional brown teddy bear is always sweet, changing the colors can allow every bear to have their own unique personality.
Here are a few fun combinations to inspire your next bear:
- Honey brown bear with a cream colored snout
- Chocolate brown bear with ivory accents
- Polar bear with a sky blue scarf
- Dove gray bear with rosy pink cheeks
- Caramel colored bear with a red bow
- Cream colored bear with pastel colored accoutrements
- Black bear with a grassy green scarf
- Pink bear with a white muzzle
Don’t forget that just a change of scarf or bow color could make a whole different keychain character!
Creative Uses for This Pattern
A tiny crochet bear is much more than just a keychain! Its small size and light weight make it an extremely versatile handmade item for all of your everyday needs.
Here are a few fun ideas on how to use your finished project:
- Clip it to your backpack for a fun everyday accessory
- Hang it on your purse or tote bag
- Use it as a zipper pull on your jacket or pencil case
- Hang it from your car keys or house keys
- Clip it to your craft or sewing basket as a cute decoration
- Attach it to a handmade gift basket as a keepsake item
- Use it as a bookmark charm by attaching it to a ribbon
- Make one for each member of your family
- Seasonal bears with tiny hats, scarves, or even flower accoutrements
- Arrange a collection of tiny bears together on your shelf
Since the pattern is quick and easy to make, you will be able to make a whole family of bears in various styles and colors with minimal effort.

Tip for Professional Finish
Finishing is just as important as crocheting is; take your time when sewing your pieces together. Remember to pin everything into place before you begin sewing each one of the ears, arms, and legs so you know that everything is aligned symmetrically.
Caring for Your Tiny Bear Keychain
Since you’ll take your handmade keychain with you everywhere, take these steps to make sure that it keeps its charm:
- Dust with a soft cloth
- Spot clean with cool water and mild soap
- Air dry
- Do not machine wash
- Do not leave in excessive heat
- Check jump ring periodically to make sure it is still secure
Make Every Bear One of a Kind
Part of the charm of amigurumi is that no two handmade items are ever the same. Give your bears unique characteristics and personality by changing up the accessories and facial expressions. You can make…
- sleepy bear
- smiling bear
- bear with tiny glasses
- holiday bear with a small Santa hat
- graduation bear
- picnic bear with a miniature scarf
- flower bear
- cozy winter bear with earmuffs
These are just some ideas to get your imagination going. When you have become more comfortable with the basics, you can create unique patterns of your own!
Create Your Pattern Now
The crochet mini bear keychain captures an essence perfectly, in a wonderfully manageable project that can be made for oneself or for giving. From the perfectly round ears and the embroidered smile to the small soft body and the easily customizable accessories, every single stitch has been put in to create something memorable.
Take your time, enjoy every single stitch, and have fun bringing your own unique, tiny crochet friend to life. While it is certainly small in size, the charm of your finished bear will be far too big!