
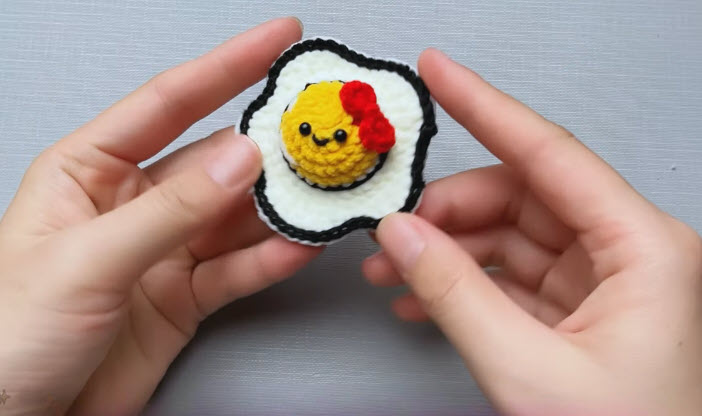
Some of the cutest crochet projects are also the smallest, and a crochet fried egg keychain proves it. Picture pulling your keys out of your bag and spotting a little egg with a smiling face and rosy cheeks grinning back at you. It’s the kind of handmade accessory that makes people ask, “Where did you get that?”
That’s the magic of amigurumi. With a few yards of yarn and a crochet hook, you can make an accessory that’s both useful and full of personality. The fried egg is easy to crochet and simple to assemble, and it makes a sweet gift, a fun craft fair item, or a cheerful charm for your backpack, purse, or keys.
Unlike larger crochet toys that take days, the smiling egg comes together in an afternoon. Along the way, you’ll practice neat stitches and basic shaping. You can also give each egg its own personality with different expressions, blush, or little embroidered details.
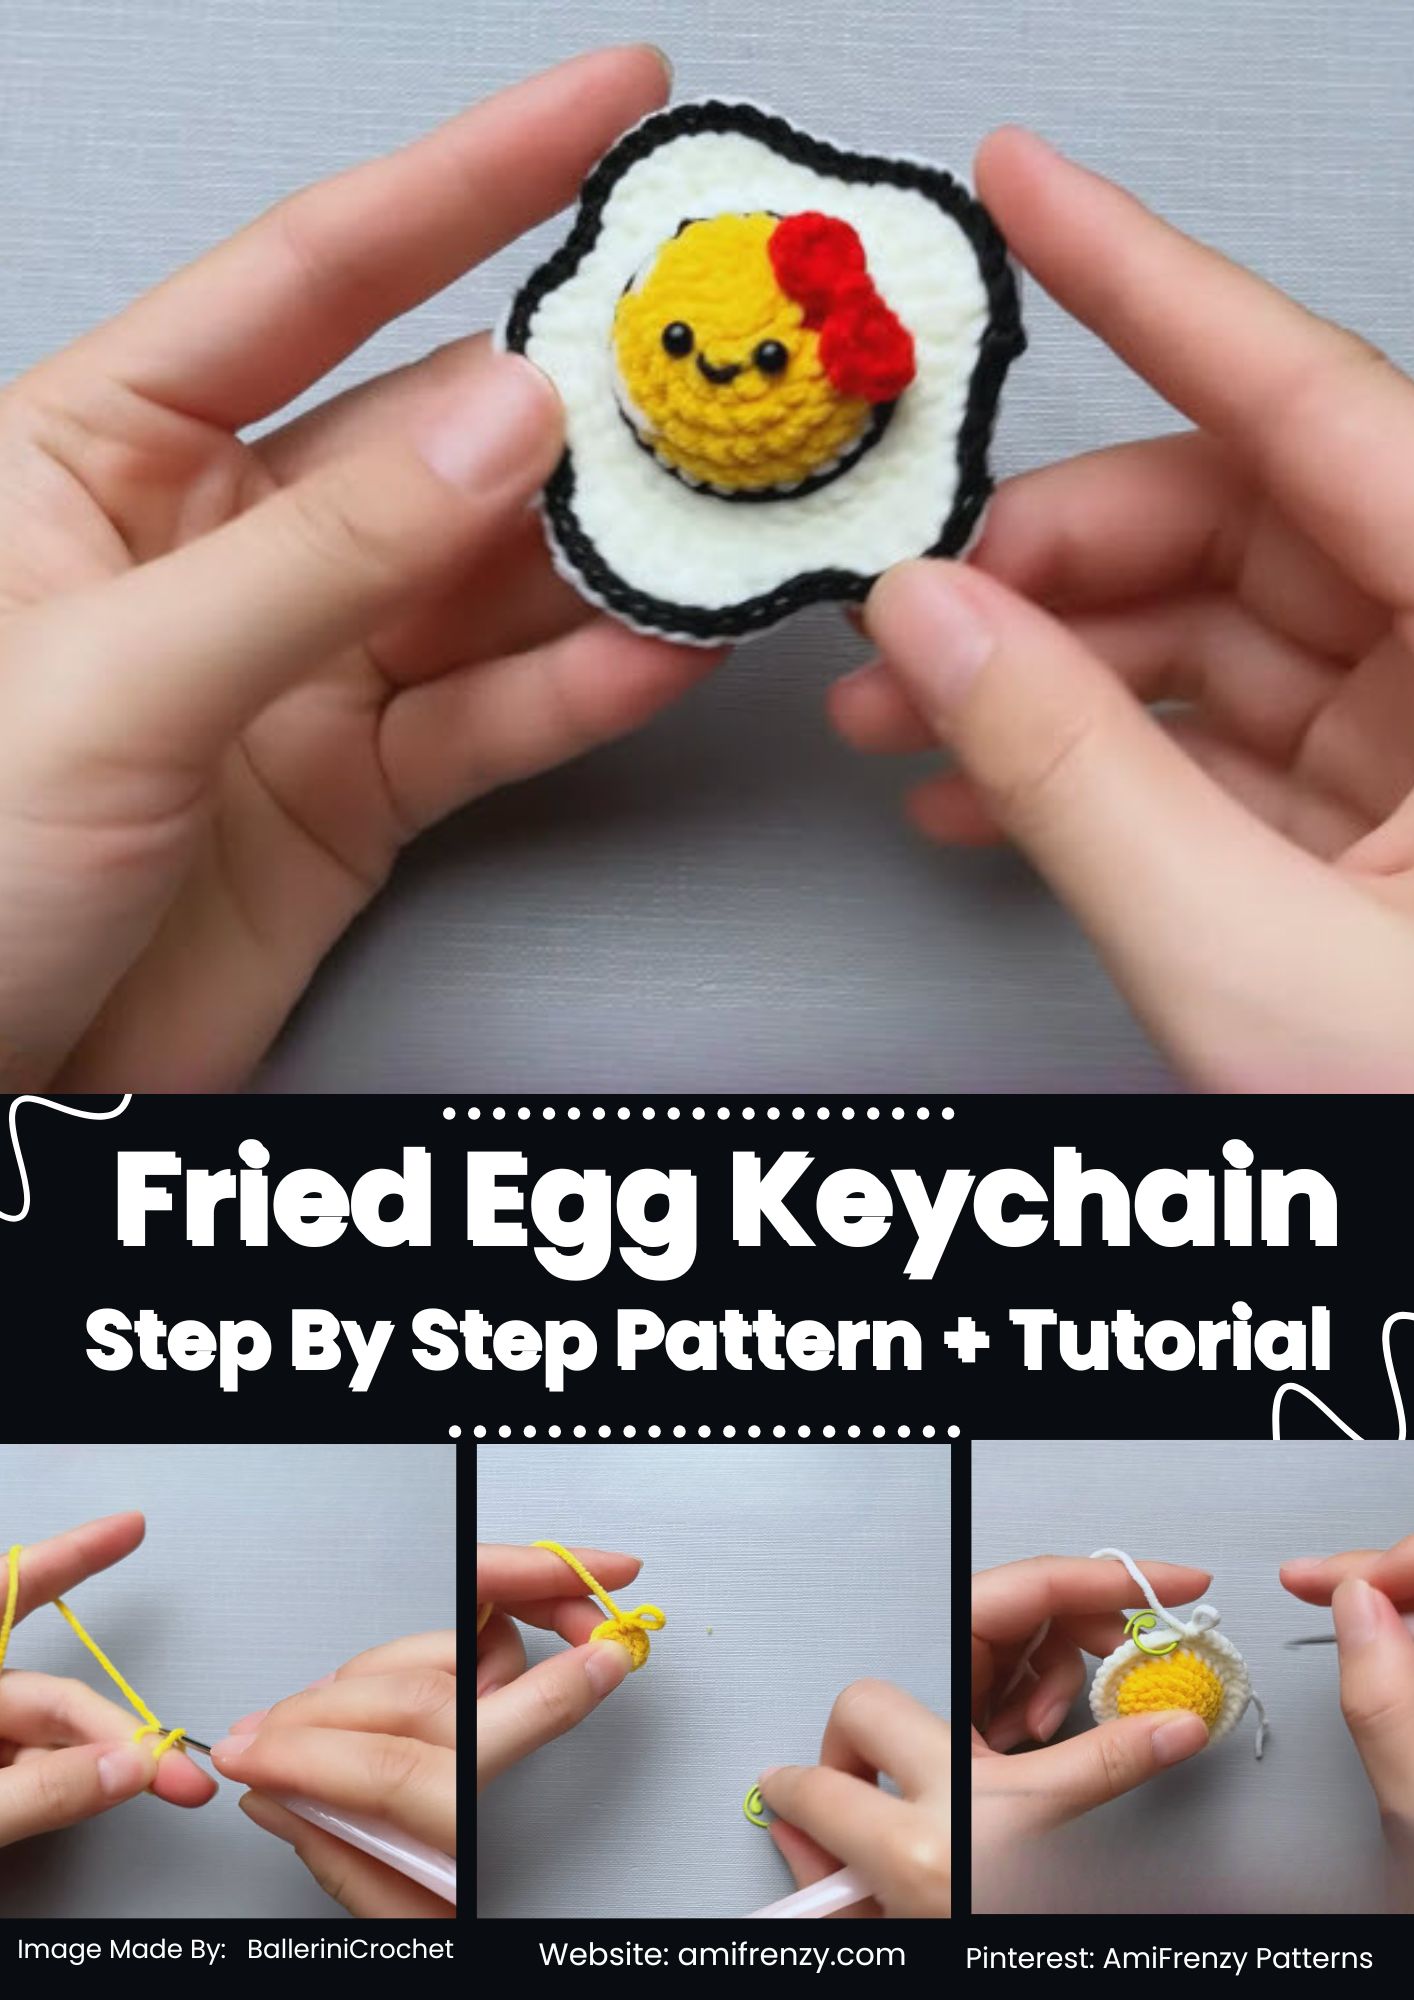
Why You’ll Love the Fried Egg Keychain
Mini amigurumi is fun to make because the pieces are small, look great, and come together quickly. The fried egg keychain offers:
- Beginner-friendly construction
- A quick rainy-day project
- Minimal yarn required
- Easy customization
- A cute handmade gift
- A fun craft fair item
- Great stash-busting project
- A cheerful everyday accessory
Kids, teens, and adults all love it, and a smiling egg is a great place to start if you want to try an easy food amigurumi pattern.
Skill Level
Difficulty: Beginner to intermediate
The project uses only basic techniques:
- Magic ring
- Chain stitch
- Single crochet
- Increase
- Decrease
- Slip stitch
- Simple embroidery
- Basic sewing
Even if you’ve only made a few amigurumi toys, you’ll find the pattern relaxing and enjoyable.
Materials You’ll Need
Gather these supplies ahead of time.
Yarn
- White yarn
- Yellow yarn
- Black embroidery thread
- Pink yarn for cheeks (optional)
Tools
- Crochet hook suited to your yarn
- Stitch marker
- Yarn needle
- Sharp scissors
- Polyester fiberfill
- Keychain ring
- Jump ring
- Small jewelry pliers (optional, for opening the jump ring)
Safety eyes can be used too, but embroidered eyes look great on such a tiny project.
Finished Size
The finished fried egg measures about 3–4 inches across at its widest point, before the keychain ring is added. The compact size makes it easy to carry every day without taking up much room on your keys or bag.
Pattern Notes
- Work in continuous rounds.
- Use a stitch marker at the start of each round.
- Keep your stitches tight.
- Stuff lightly.
- Weave in yarn ends securely.
- Embroider the facial features after assembly.
Pro tip: Tight stitches and a stitch marker at the start of each round keep the shape even and prevent small gaps.
Neatness matters a lot on mini amigurumi.
How to Crochet the Smiling Fried Egg Keychain
If you love food-themed crochet, the little smiling egg is sure to become a favorite. Follow the video below alongside the written steps.
Step 1: Crochet the Egg White
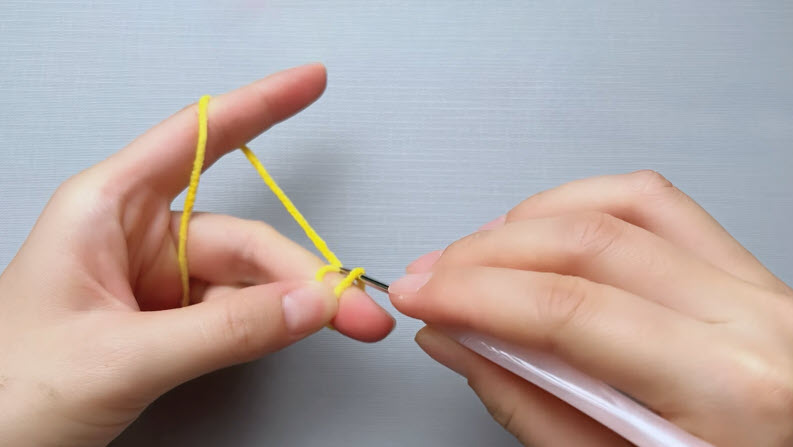
With white yarn, make a magic ring and work six sc into it. Increase evenly over the following rounds to form a circle.
Real fried eggs have slightly wavy edges rather than perfectly round ones. To get that natural look, add a couple of extra increases around the edge. Continue until the egg white reaches the size you want, then fasten off and weave in the yarn tail.
Step 2: Crochet the Egg Yolk
With yellow yarn, make another magic ring and increase evenly to form a small circle. The yolk should be clearly smaller than the egg white.
For a 3D look, stuff the yolk lightly before closing it. For a classic flat fried egg, leave it unstuffed.
Step 3: Attach the Yolk
Place the yolk near the center of the egg white and pin it in place. With matching yellow yarn, sew around the edge using small, invisible stitches. If the yolk is stuffed, add a little extra fiberfill before closing the seam. The raised center gives the finished egg a realistic yet cuddly look.
Step 4: Make the Smiling Face
Now for everyone’s favorite part. With black embroidery thread, stitch two tiny curved eyes on the yolk, then a little smile below them. Keep the features centered.
Add tiny eyelashes for a personal touch, or small eye highlights with white thread. Simple expressions often look cutest on miniature amigurumi.
Step 5: Add Rosy Cheeks
With light pink yarn, stitch two small cheeks just below the eyes. Keep them subtle so they add a sweet, friendly expression without overwhelming the design. Some crocheters prefer a dab of fabric paint or soft pastel chalk for a natural blush.

Step 6: Crochet the Hanging Loop
Chain 2–3 stitches with white or yellow yarn and join the ends to form a small loop. Sew the loop securely to the top edge of the egg white. The loop is where the metal keychain hardware will go.
As an alternative, slide the jump ring directly through a few sturdy stitches at the edge. Both methods give a secure finish.

Step 7: Attach the Hardware
Open the jump ring with jewelry pliers, slip it through the crochet loop, and close it tightly. Attach the keychain ring. Check every connection before using your finished keychain, since secure hardware helps it last much longer.

Step 8: Finish and Enjoy
Once everything is firmly in place, give the egg a final check and trim any stray yarn ends. Then clip it to your favorite key ring or bag. Congratulations, you’ve just made a cheerful little accessory sure to brighten someone’s day.
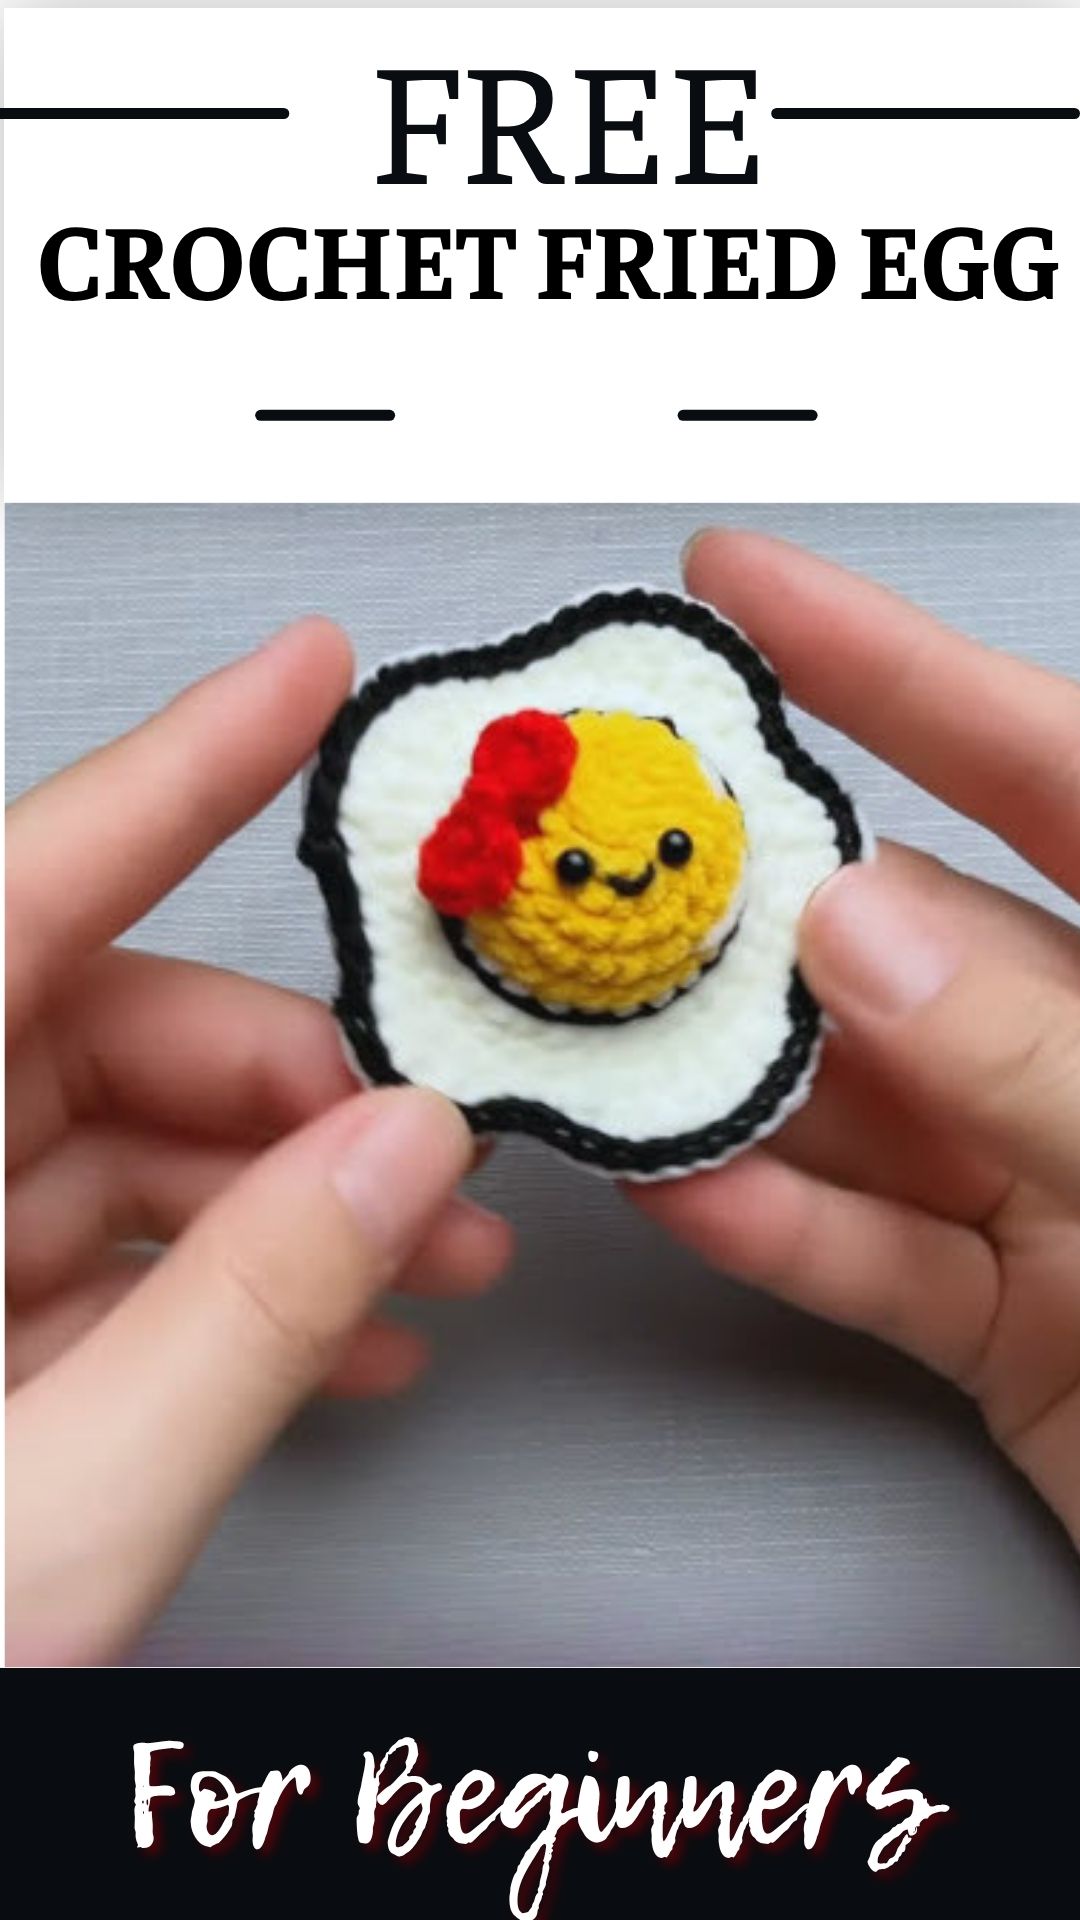
Creative Color Variations
Classic fried eggs use white and yellow yarn, but you can use any colors you like. Try:
- Pastel egg
- Rainbow yolk
- Pink egg white
- Mint green yolk
- Lavender egg
- Ombre yellow center
Changing yarn colors is one of the easiest ways to design your own beginner amigurumi keychain. For kawaii food crochet patterns, soft pastels and sweet embroidered faces make each piece even cuter.

Creative Uses for Your Fried Egg
The smiling egg is much more than a keychain. Its small size makes it easy to add a pop of color to everyday items. A few ideas:
- Attach it to your house or car keys.
- Clip it to a backpack or school bag.
- Hang it from a favorite purse.
- Use it as a zipper pull on a pencil pouch or hoodie.
- Add it to a lunch bag for a quirky food theme.
- Hang it on a craft room organizer.
- Brighten up a small desk.
- Give each egg you make a different expression.
- Tie it onto a gift bag in place of a gift tag.
- Make matching keychains for friends and family.
Build a Breakfast Charm Set
Once you’ve made one smiling egg, turn it into a themed collection.
Egg Family
Make eggs in different sizes and expressions: happy, sleepy, winking, or surprised.
Pastel Breakfast Set
Stitch several eggs in soft pinks, mints, and lavenders for a kawaii-style bundle.
Mixed Charm Bundle
Pair the egg with other mini charms like the crochet teddy bear keychain or the crochet owl keychain for a playful gift set.
Friendship Keychains
Make matching eggs with different cheek colors so each friend gets their own version.
Caring for Your Crochet Keychain
Keychains go everywhere with you, so they pick up dust and dirt over time. To keep your fried egg looking its best:
- Spot clean with a damp cloth.
- Use mild soap if needed.
- Don’t soak the keychain completely.
- Let it dry in an airy spot.
- Keep it away from high heat.
- Check the metal ring now and then to make sure it’s secure.
With proper care, your little smiling egg will stay bright and cheerful for years.
Sunny Side Up Every Day
A wavy egg white, a sunny yolk, and a tiny stitched smile: the crochet fried egg keychain packs a lot of cheer into a few rounds of yarn. The stitches are simple, the details are fun, and the whole project feels relaxing for beginners and experienced crocheters alike.
Hang it from your keys, clip it to a favorite bag, or add it to a shelf of handmade charms, and it’s bound to make someone smile. When you’re ready for another quick make, the crochet fishbone Halloween keychain is a fun seasonal follow-up.