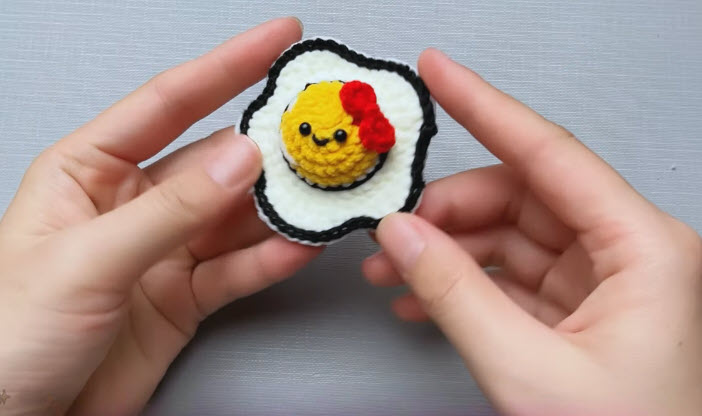
The cutest crochet projects are usually the smallest, which is why Crochet Fried Egg Keychain Amigurumi Pattern projects are in such high demand! Picture picking up your keys out of your bag and giving a little baby a smiley face, rosy cheeks and a friendly face. It’s a homemade accessory that can instantly put a smile on your face and make people ask “where did you get that?
It’s the magic of amigurumi. Using a few yards of yarn and a crochet hook, you can create a functional accessory that is also fun and unique. Easy to create, simple to assemble and ideal for any number of gift giving, craft fairs or to add to your backpack, purse or keys with this cute fried egg keychain.
This project is not like the larger crochet toys that take time and time to create, it is actually an easy project that takes no longer than a few hours. It takes an afternoon to work it, and it’s a chance to learn neat stitches and some basic shaping. Better yet, you can easily make the smiley face as unique as you want, add blush or even make different facial expressions to give each fried egg its own personality.
Why You’ll Love This Pattern
The bonnets are so fun to make because they are small and look great while being quick to assemble. There are several benefits to this keychain that features a fried egg:
- Beginner-friendly construction
- Pre-existing a project on a rainy day.
- Minimal yarn required
- Easy customization
- Cute handmade gift
- The perfect product for craft fairs!
- Great stash-busting project
- Fun everyday accessory
It’s fun to look at, and is perfect for kids, teens, and adults. A smiling egg is a great place to start for your next easy food amigurumi pattern.
Skill Level
Difficulty: Beginner to intermediate
The techniques used in this project include only basic crochet:
- Magic ring
- Chain stitch
- Single crochet
- Increase
- Decrease
- Slip stitch
- Simple embroidery
- Basic sewing
Even if you’ve only completed a few amigurumi toys, you’ll find this project enjoyable and relaxing.
Materials You’ll Need
Gather these supplies ahead of time.
- Yarn
- White yarn
- Yellow yarn
- Black embroidery thread
- Pink yarn for cheeks (optional)
Tools
A crochet hook large enough for your yarn.
- Stitch marker
- Yarn needle
- Sharp scissors
- Polyester fiberfill
- Keychain ring
- Jump ring
Safety eyes can be used as well, but embroidered eyes are excellent for this tiny project.
Finished Size
When the fried egg is finished, it is about 3–4 inches wide at its widest point, before adding the key chain ring.
Its size is compact making it easy to carry around on a day-to-day basis without taking up too much key or bag space.
Pattern Notes
Here are a few tips to keep in mind before beginning:
- Work in round robin work.
- A stitch marker is needed.
- Keep stitches tight.
- Stuff lightly.
- Securely weave ends of yarn.
- Embroider facial features on the finished product.
In mini amigurumi projects, being neat is very important.
How to Crochet the Smiling Fried Egg Keychain
If you are a crochet enthusiast and enjoy food-related patterns, this little egg with a smiley face will be one of your favorites.
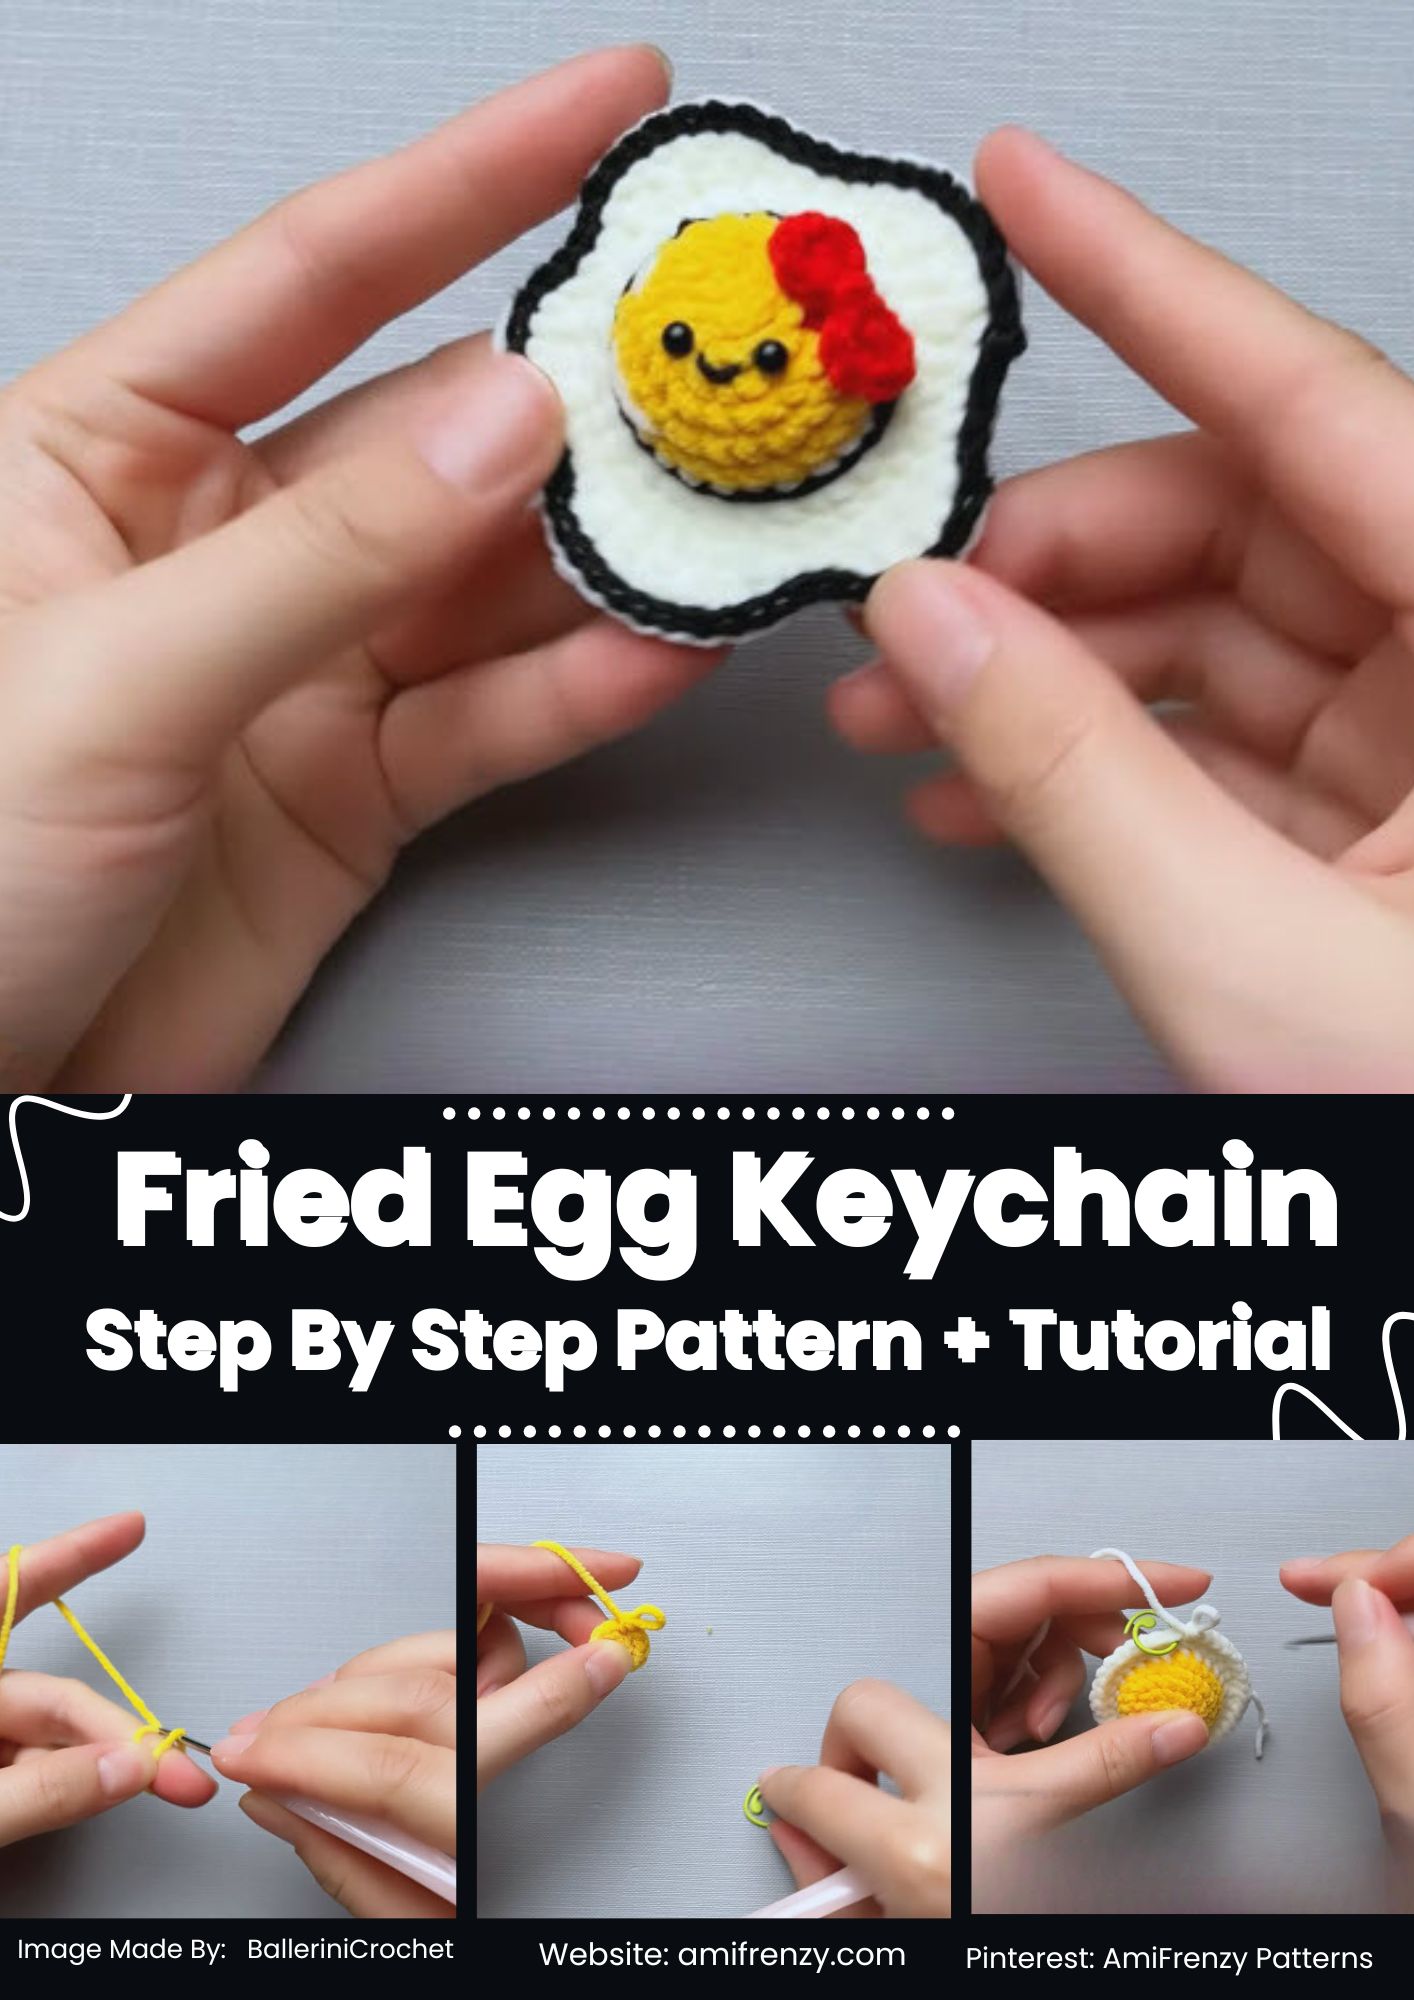
Step 1: Crochet the Egg White.
With white yarn, start with a magic ring. Make six sc stitches into the ring. Add evenly in subsequent rounds until a slightly irregular circle is formed.
The edges of fried eggs are typically deeply undulating instead of straight. This natural look can be achieved by incorporating a couple additional increases around the perimeter. Continue working evenly until the egg is of desired size. Quickly finish off and weave in yarn tail.
Step 2: Crochet the Egg Yolk
Change to yellow yarn. Create another magic ring. Evenly increase to make a small circle. The yolk should clearly be smaller than the egg white. If desired for a 3-D appearance, stuff the yolk lightly before closing.
Otherwise, leave it flat for a classic fried egg. Place it towards the middle of the egg white prior to sewing.
Step 3: Attach the Yolk
Place the yolk inside the egg white, and pin it to the white. With a matching yellow yarn sew around the edge with small invisible stitches. Add an extra bit of fiberfill if the yolk was stuffed. The raised middle provides a realistic, yet cuddly look for the finished egg.
Step 4: Make the Smiling Face
Next is the fun bit. Here is everyone’s favorite bit. Using black embroidery thread, stitch two tiny curved eyes. Draw little smiley face face below them. Maintain a central placement of the features on the yolk. Add little eyelashes for a personalized touch or try to make little eye highlights with white thread. Simple expressions can be the cutest for miniature amigurumi.
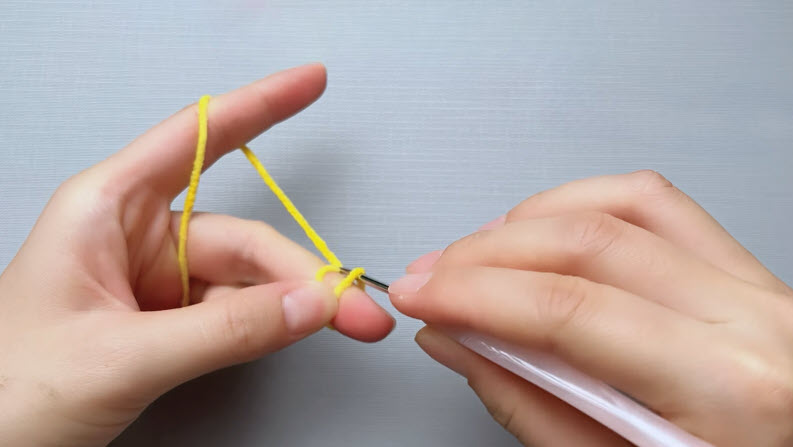
Step 5: Add Rosy Cheeks
With light pink/yellow or blush, make two small cheeks under the eyes. Keep them subtle. The little details add a sweet, friendly expression to the fried egg without distracting from the design. Fabric paint or soft pastel chalk can be used to achieve a natural blush for some crocheters.

Step 6: Crochet Hanging Loop
Chain 2-3 stitches with white or yellow yarn. Connect both ends of the chain to form a little loop. This loop is where you’ll attach your metal keychain ring.
The jump ring can be placed through the stitches or a separate loop can be crocheted. Both techniques give a good finish, which is secure.

Step 7: Attach the Hardware
Put the crochet loop on the jewelry pliers and attach the Jump Ring to the loop. Securely attach the key chain ring. Before installing the completed accessory, verify all connections are secure. A keyring that is securely attached makes your handmade item last longer.

Creative Color Variations
The classic fried egg has white and yellow yarn, but don’t worry; you can use any color of yarn. Try:
- Pastel egg
- Rainbow yolk
- Pink egg white
- Mint green yolk
- Lavender egg
- Ombre yellow center
Changing the yarn colors is one of the easiest ways for crocheters to design a beginner amigurumi keychain.

Step 8: Finish and enjoy
When everything is firmly in place, your smiling fried egg keychain can be used. One last check, cut off the yarn ends and add it to your favorite key ring, bag, whatever. Congratulations, you’ve just created a lighthearted DIY accessory to brighten everyone’s day with a smile!
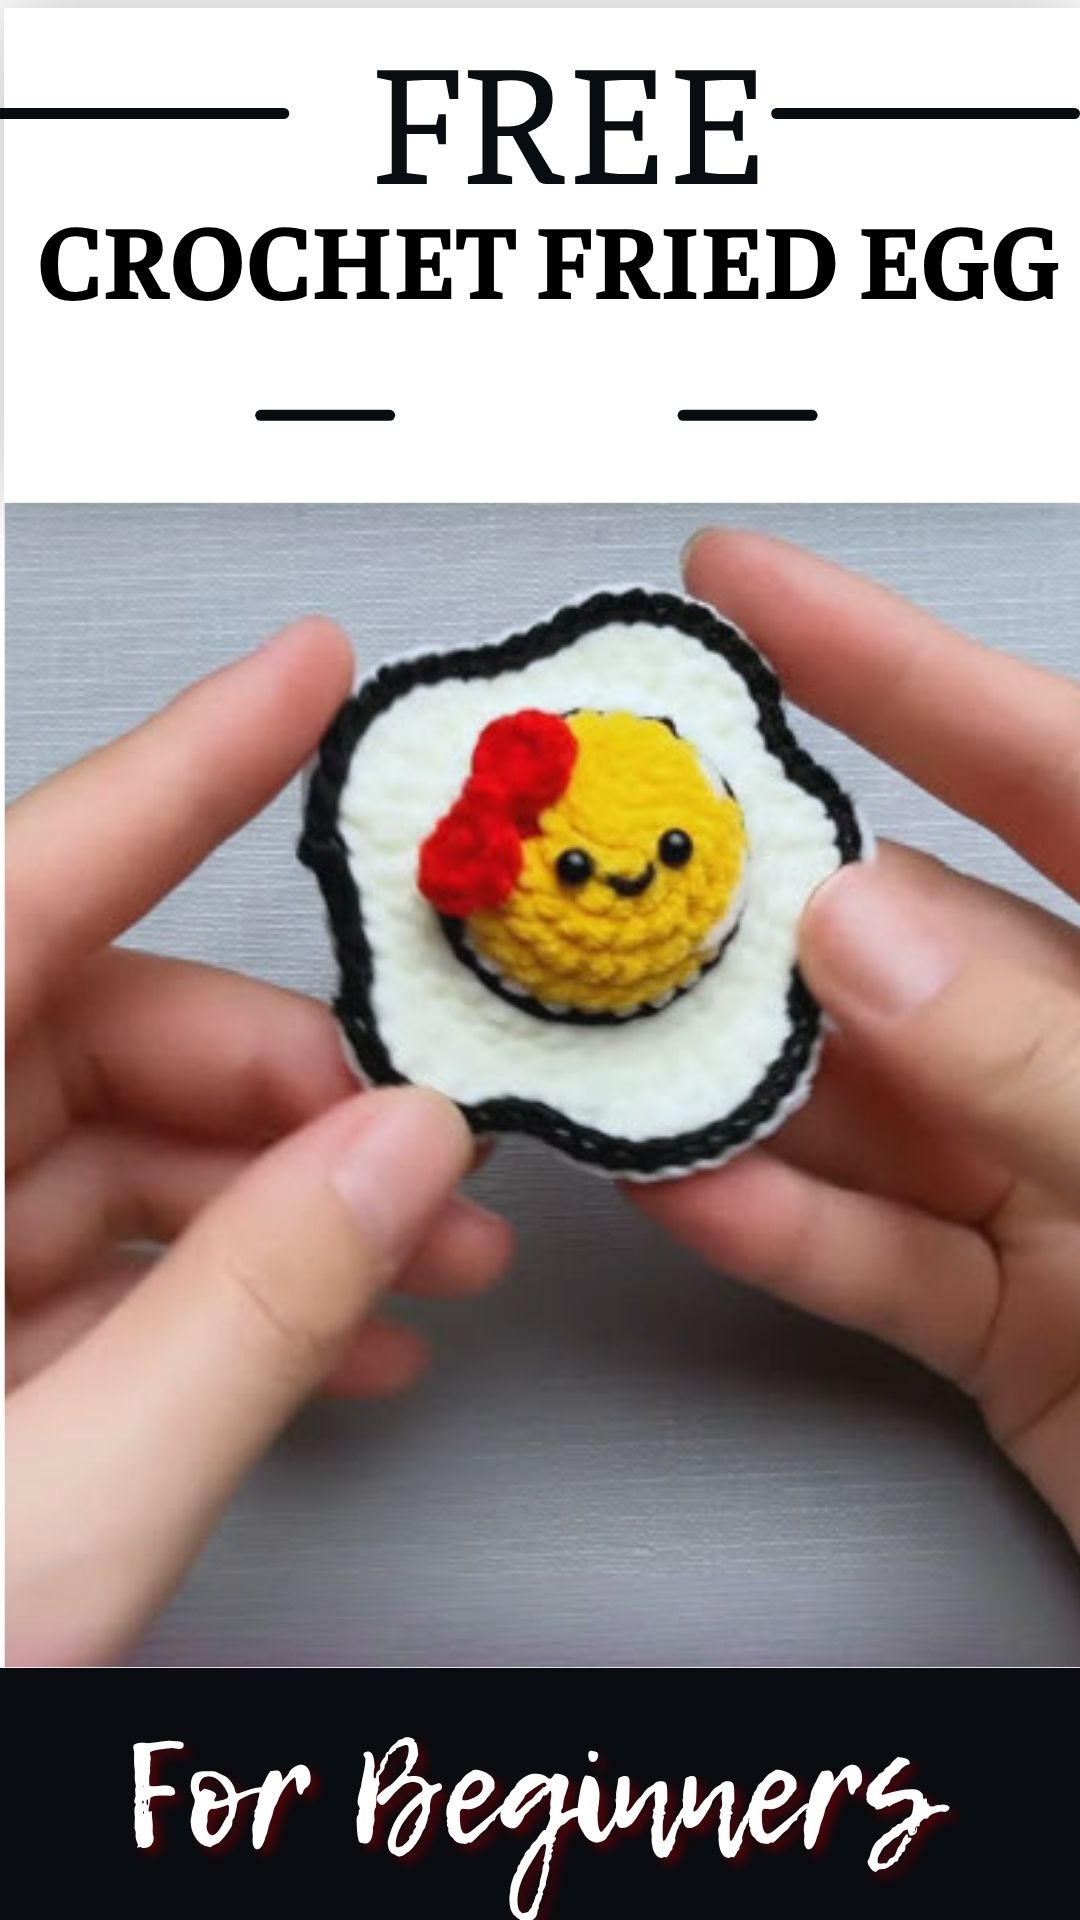
Creative Uses for This Crochet Pattern
When it comes to kawaii food crochet patterns, try adding some pastel colors, and add some embroidery to the faces to make each one even cuter!
This smiling fried egg is so much more than a keychain. It is compact in size, a handmade accessory which can add color to everyday objects around your home. Here are some fun ideas to use your finished creation:
- Attach it to your house or car keys.
- Attach it to a backpack or to a school bag.
- Wear a pretty pin-on purse.
- Or Decorate a zipper on a pencil pouch or hoodie.
- Include it in a lunch bag for a quirky food theme!
- Place it on your craft room organizer.
- Decorate a small desk with it.
- Create multiple expressions, one for each one you make, for a happy face.
- Use it as a gift tag instead of the usual one on a gift bag.
- Make matching key chains for friends and family.
They are also small accessories to add a personal touch to each piece made.
Taking care of your Crochet Keychain
Keychains get in your way all year, and can get dusted with dirt over time. If you want your fried egg to look it’s very best:
- Spot clean using a damp cloth.
- If necessary, use mild soap.
- Do not soak the keychain in water completely.
- Allow to dry in an airy place.
- Avoid over heating.
- Occasionally look at the metal ring to ensure it stays in place.
Your little smiling egg will continue to be bright and cheerful for years if you take proper care of it.
Pro Tip
Stitches should be tight and a stitch marker should be used at the start of each round. This helps to keep the shape uniform and avoids small gaps from occurring.
Final Thoughts
Creating a happy little patch and creating a little happy character that can go with you all day long! Simple stitching and fun details make this Smiling Fried Egg keychain a relaxing project for both beginner and experienced crocheters.
Every detail brings warmth and personality to the soft wavy egg white, bright sunny yolk and happy embroidered face. It might be hanging in your pocket, stuck to your favourite bag or hanging amongst your handcrafted creations, it will surely bring smiles wherever it goes!
The Crochet Fried Egg Keychain amigurumi pattern is easy and quick to crochet. If you are looking for something fun and simple to make but ends up being a super adorable item to add to your day- to-day wear, this is for you!