
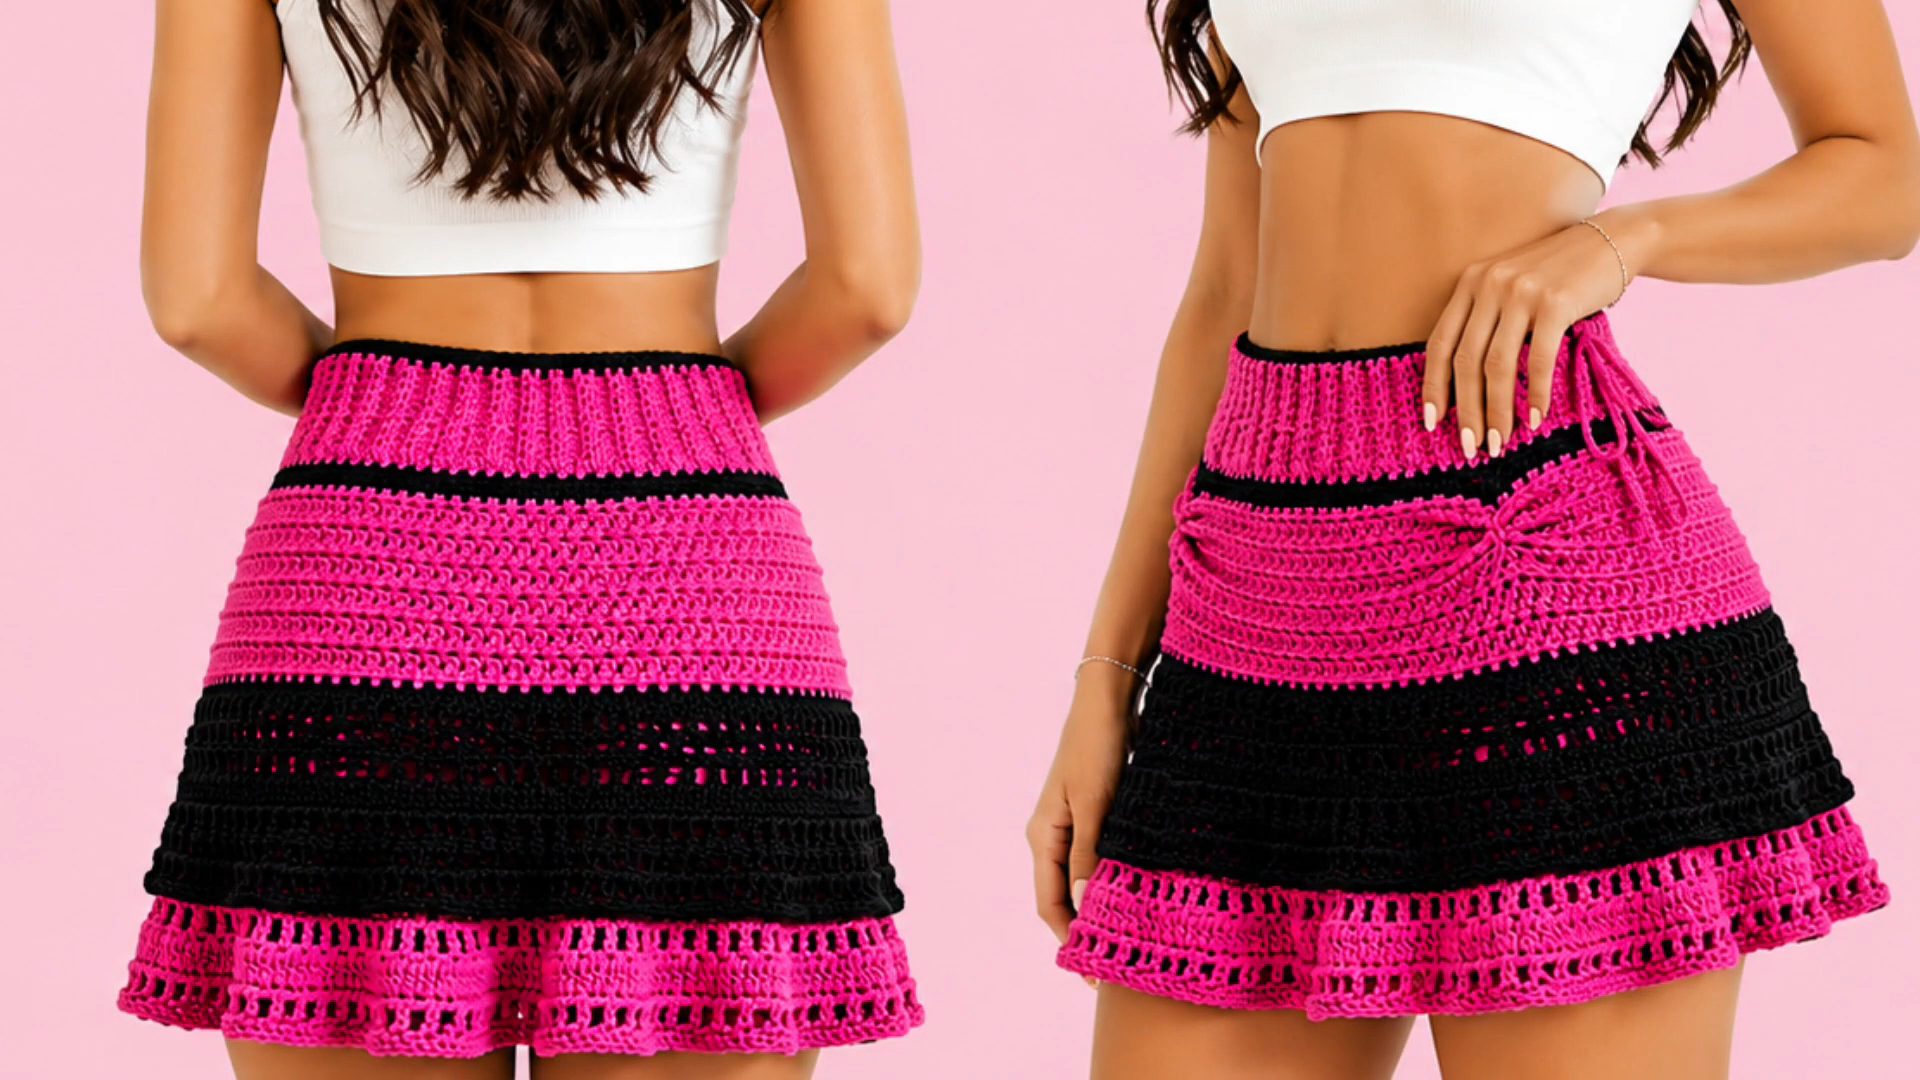
A soft ribbed waistband that hugs without pinching, smooth double crochet fabric, and a delicate shell hem: a handmade mini skirt feels special because every detail is your choice. If you’ve been thinking about your first wearable project, a crochet mini skirt pattern is a smart place to start. It works up faster than a sweater or dress, needs no complicated shaping, and leaves plenty of room to tailor the fit, color, and length.
The design features a stretchy ribbed waistband that keeps the skirt snug and secure without any elastic. Simple stitches create a smooth fabric that’s approachable for newer crocheters, while more experienced makers can use the skirt as a base for lace panels, stripes, or textured stitches. If you’ve been searching for a free mini skirt pattern, the step-by-step guide below walks you through the whole process.
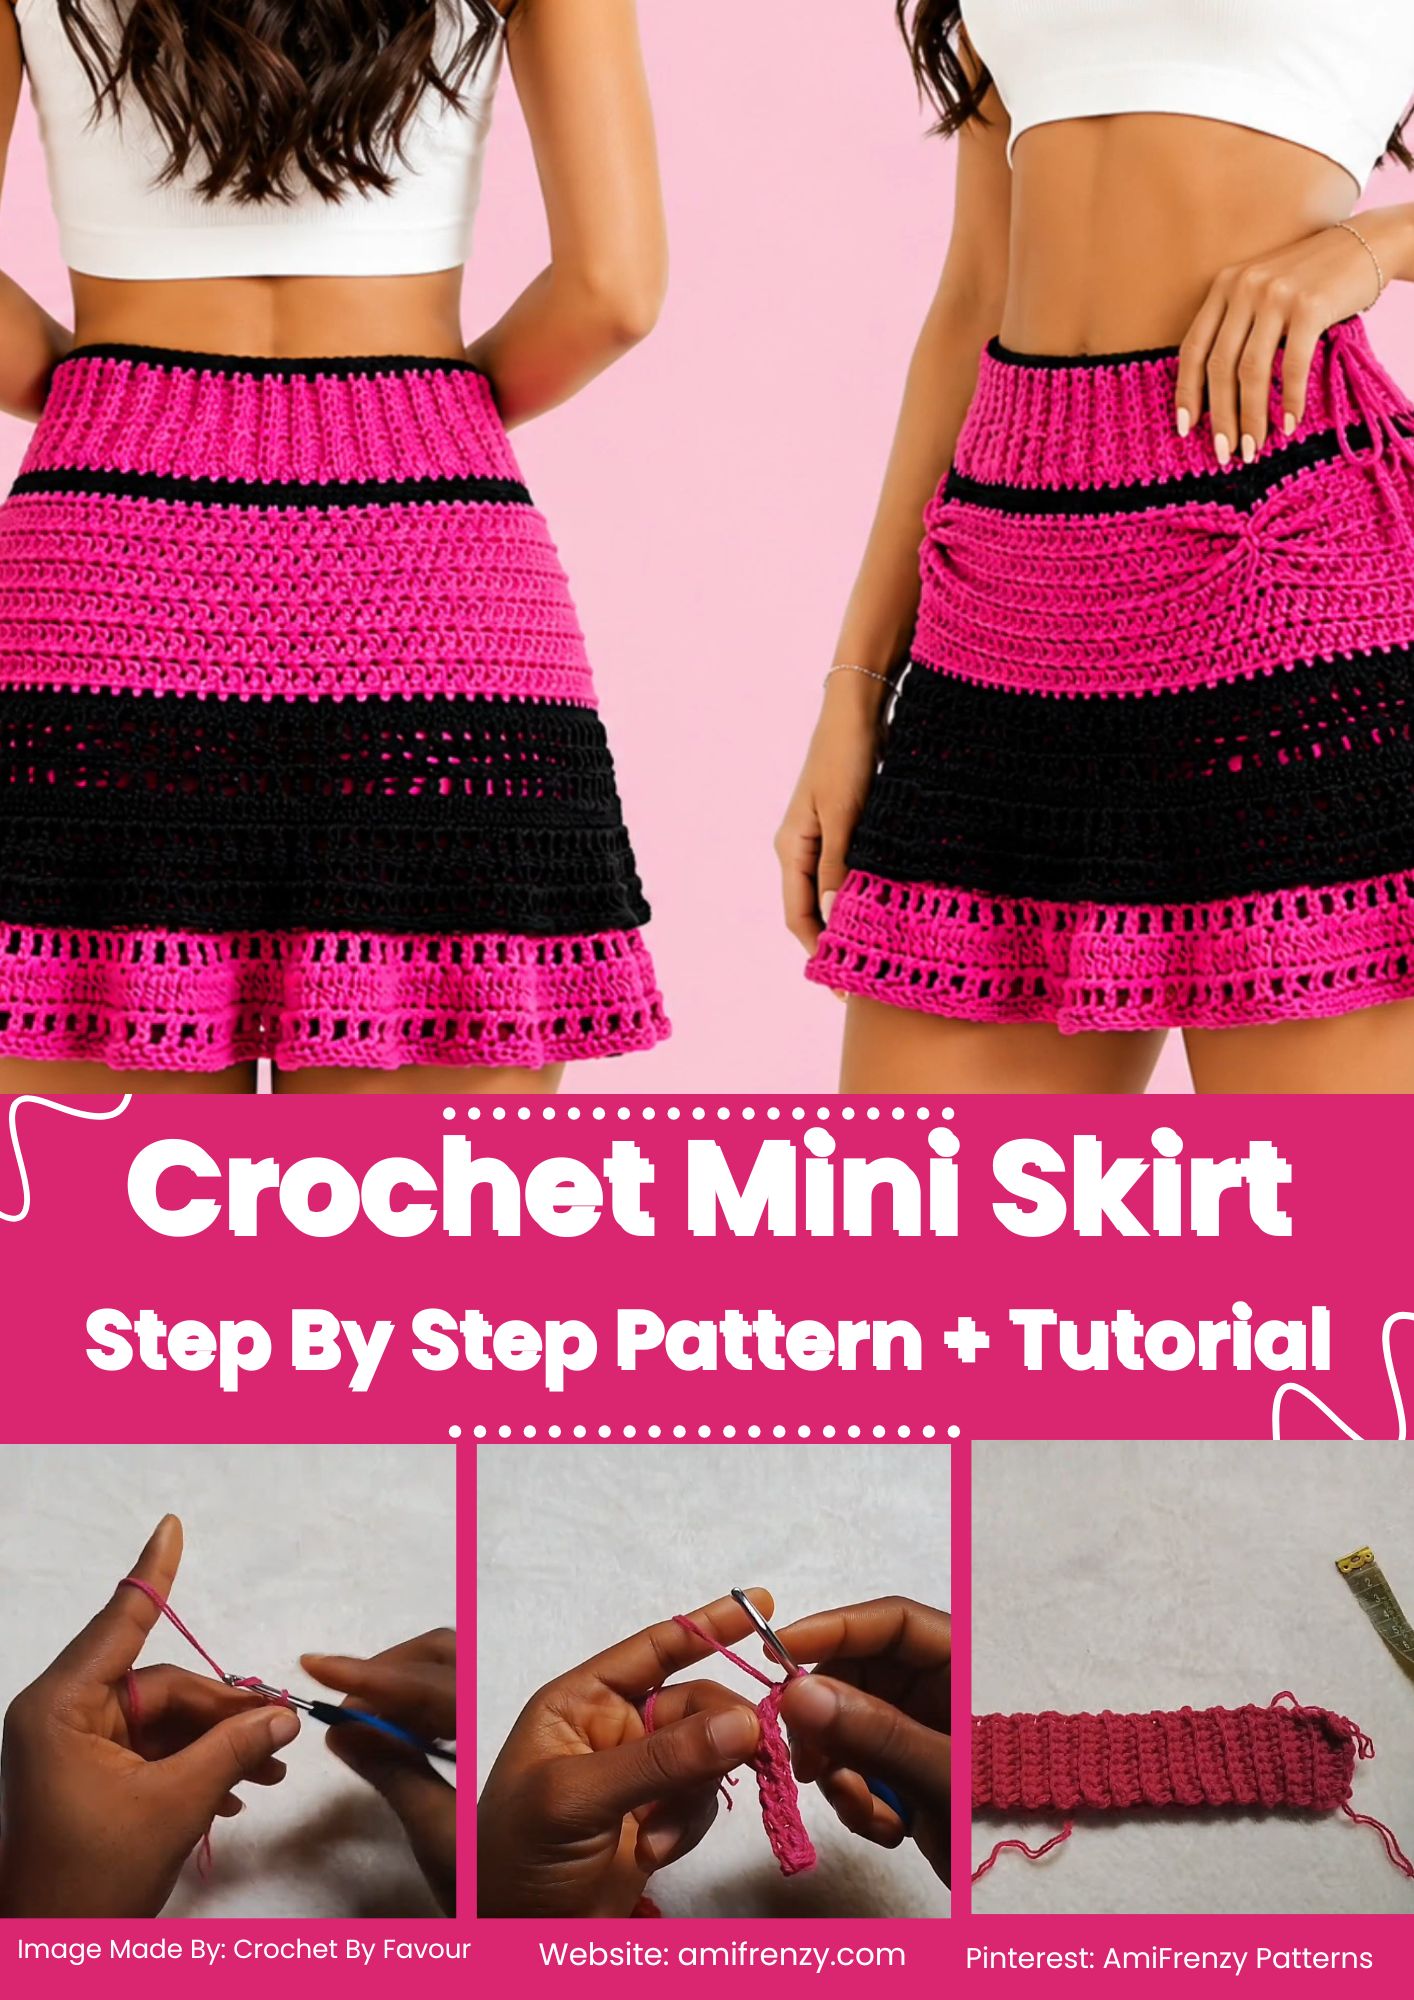
Materials You’ll Need
Gather everything before you pick up your hook.
- 300–450 g DK cotton yarn
- 4 mm (G/6) crochet hook
- Stitch markers
- Measuring tape
- Yarn needle
- Sharp scissors
Cotton yarn is recommended because it’s breathable and comfortable to wear year-round. A cotton-acrylic blend is also a good choice if you prefer a softer feel.
Skill Level
Difficulty: Easy to intermediate
The stitches used are easy to learn. If you know how to chain, single crochet, half double crochet, and double crochet, you can make the skirt with confidence.
Finished Measurements
The pattern can be adjusted to fit any size. Approximate waist sizes:
- Small: 26–28 inches
- Medium: 29–31 inches
- Large: 32–35 inches
- XL: 36–40 inches
The waistband sets the size, so measure it against your waist before joining it into a loop.
Gauge
18 double crochet stitches × 10 rows = 4 × 4 inches.
Crocheting a gauge swatch may feel like a detour, but it saves time later. If your stitches are loose, switch to a smaller hook. If they’re too tight, go up a hook size.
Crochet Abbreviations
- ch – chain
- sc – single crochet
- hdc – half double crochet
- dc – double crochet
- sl st – slip stitch
- BLO – back loop only
- st – stitch
- rep – repeat
How to Crochet a Mini Skirt with a Ribbed Waistband
The skirt is made in two parts. First, you’ll crochet a stretchy ribbed waistband in rows. Then you’ll join it into a circle and work the skirt body in rounds from the top down. Follow the video below alongside the written steps.
Step 1: Crochet the Ribbed Waistband
Chain 11.
Row 1: Starting in the second chain from the hook, work 1 sc in each chain. You should have 10 stitches. Ch 1 and turn.
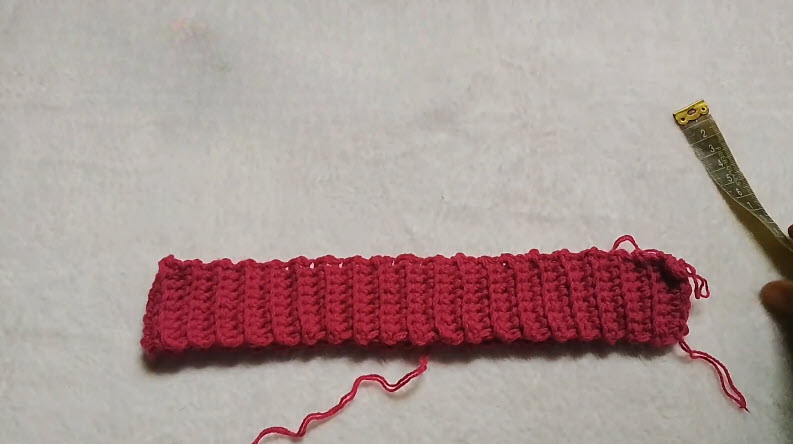
Row 2: Work 1 sc in the BLO of each stitch. Ch 1 and turn. Working only in the back loop creates the stretchy ribbed fabric that makes the waistband so comfortable.
Repeat Row 2 until the band fits around your waist.
Waist check: Wrap the strip around your waist. It should feel snug and comfortable without pulling.
Step 2: Join the Waistband
Bring the two short ends of the waistband together, making sure the ribbing lines up and the strip isn’t twisted. Insert your hook through both layers and slip stitch across the matching stitches from one edge to the other. Fasten off securely.
Step 3: Crochet Around the Waistband
Turn the waistband so you’re working along one long edge. Work 1 sc into the end of each ribbed row, keeping the spacing even. For example, if your waistband has 80 rows, you’ll end up with about 80 sc. Join with a sl st.
Turn the waistband right side out. You now have a neat, round waistline with an almost invisible seam.
Step 4: Start the Skirt Body
Ch 2. Work 1 dc in each stitch around and join with a sl st. Repeat the round four more times. These first rounds form the smooth upper part of the skirt, and you’ll notice the fabric feels soft while still holding its shape.
If you enjoy mixing techniques, borrow an idea from mini skirt pattern sewing and add a lightweight fabric lining once the skirt is finished. It adds coverage while keeping the handmade look.
Step 5: Shape the Hips
To make the skirt fit around your hips, you’ll gradually add stitches.
Increase round: *Work 1 dc in each of the next 9 stitches, then 2 dc in the next stitch*; rep from * to * around. Join.
Work three plain rounds of 1 dc in each stitch.
Hip check: Try the skirt on after those rounds. For a closer fit, skip any further increases. For a looser fit, work another increase round before continuing.
Many crocheters like to print the instructions and tick off each finished row with a pencil as they go.
Step 6: Continue the Skirt
Once the hips are shaped, keep working 1 dc in each stitch around. The smooth fabric lets the ribbed waistband stand out as the focal point of the design.
Try the skirt on every few rounds. The ideal mini length is personal: some prefer a classic mini a few inches above the knee, while others like a shorter, trendier fit. As a guide, crochet until the skirt measures about 14–16 inches from the top of the waistband, then adjust to suit you.

Step 7: Crochet the Decorative Border
Once you’re happy with the length, finish the hem. A simple shell border adds a feminine touch without looking overly fancy.
Round 1: Ch 1. Work 1 sc in each stitch around. Join with a sl st.
Stitch check: The shell repeat uses 4 stitches, so your stitch count works best as a multiple of 4.
Round 2: Ch 1. *Skip 1 stitch, work 5 dc in the next stitch, skip 1 stitch, sl st in the next stitch*; rep from * to * around. Fasten off and cut the yarn.
If shells aren’t your style, finish with a second round of sc for a clean, modern hem, or a picot edge for a more decorative look.
Step 8: Weave in the Ends
Thread each loose yarn end onto a tapestry needle. Weave it back and forth through several stitches on the inside of the skirt, then trim the excess. The step takes a little time, but securely woven ends prevent unraveling and give your skirt a finished look.

Step 9: Block Your Finished Skirt
Blocking is an easy step to skip, but it makes a real difference. Fill a basin with cool water and add a little gentle detergent. Soak the skirt for a few minutes, then squeeze out the excess water without wringing.
Lay the skirt on a clean towel and gently shape it to the right size. Let it air dry. Once dry, the stitches look more even, the border sits neatly, and the whole skirt has a polished finish.

Adding a Lining (Optional)
- Choose a light fabric: Lightweight cotton keeps the skirt breathable.
- Match the shape: Use the finished skirt as a guide when cutting the fabric, leaving room for seams.
- Sew the lining first: Stitch the fabric pieces together before placing them inside the skirt.
- Attach at the waist: Hand-sew the lining along the inside of the waistband seam so the ribbing stays stretchy.
- Keep it shorter: Finish the lining slightly above the shell border so it doesn’t peek out.
Easy Ways to Customize Your Mini Skirt
Once you’ve made the basic skirt, it’s easy to make it your own:
- Add stripes by switching yarn colors every few rounds.
- Give it a sporty look with contrasting bands near the hem.
- Add small side slits for easier movement.
- Swap the shell border for a scalloped lace edging.
- Thread a crochet cord through the waistband as a tie.
For a flouncier take on the same waistband, see the crochet striped ruffle skirt.

Styling Your Crochet Mini Skirt
A handmade crochet skirt is easy to style. For a casual daytime look, pair it with a tucked-in T-shirt, white sneakers, and a denim jacket.
Heading to brunch? Try a fitted tank top, layered necklaces, and flat sandals. When the weather cools down, opaque tights, ankle boots, and an oversized cardigan or the crochet colorblock sweater keep you warm through fall.
For an evening out, choose a satin blouse, heels, and simple gold jewelry. The crochet texture already adds plenty of personality, so you won’t need many accessories.
Where to Find More Pattern Inspiration
Some crafters browse craft store collections, such as the mini skirt pattern Spotlight range, to see what’s trending, while others support independent designers by shopping mini skirt pattern Etsy listings. Both offer everything from beginner-friendly designs to detailed, vintage-inspired patterns.
The more designs you explore, the more techniques you’ll pick up and the more confident you’ll feel making clothes that fit you. For another fun skirt from the site, try the crochet strawberry skirt pattern.
When choosing colors, neutrals like cream, beige, olive, charcoal, and black go with almost anything, while coral, mustard, or turquoise make a fun statement.
From Waistband to Hem, Made by You
A stretchy ribbed band, a few rounds of smooth double crochet, and a shell border are all it takes to create a skirt that fits your body and your style. The crochet mini skirt pattern is simple enough for a first garment, yet flexible enough to grow with your skills.
Try it in a bold color, add stripes or a lining, or change up the hem. However you finish it, you’ll have a comfortable, one-of-a-kind skirt you can wear with pride and make again in a new shade whenever inspiration strikes.